
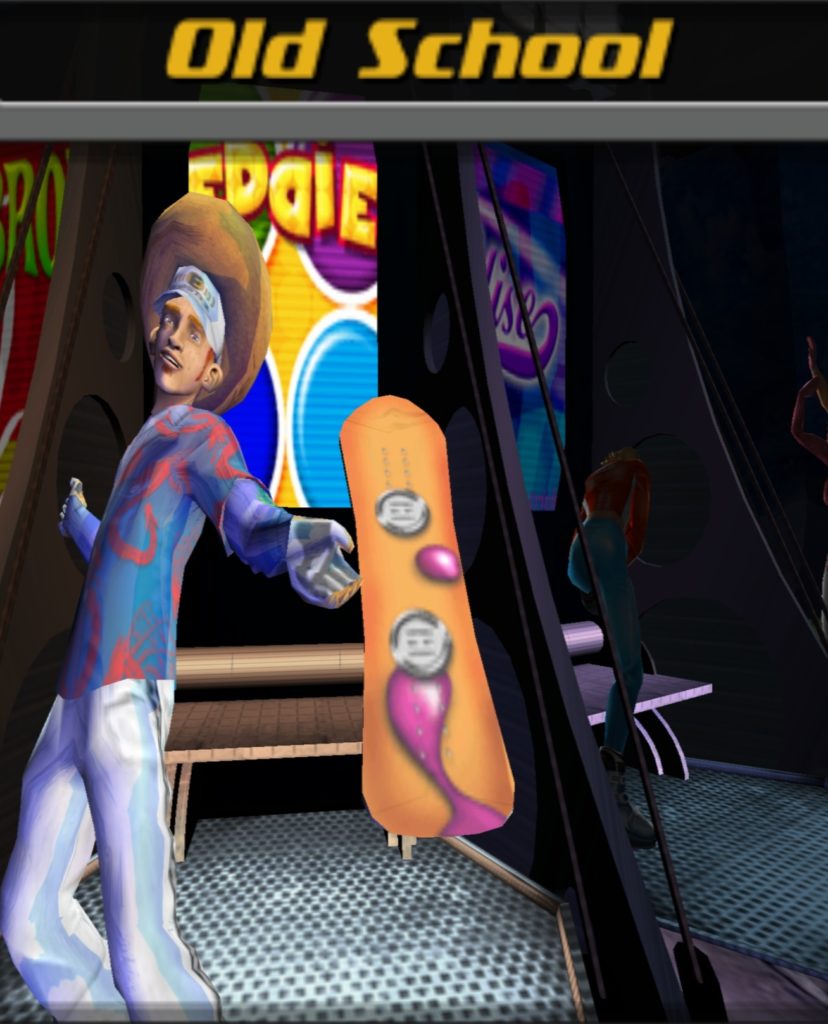
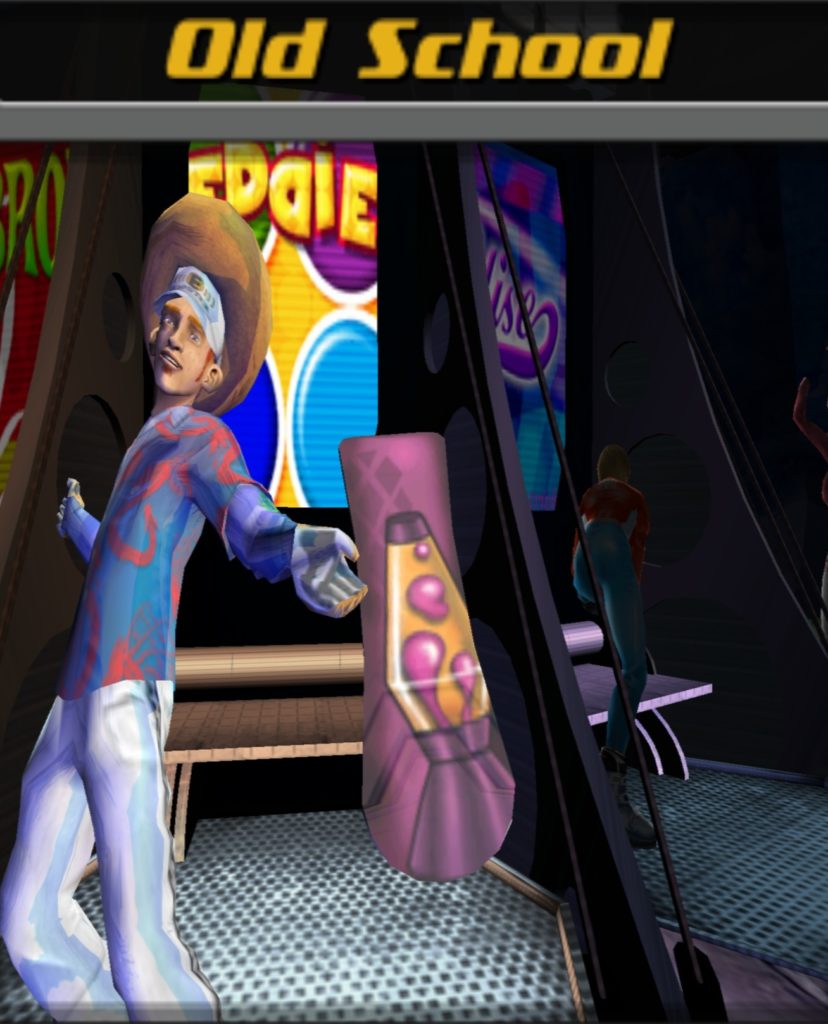
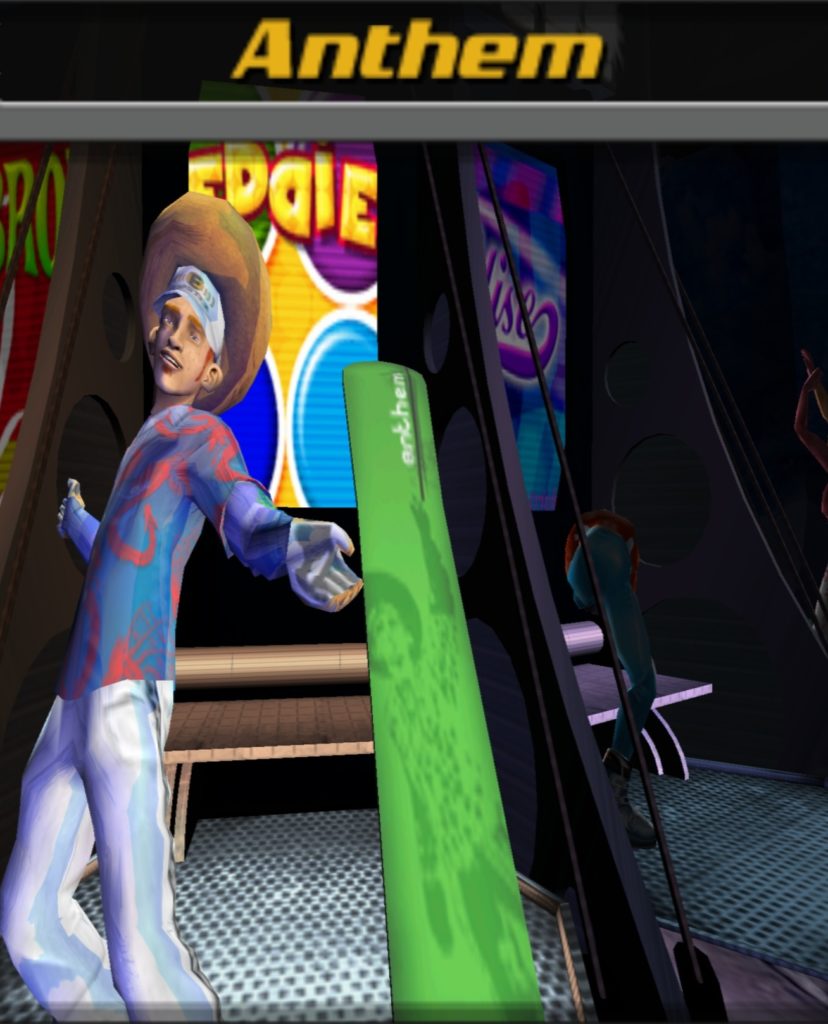
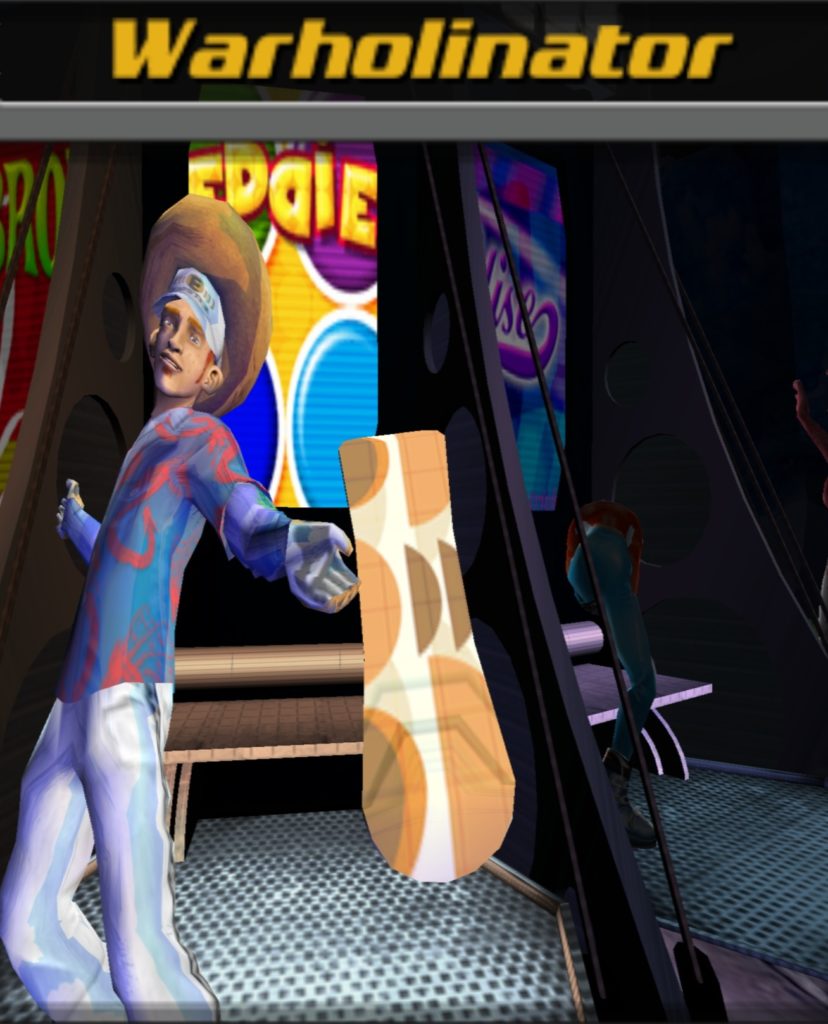
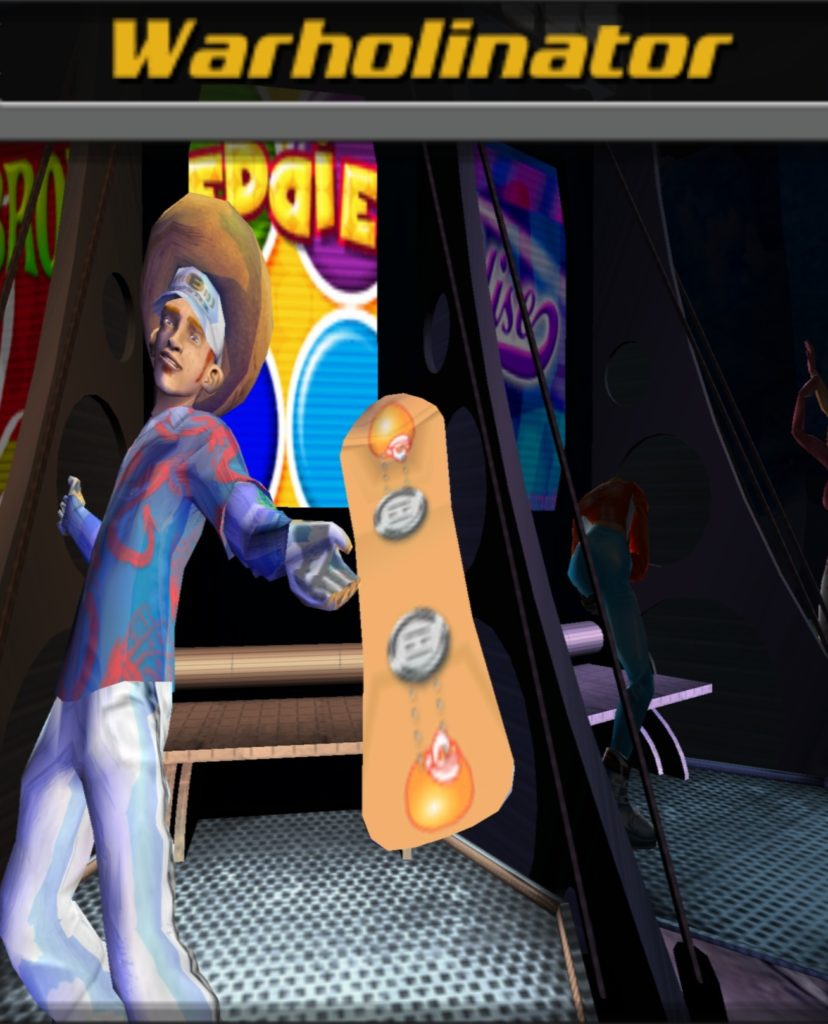
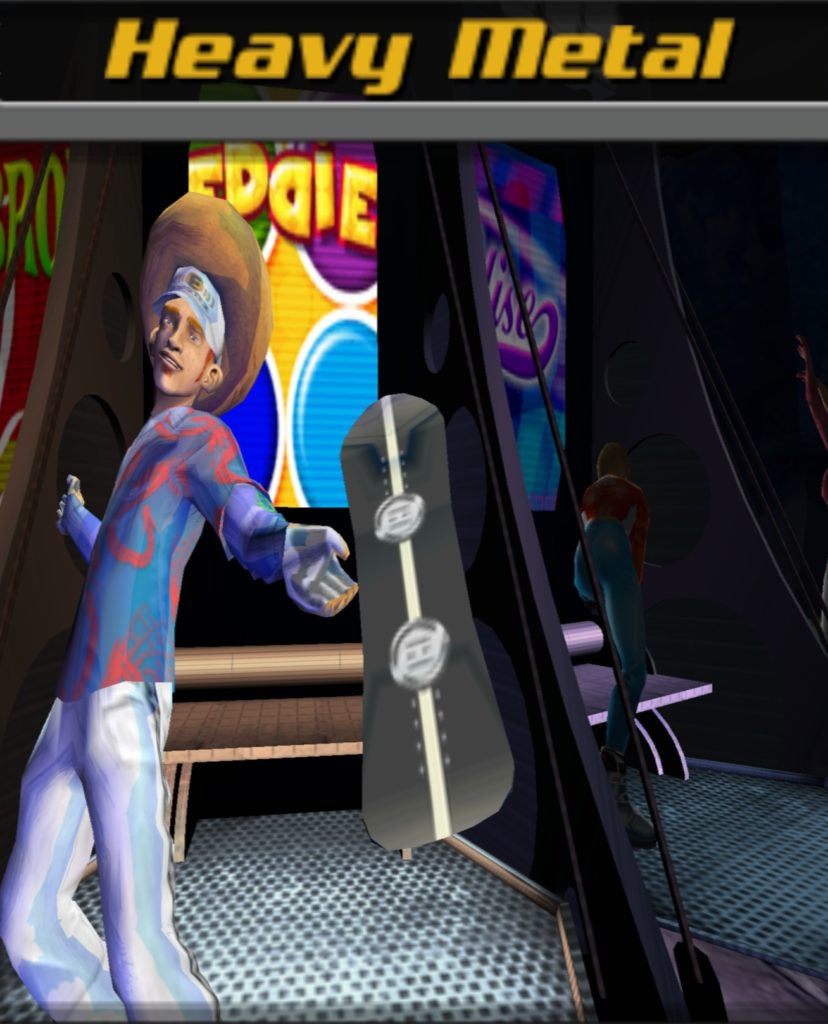
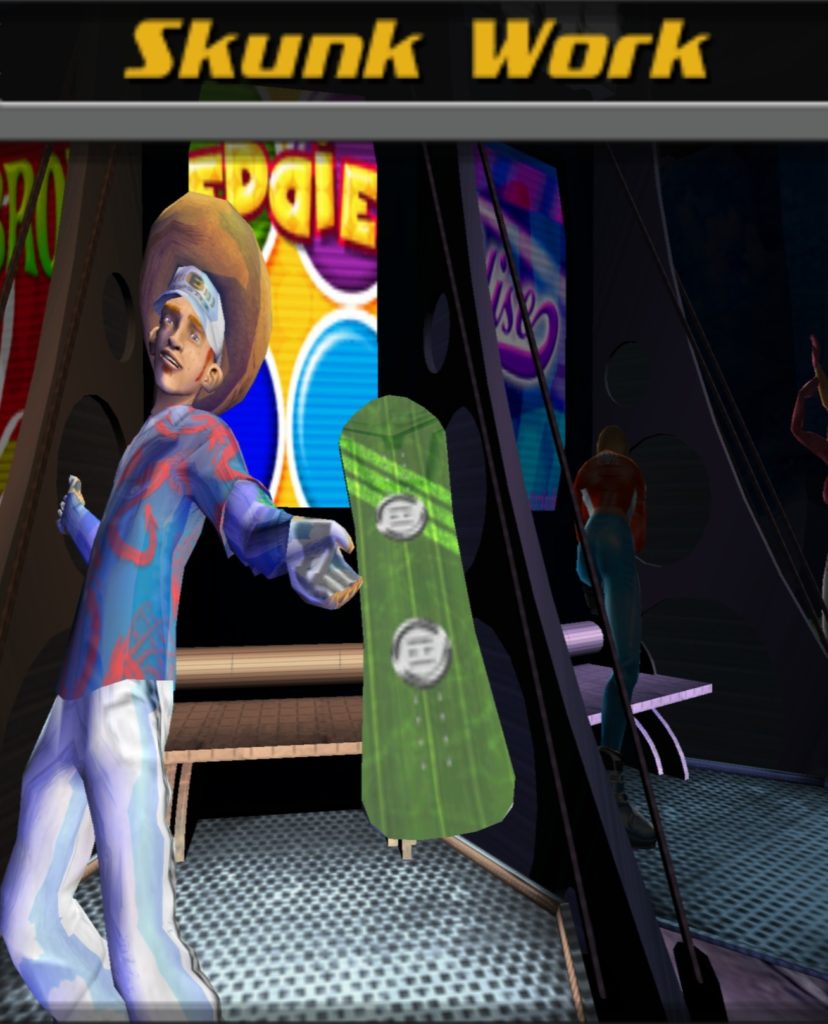
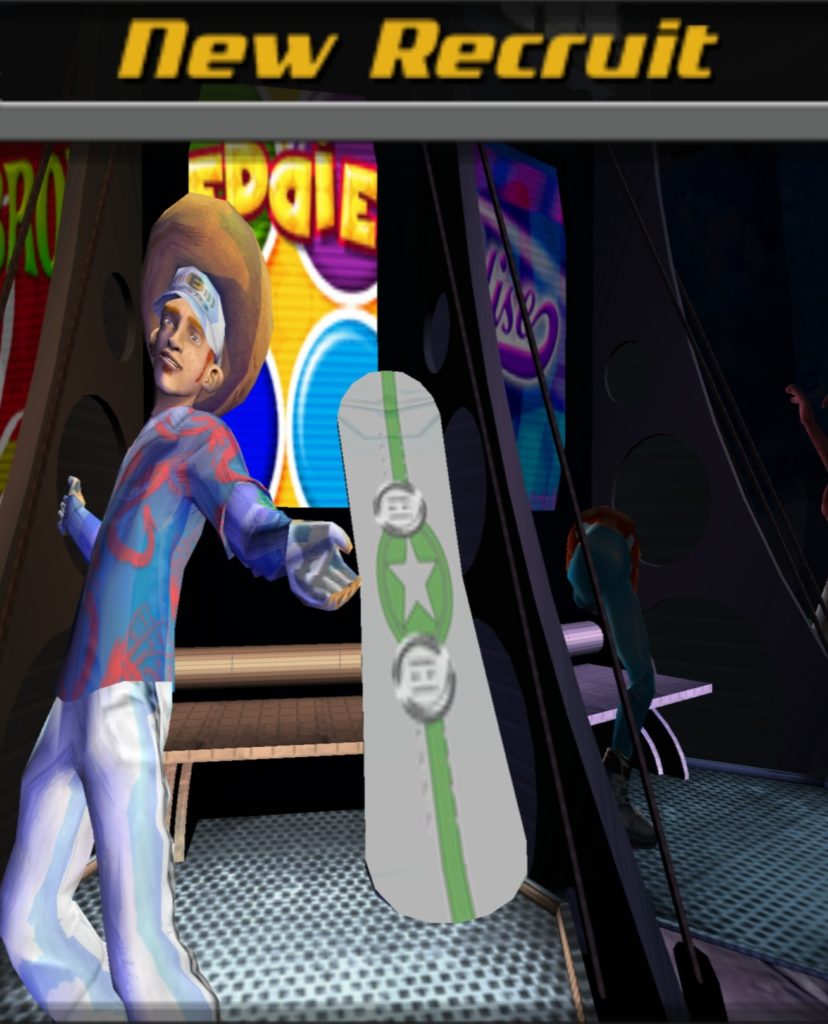
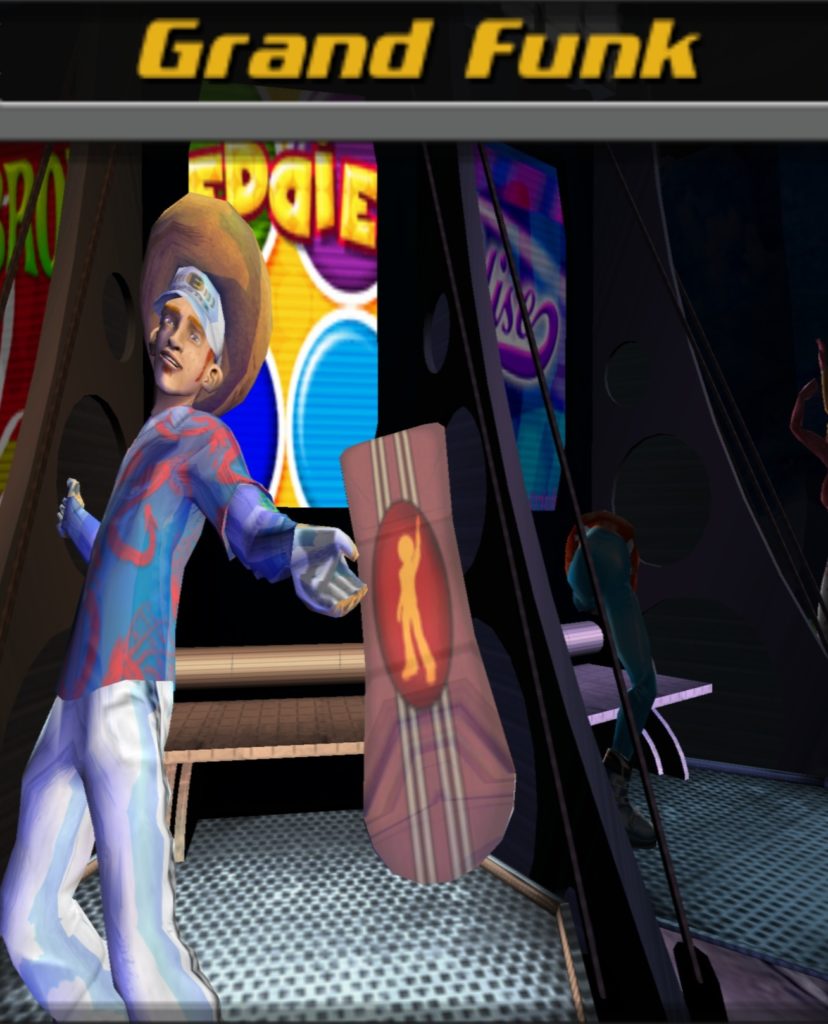
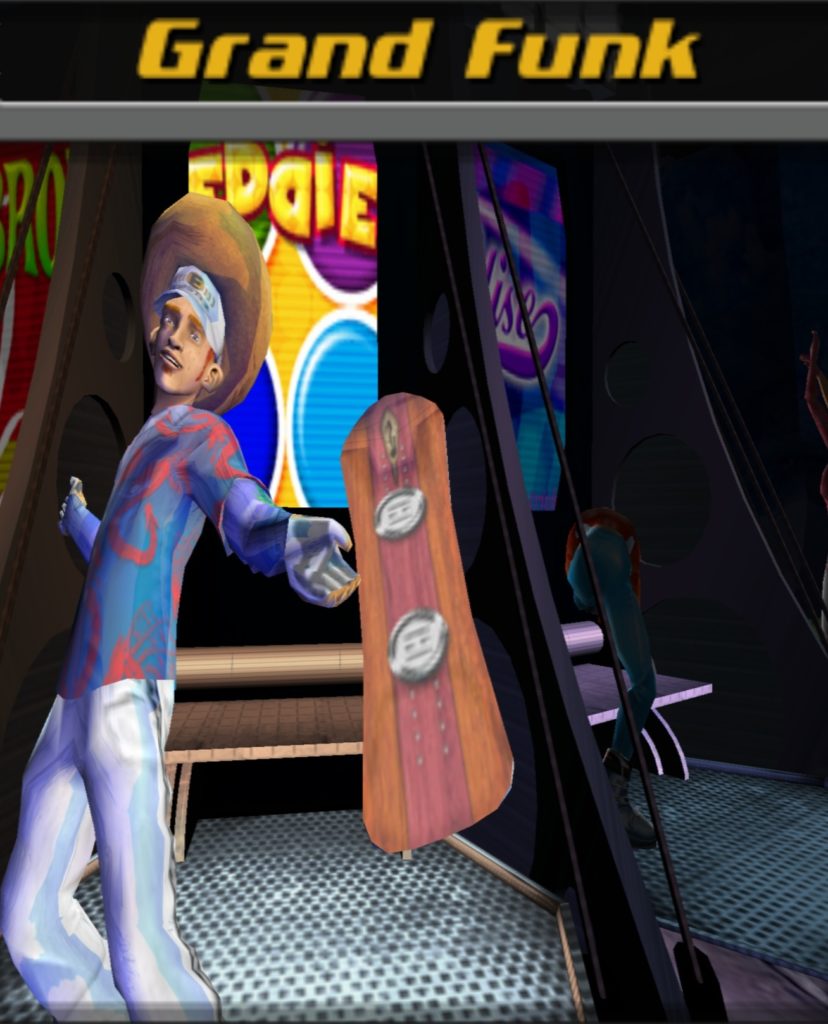
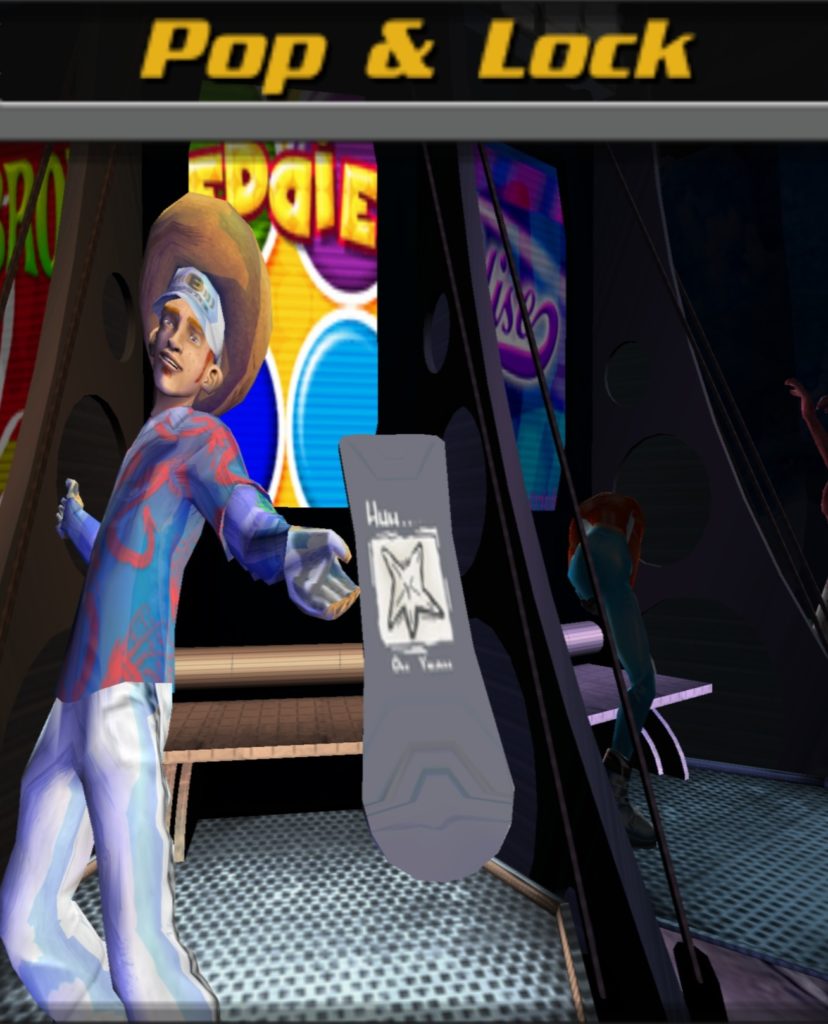
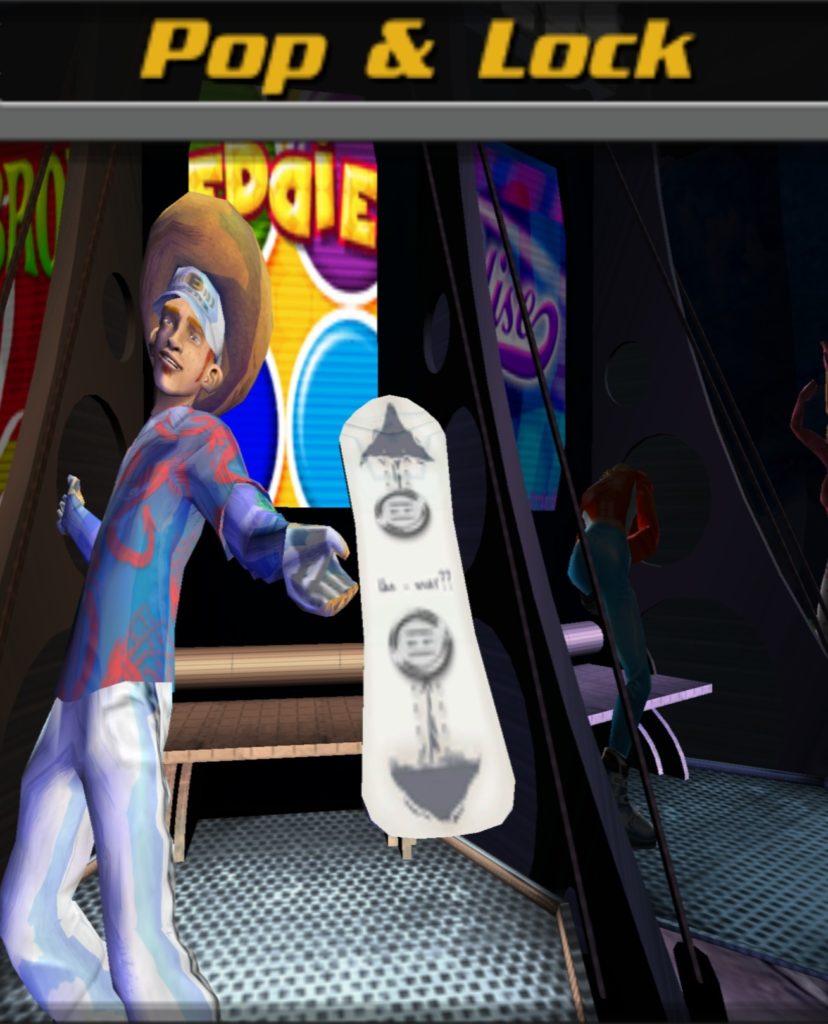
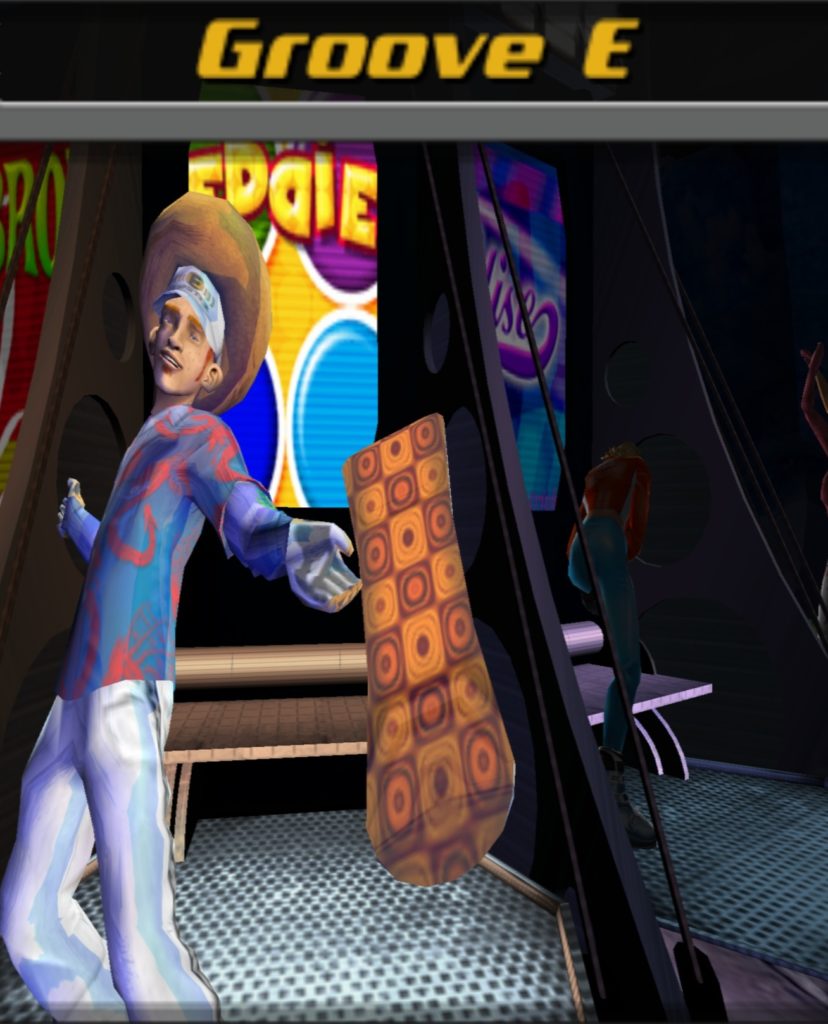
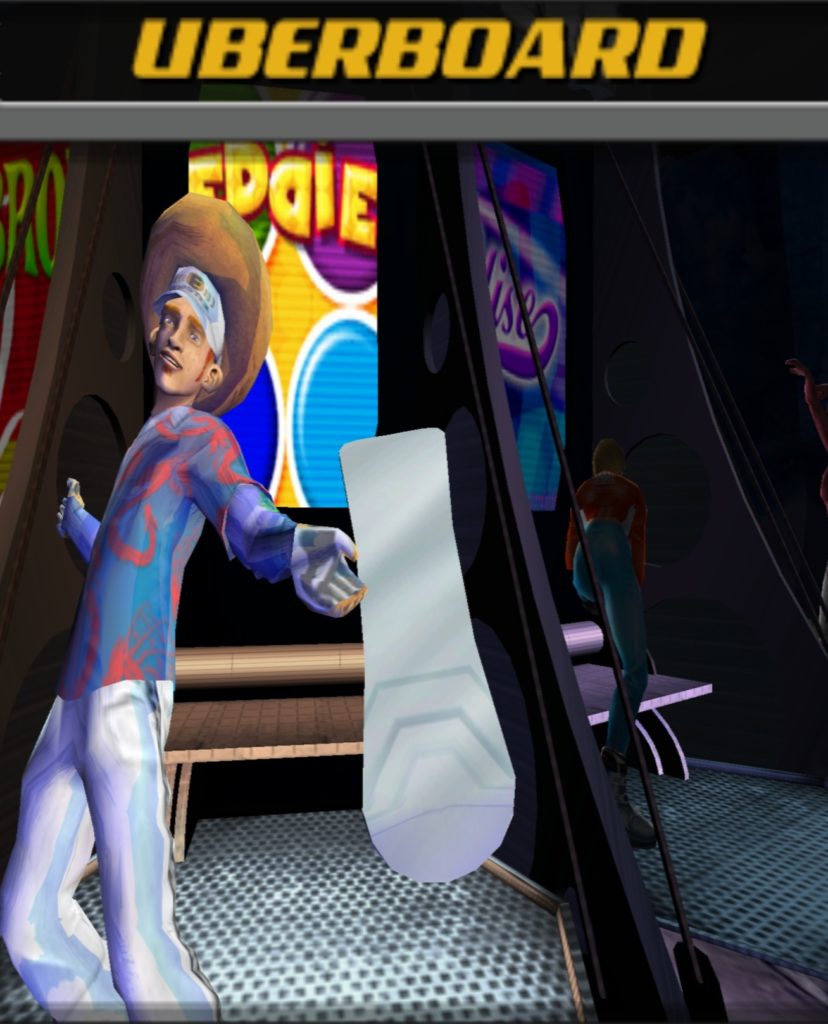
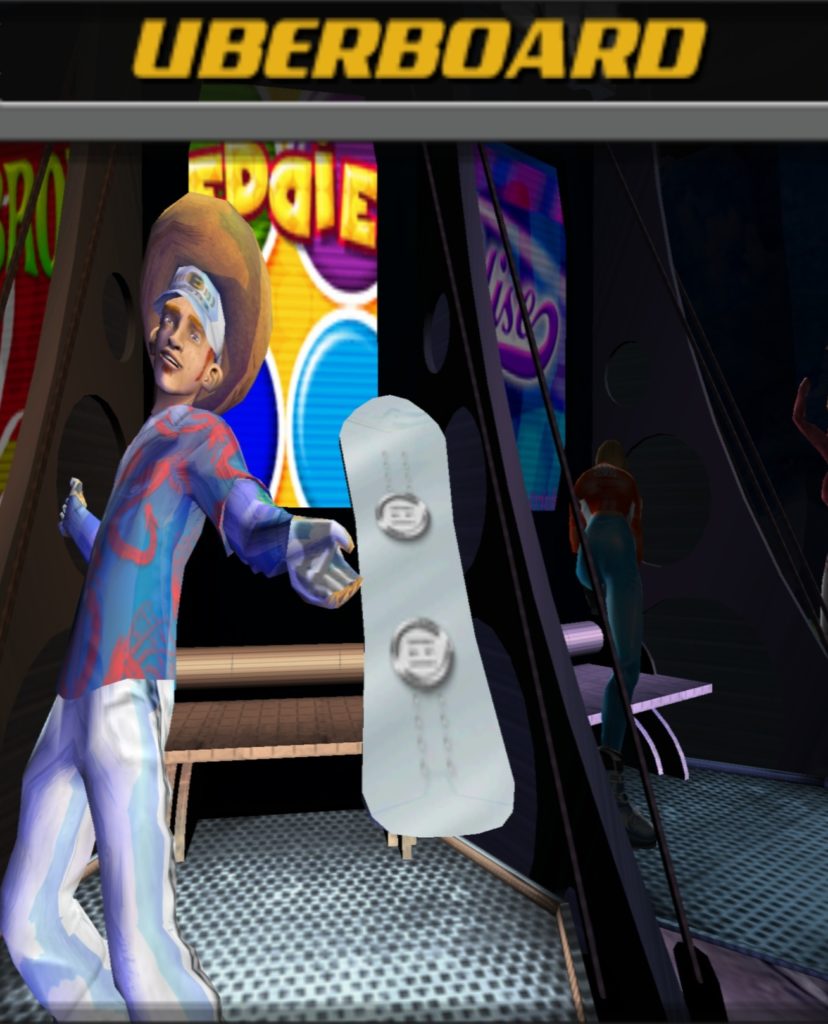
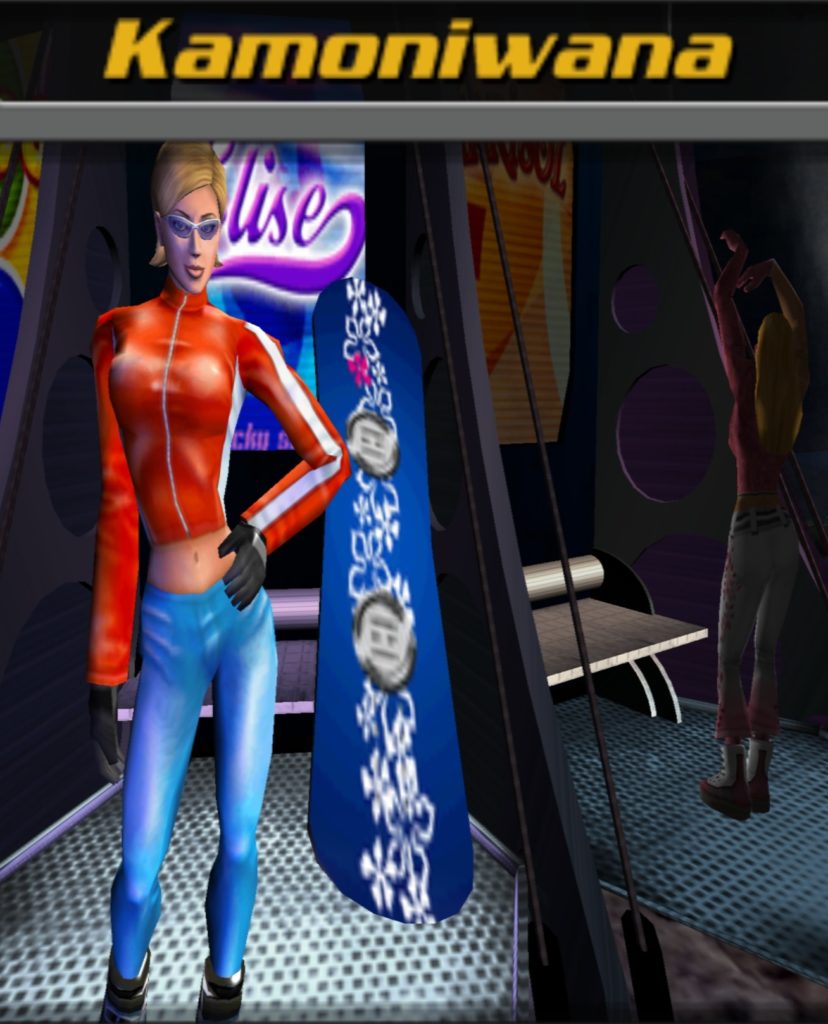
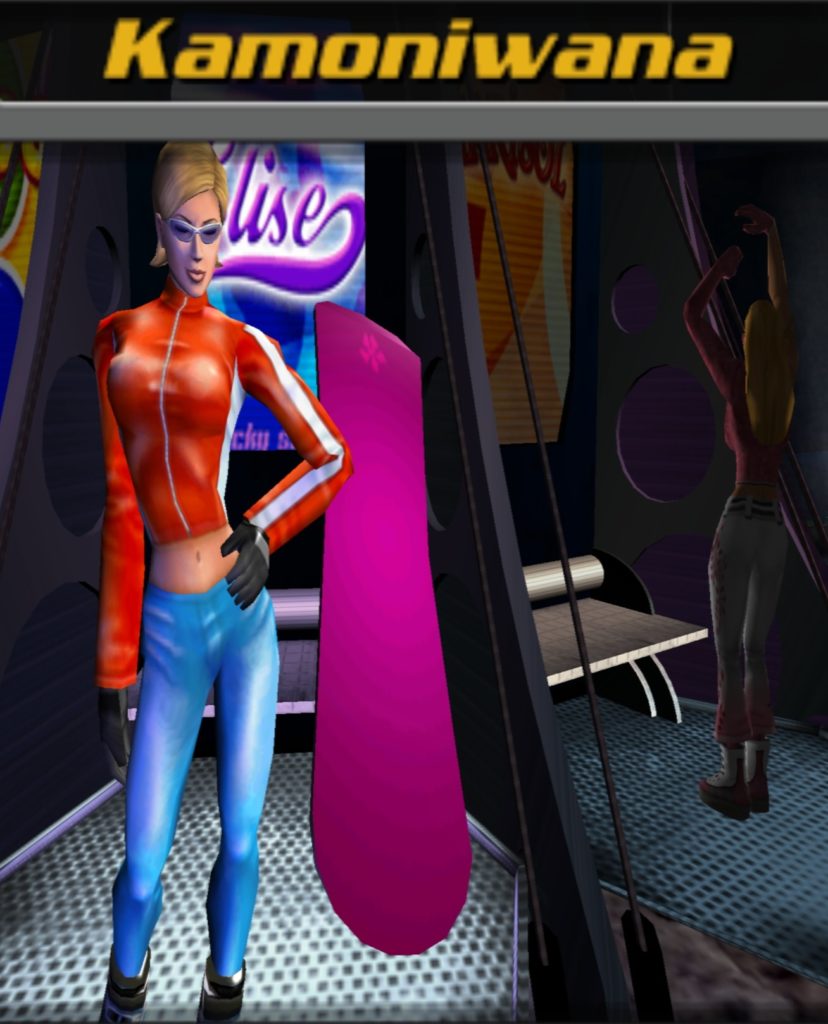
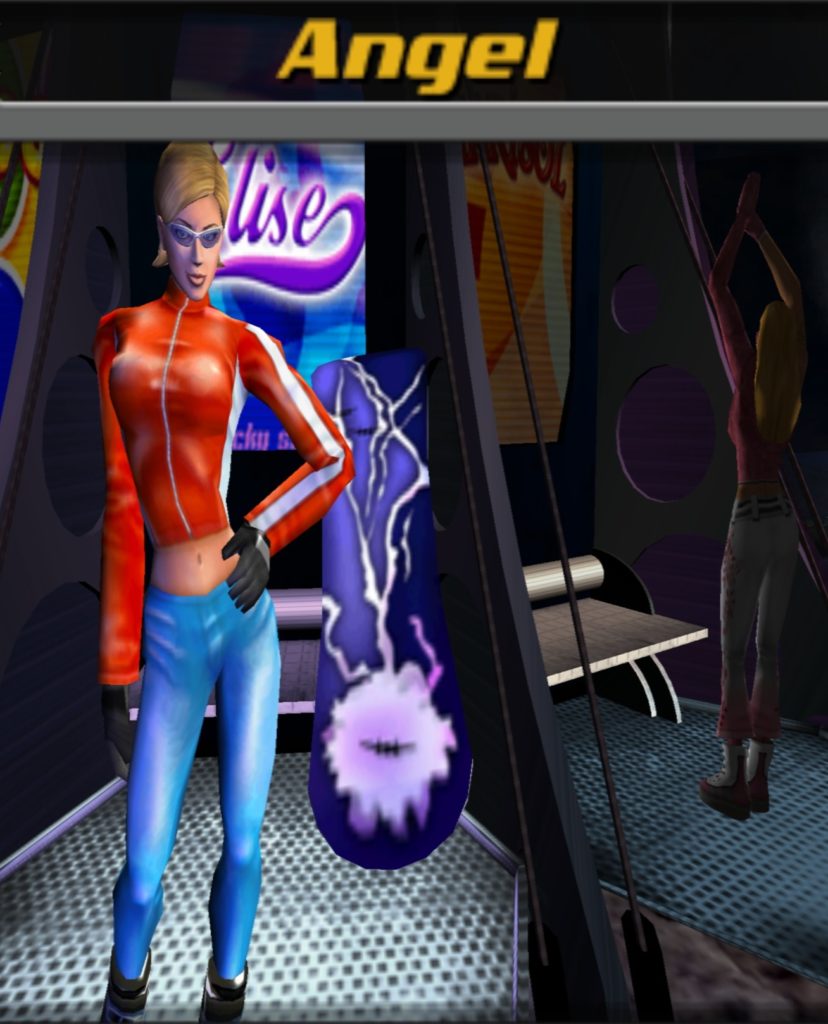
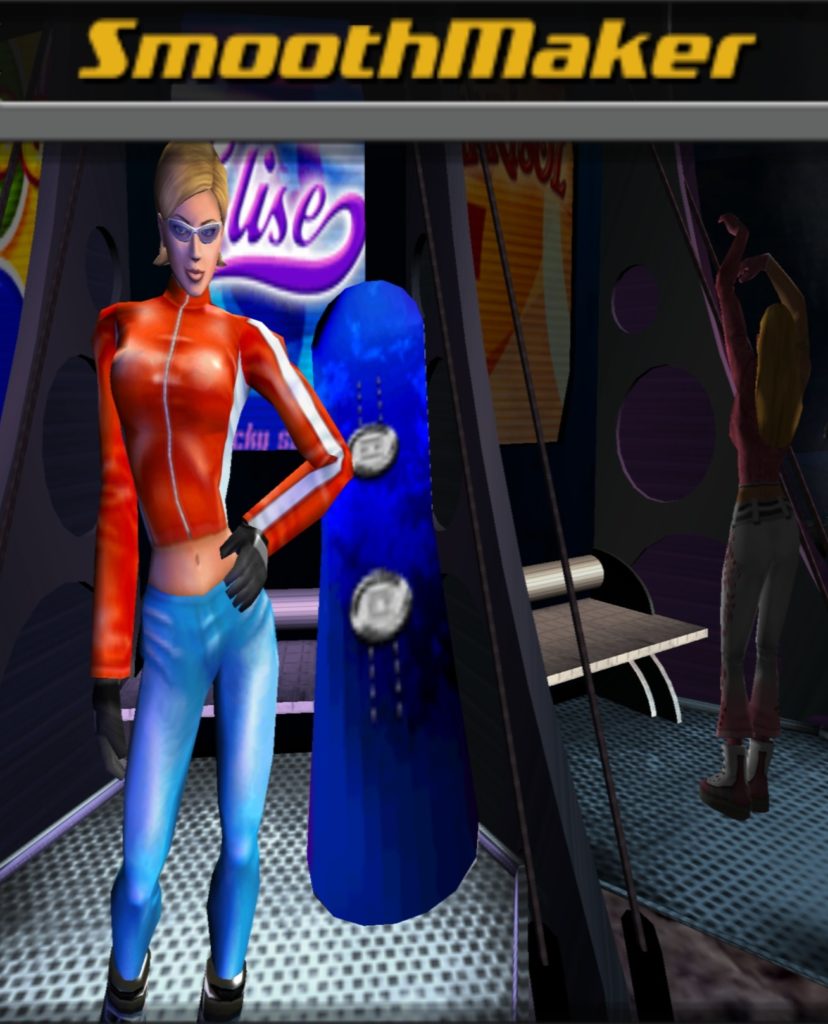
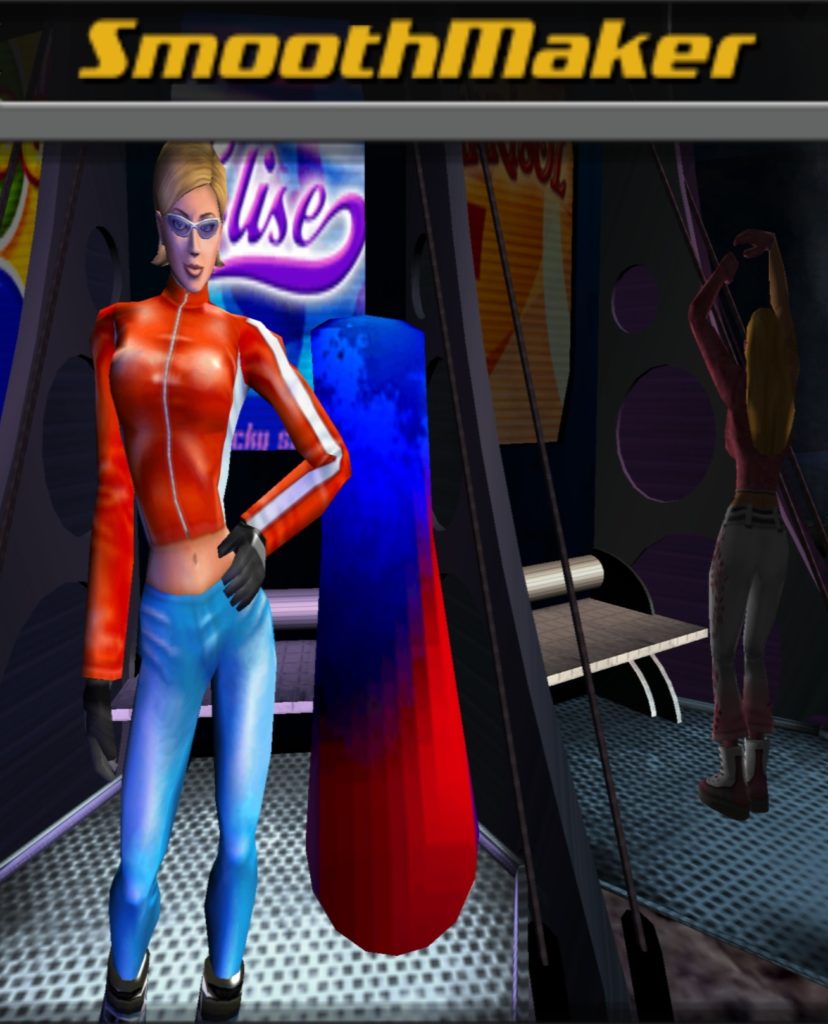
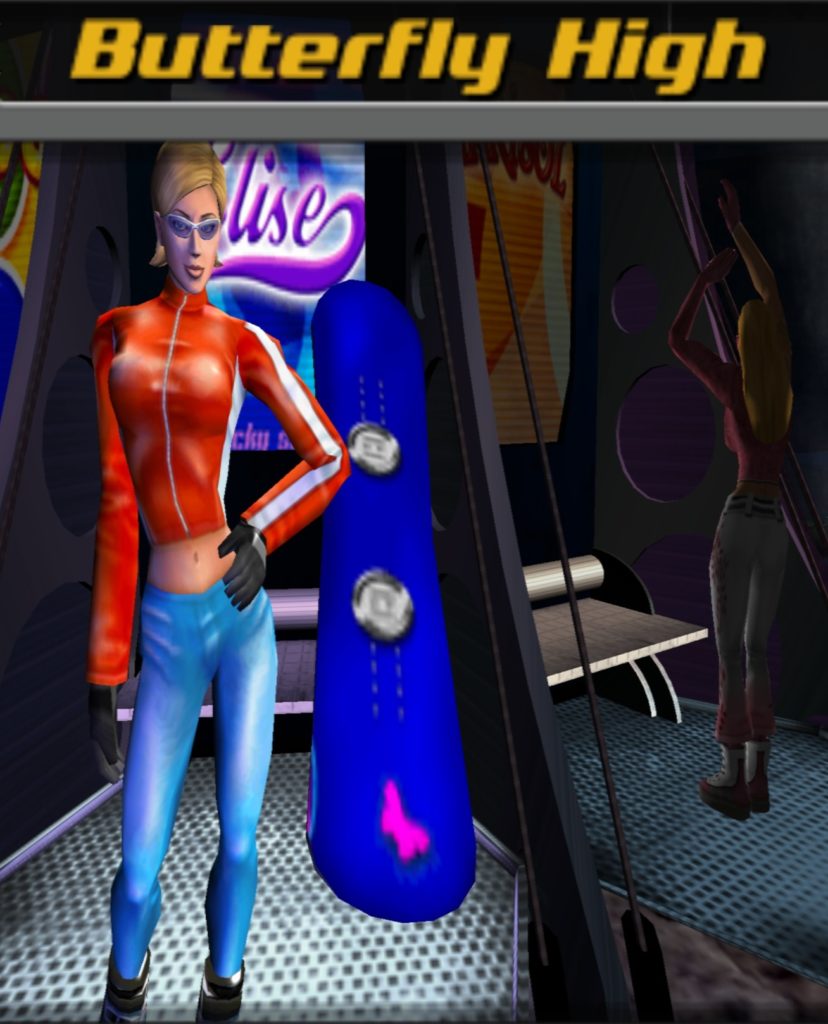
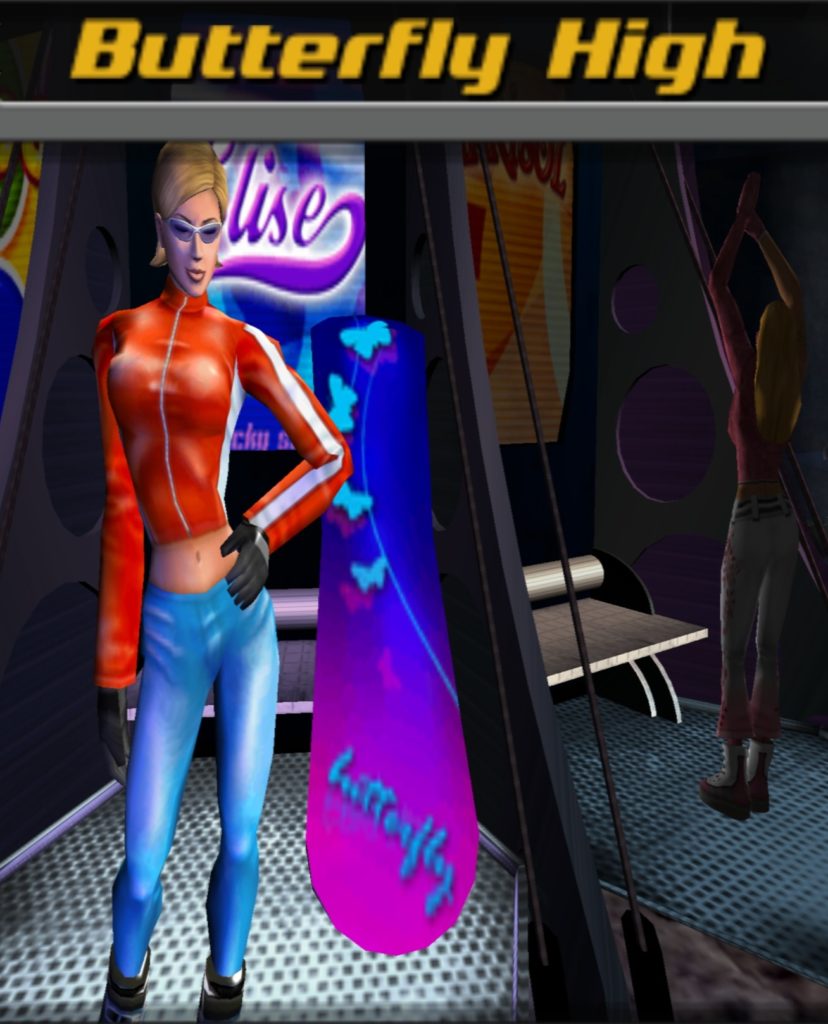
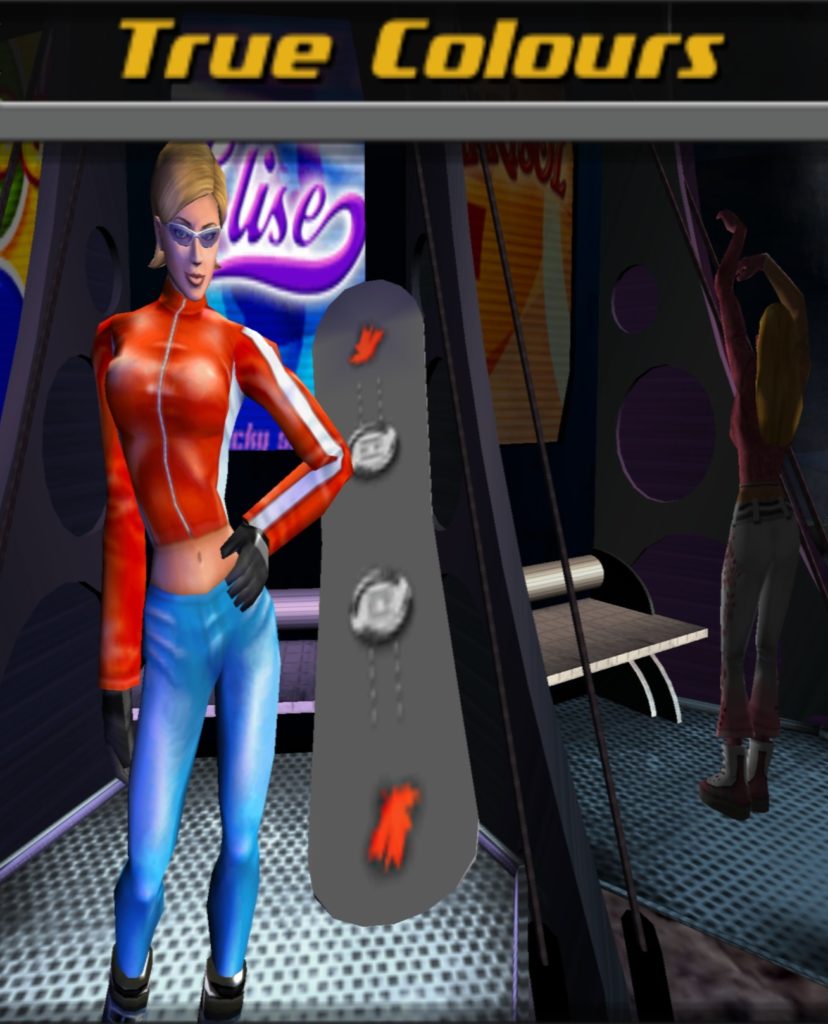
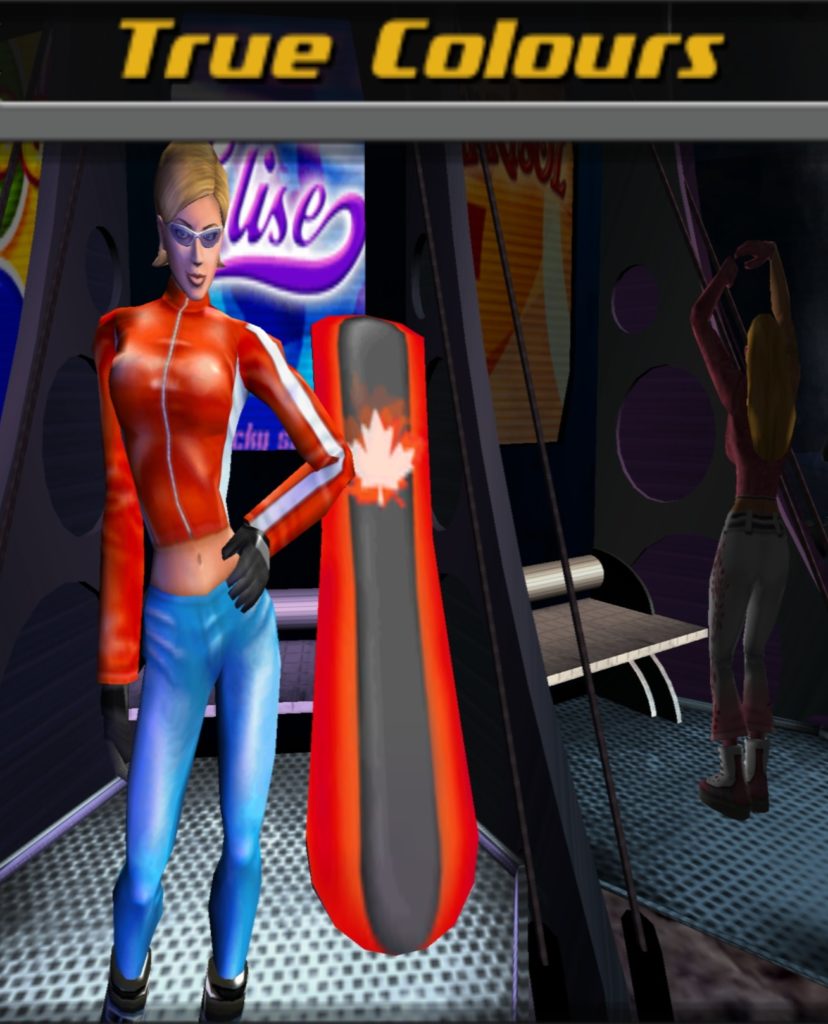
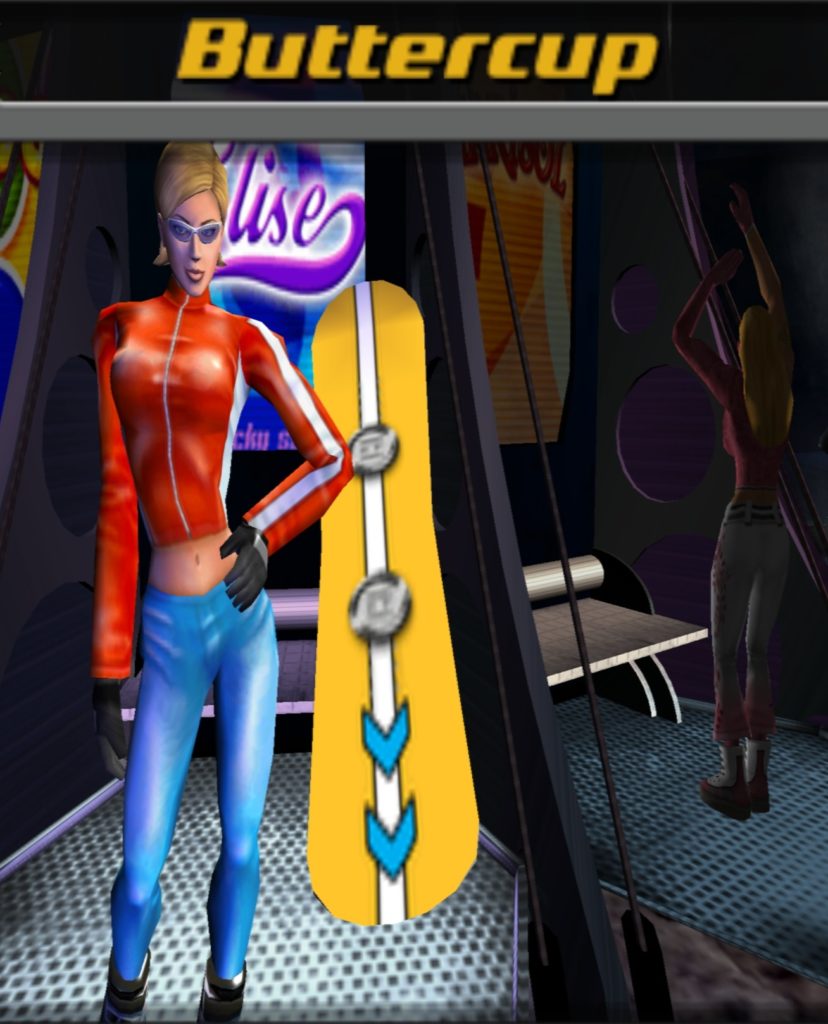
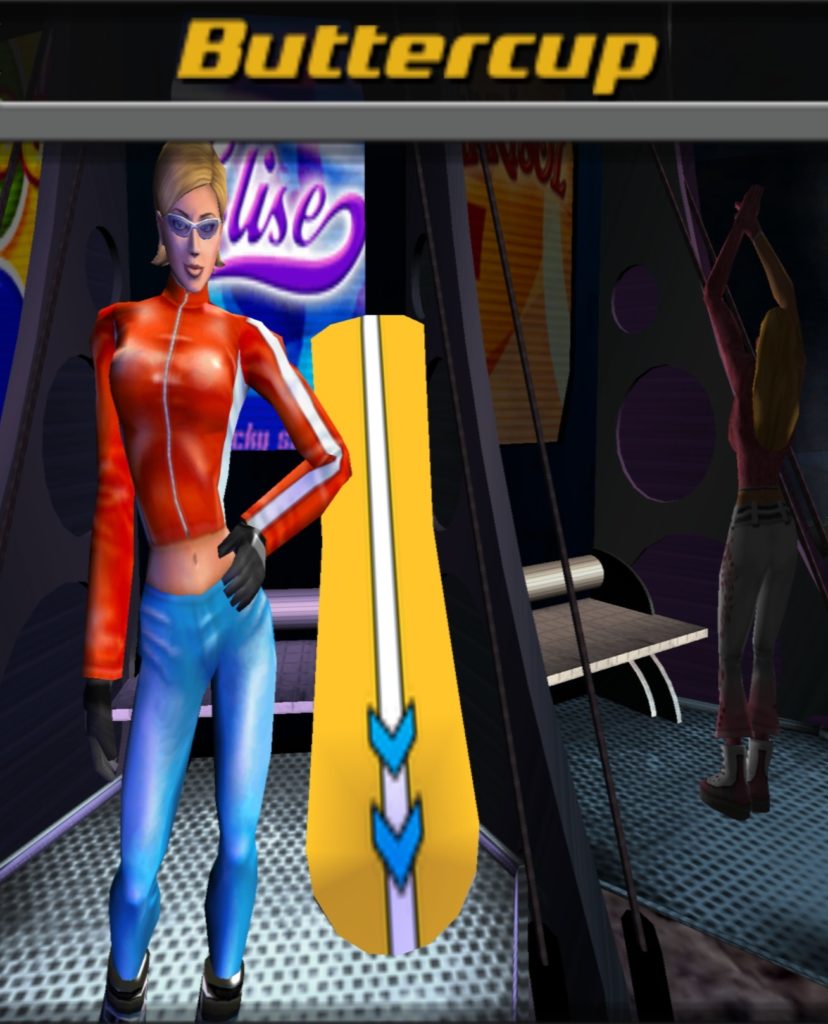
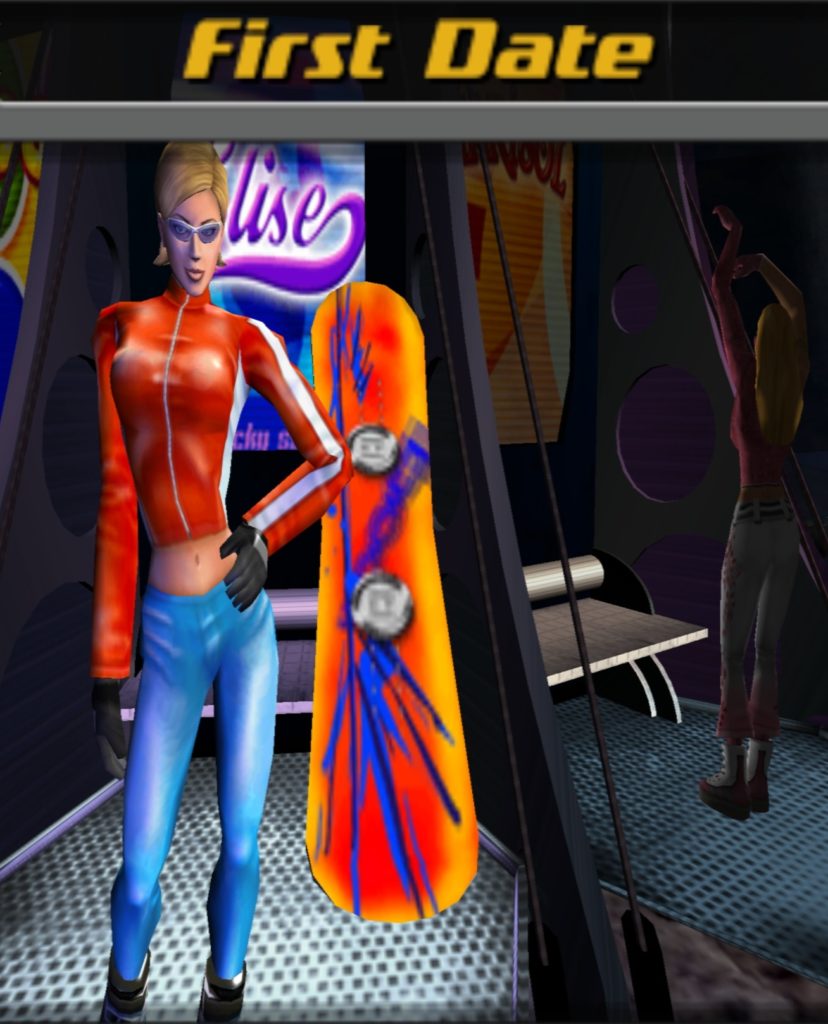
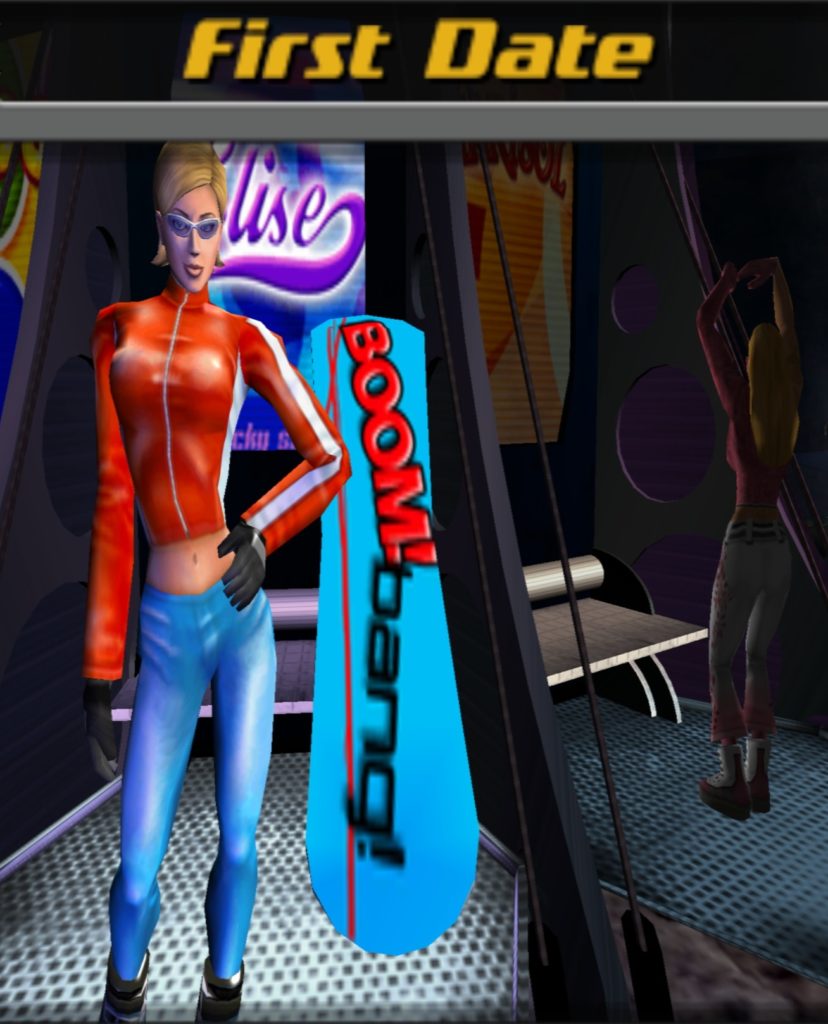
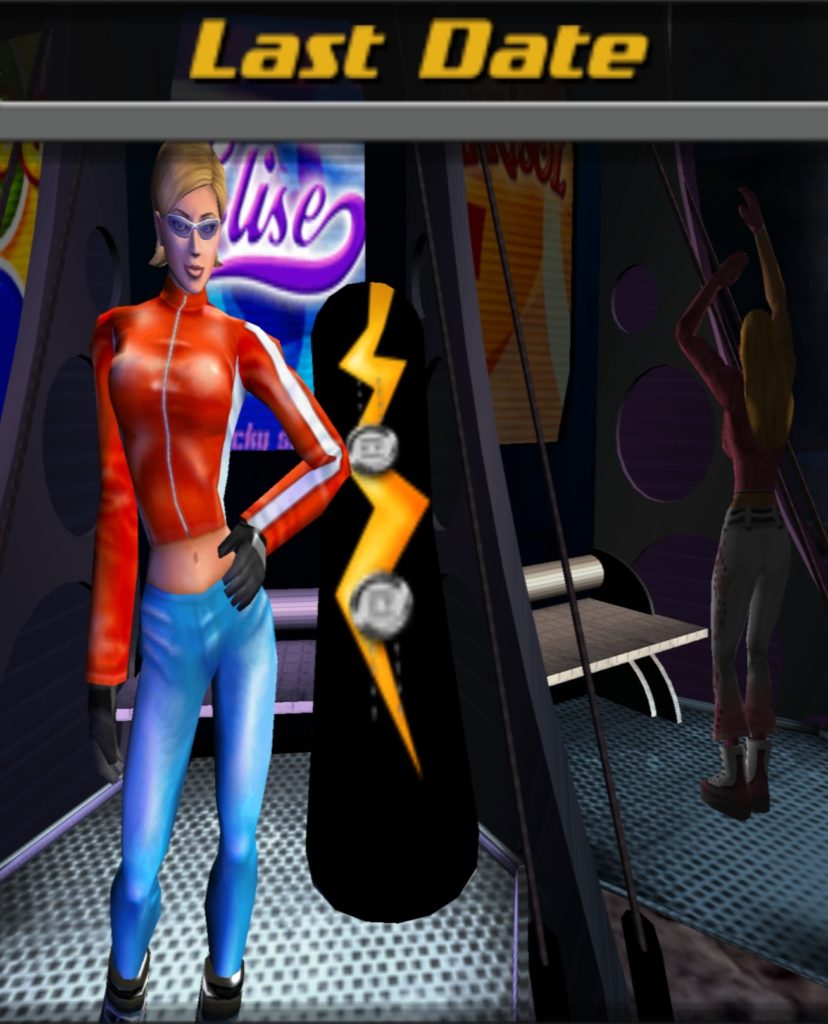
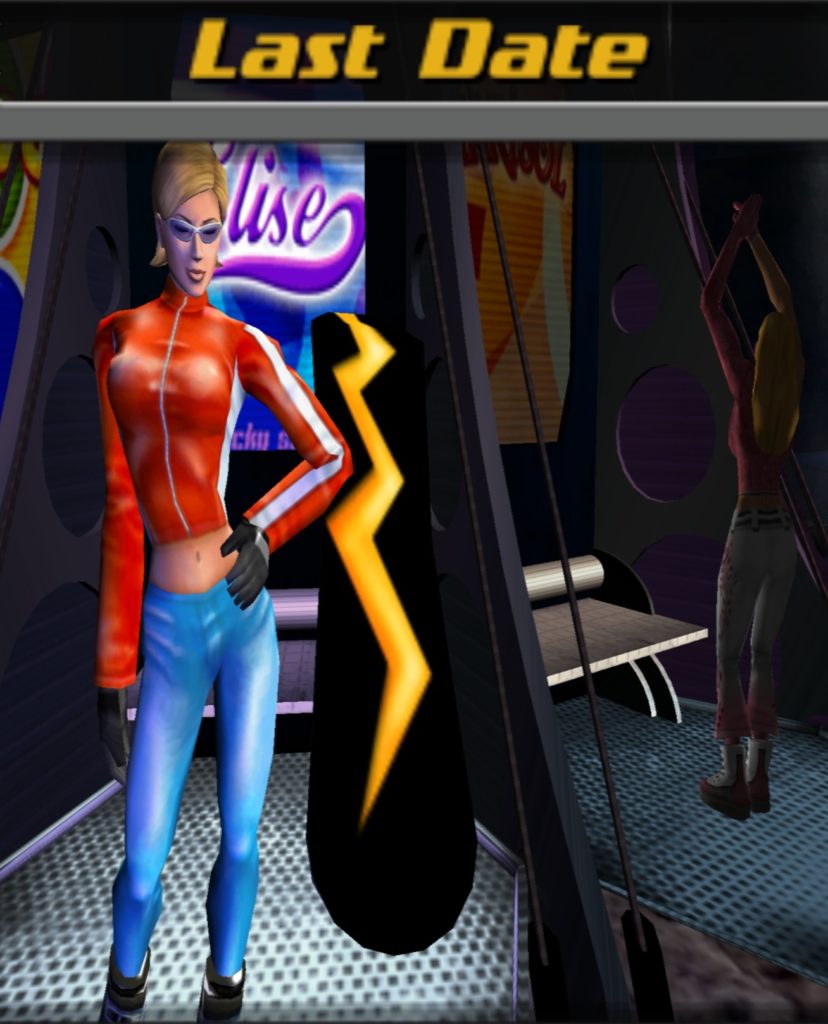
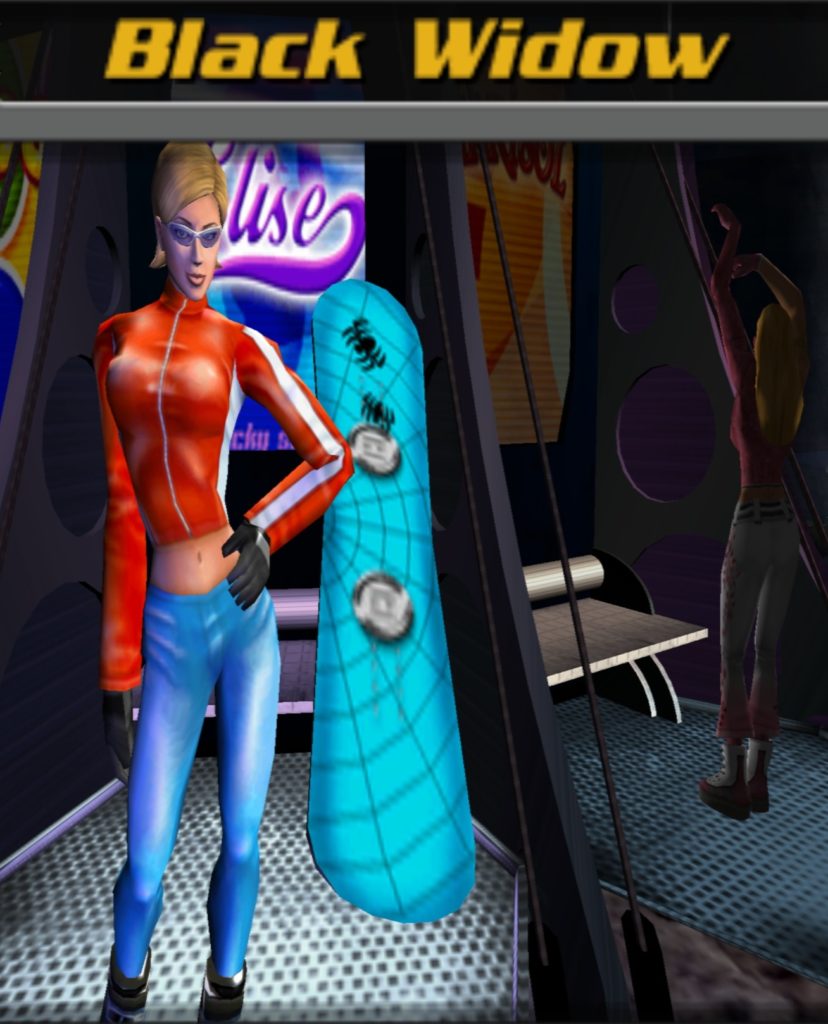
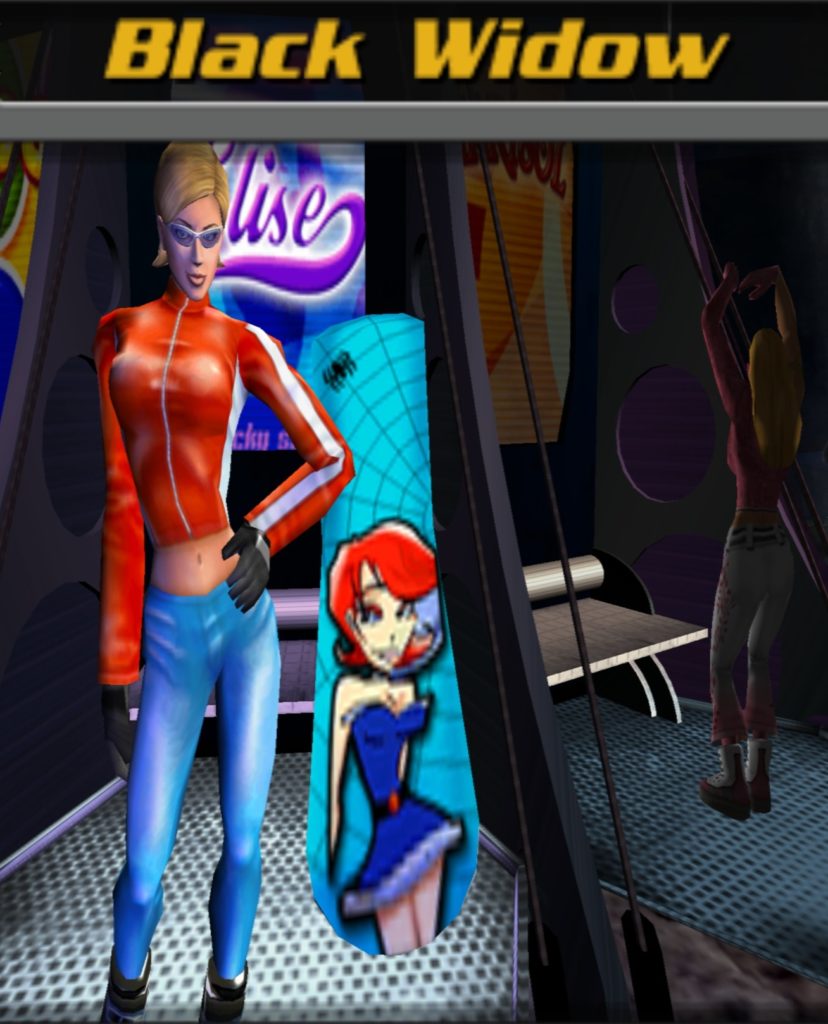
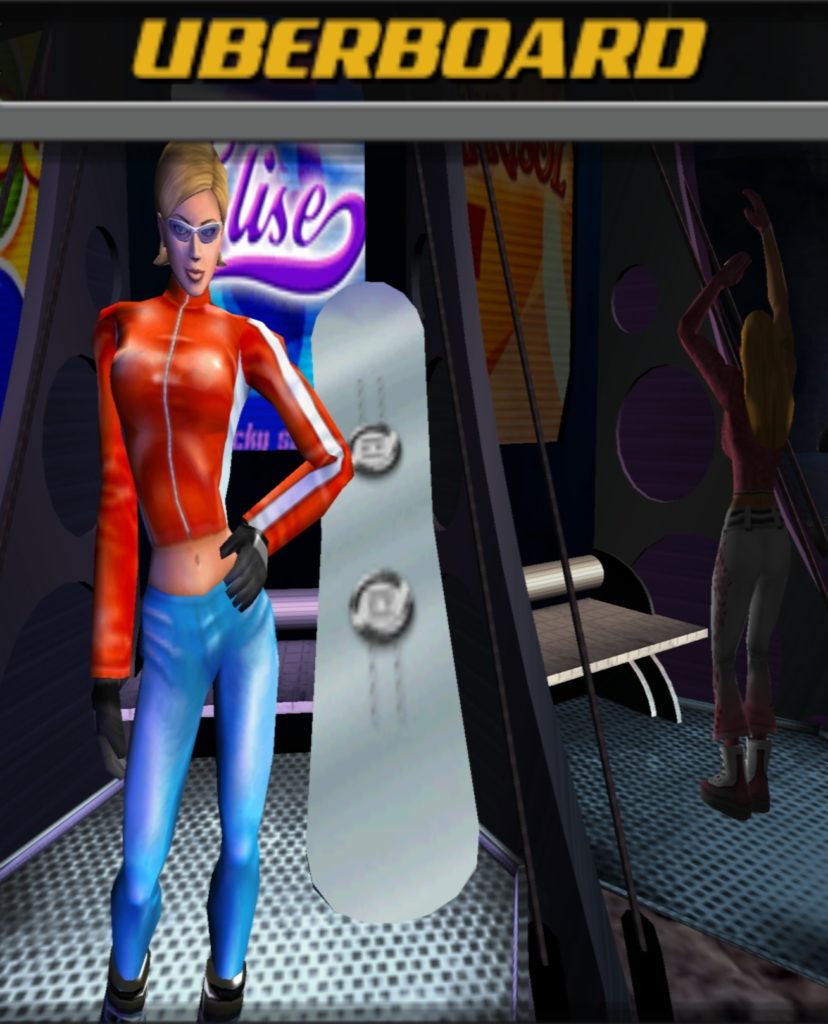
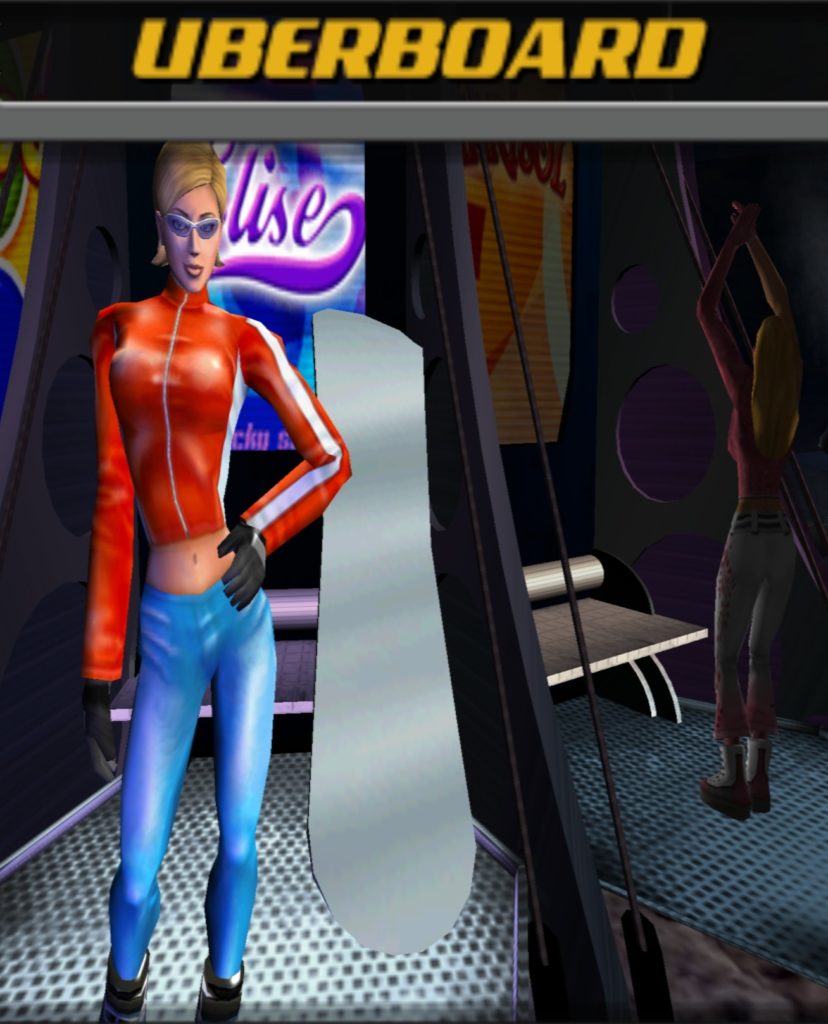
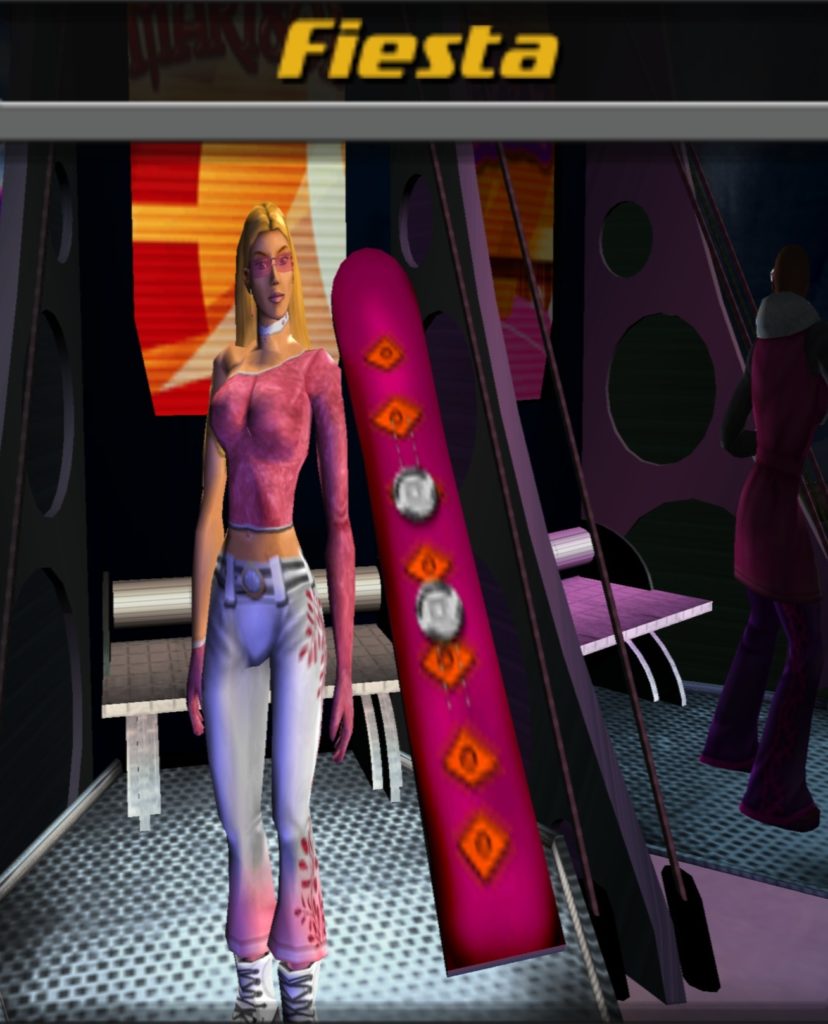
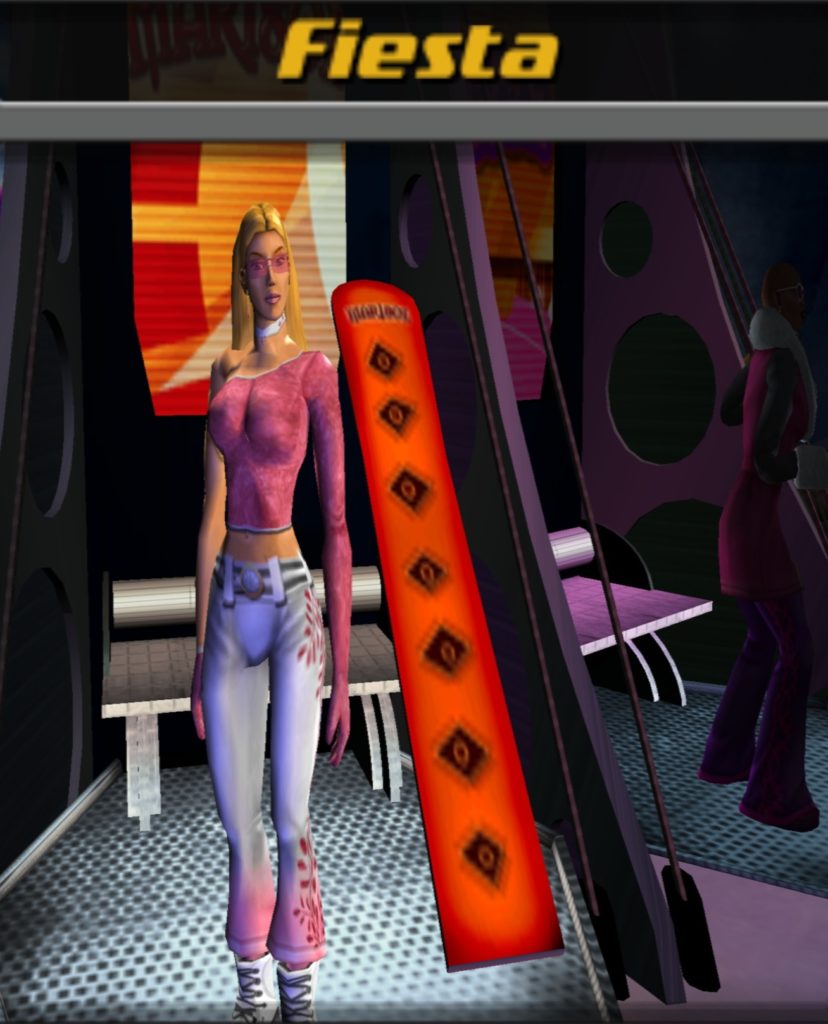
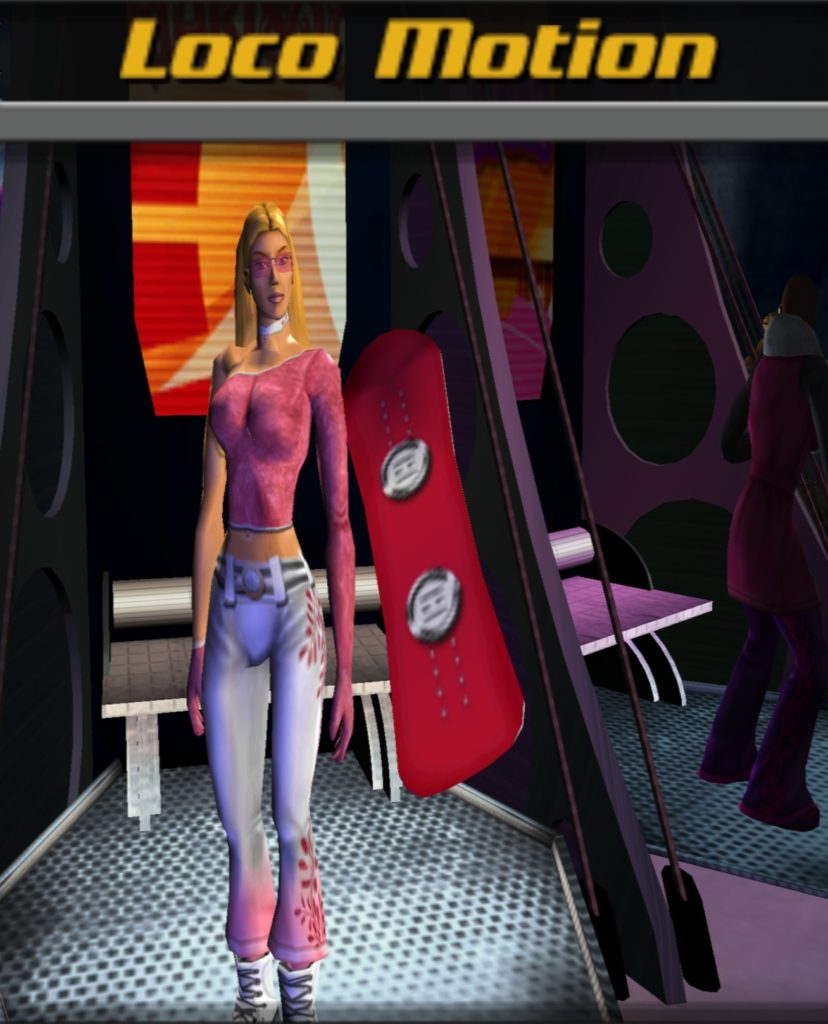
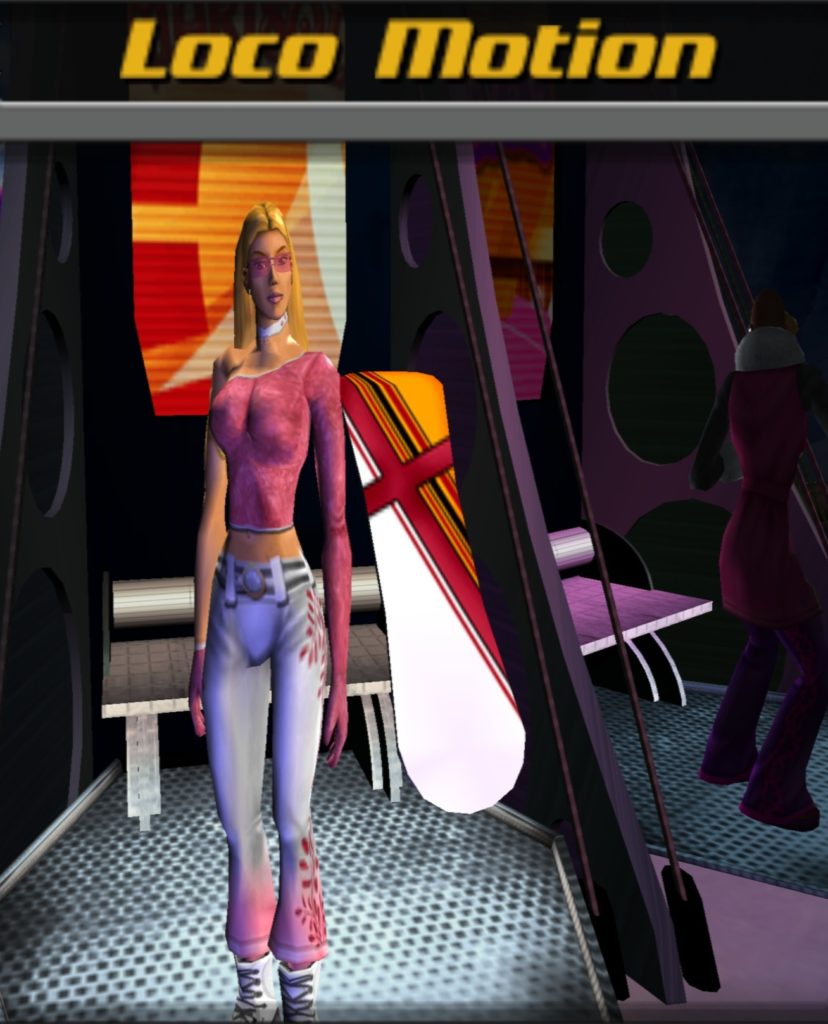
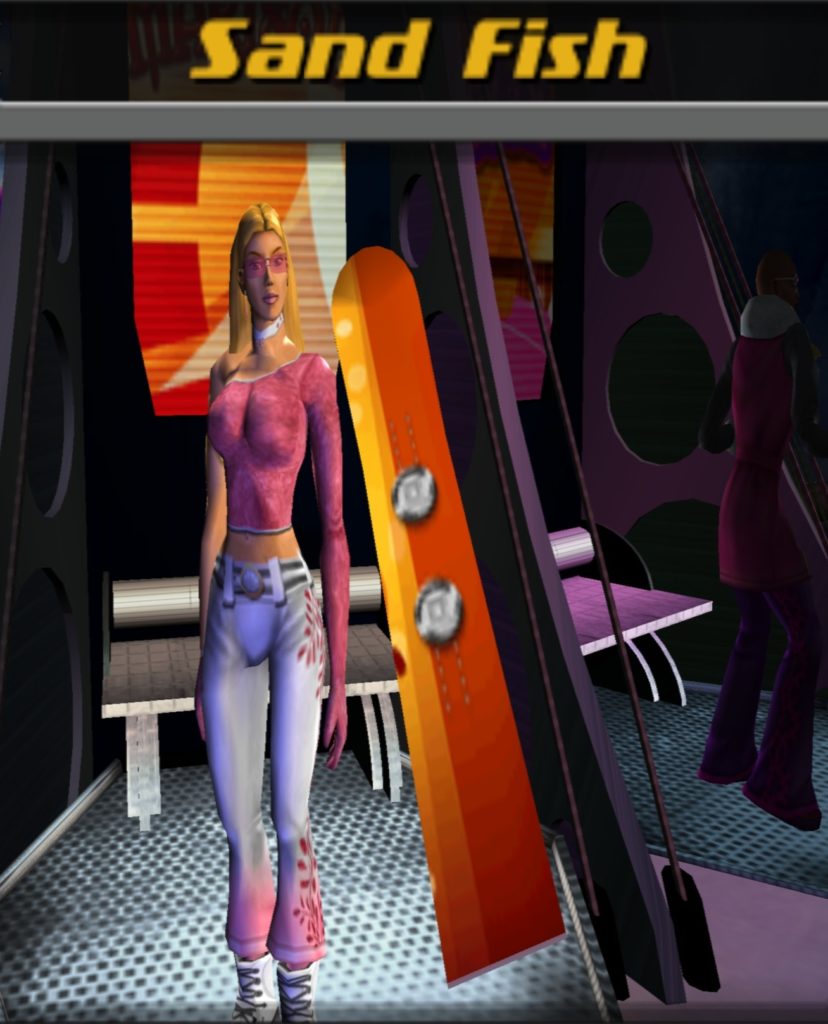
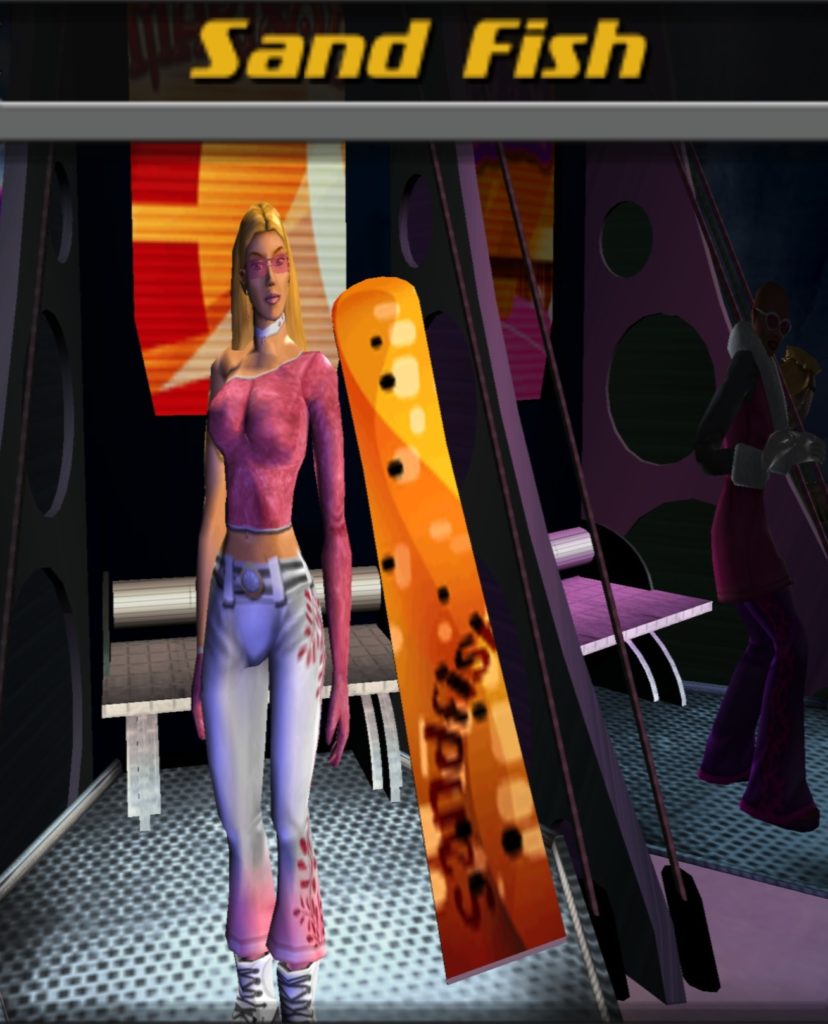
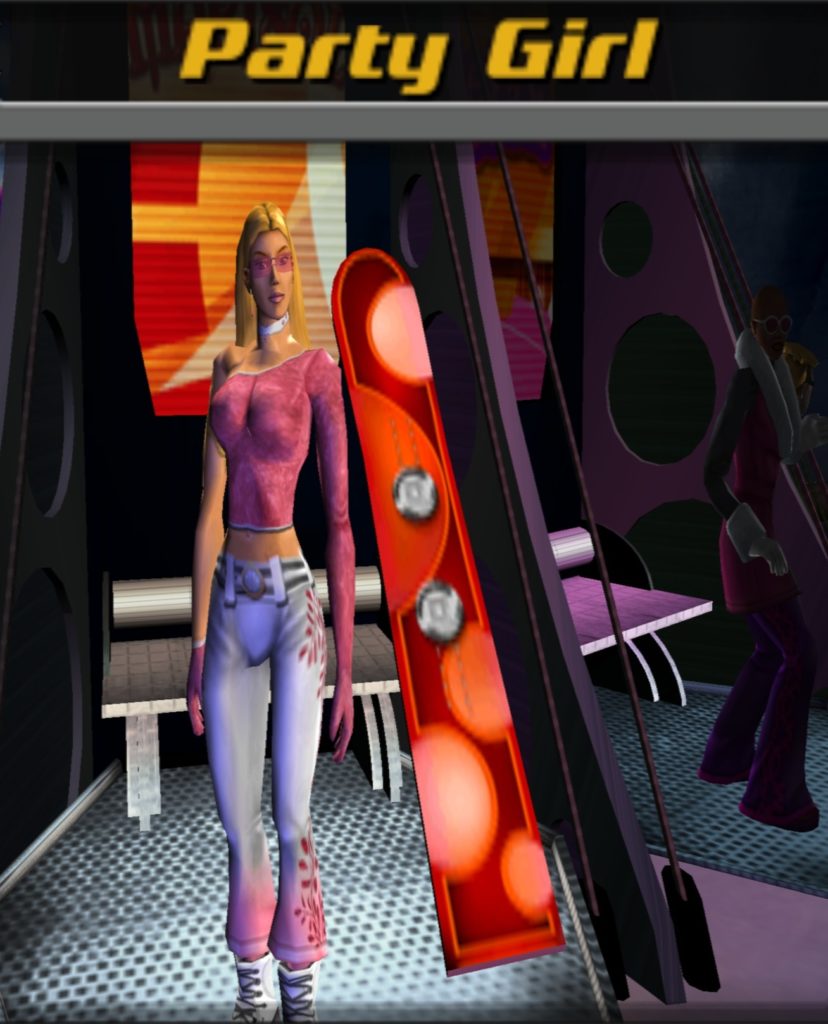
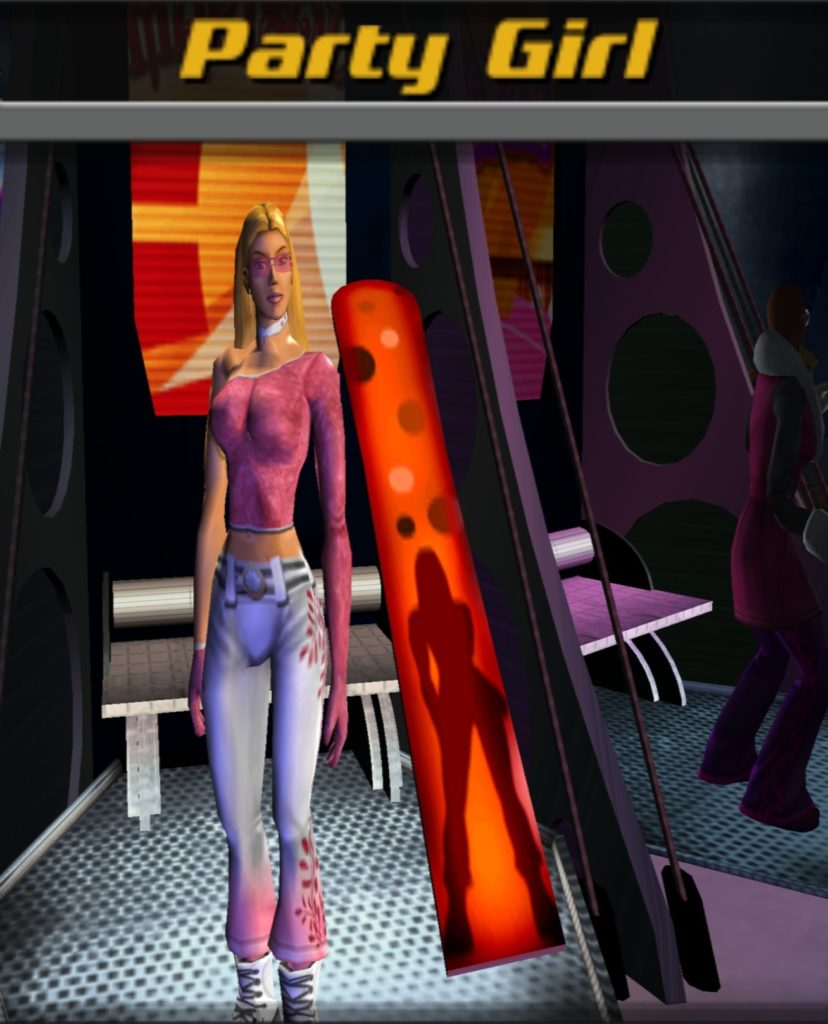
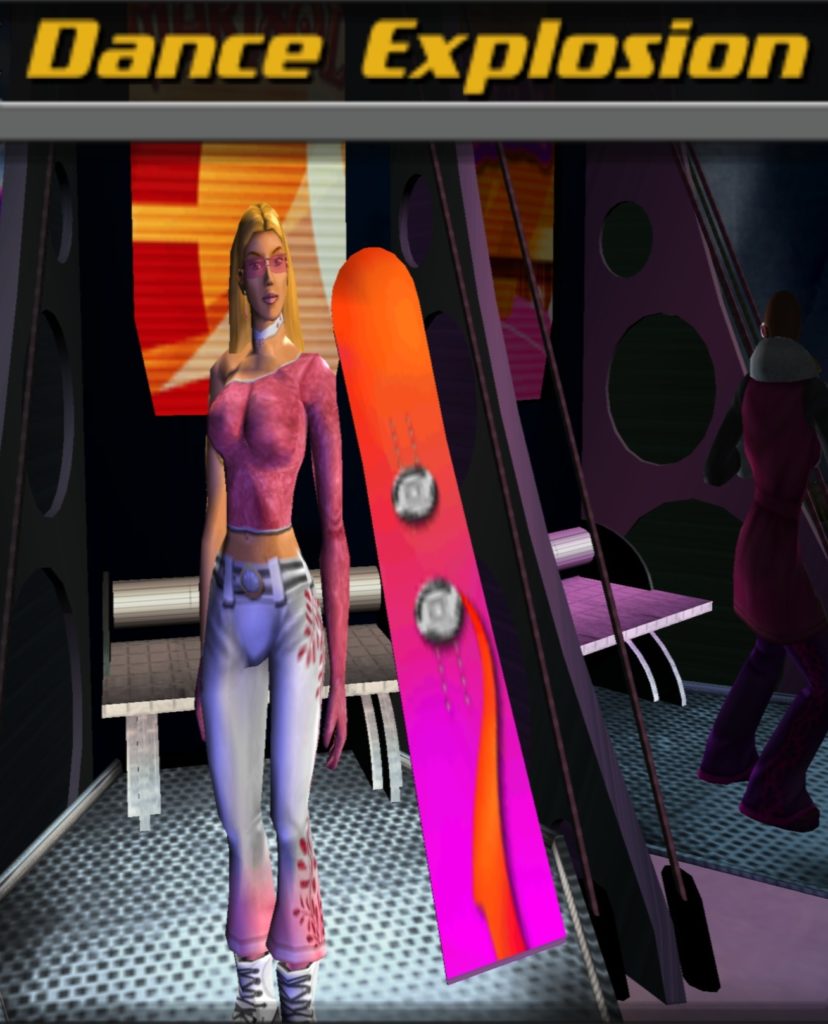
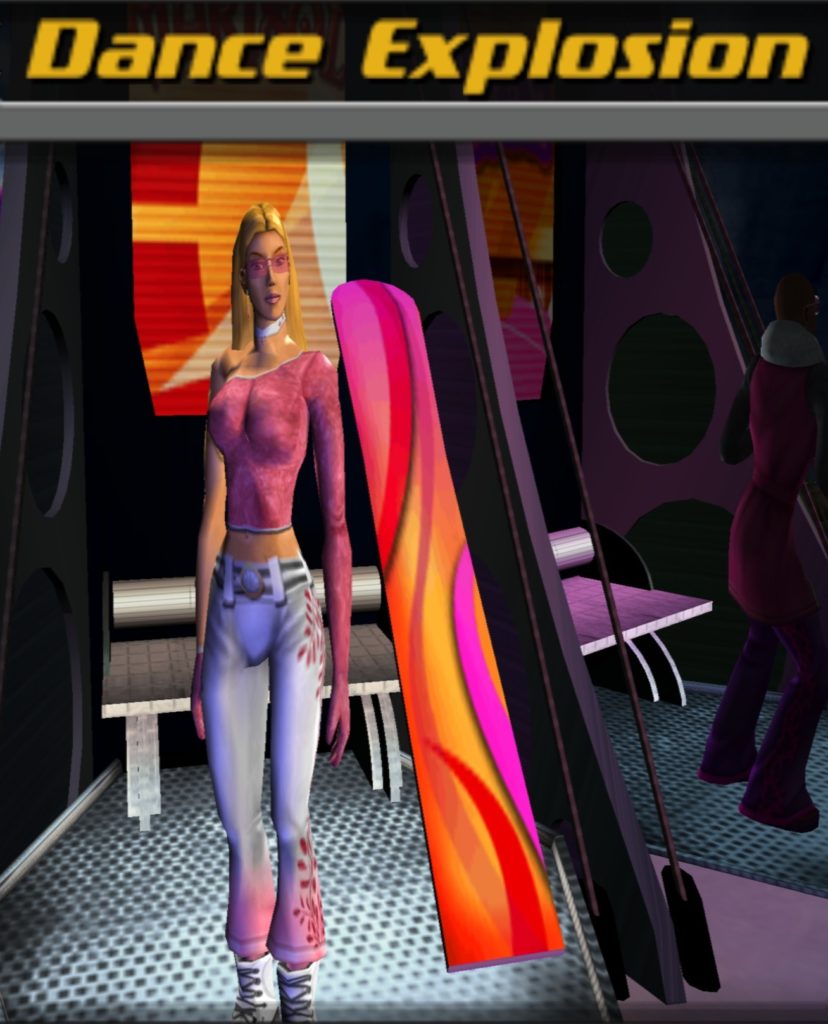
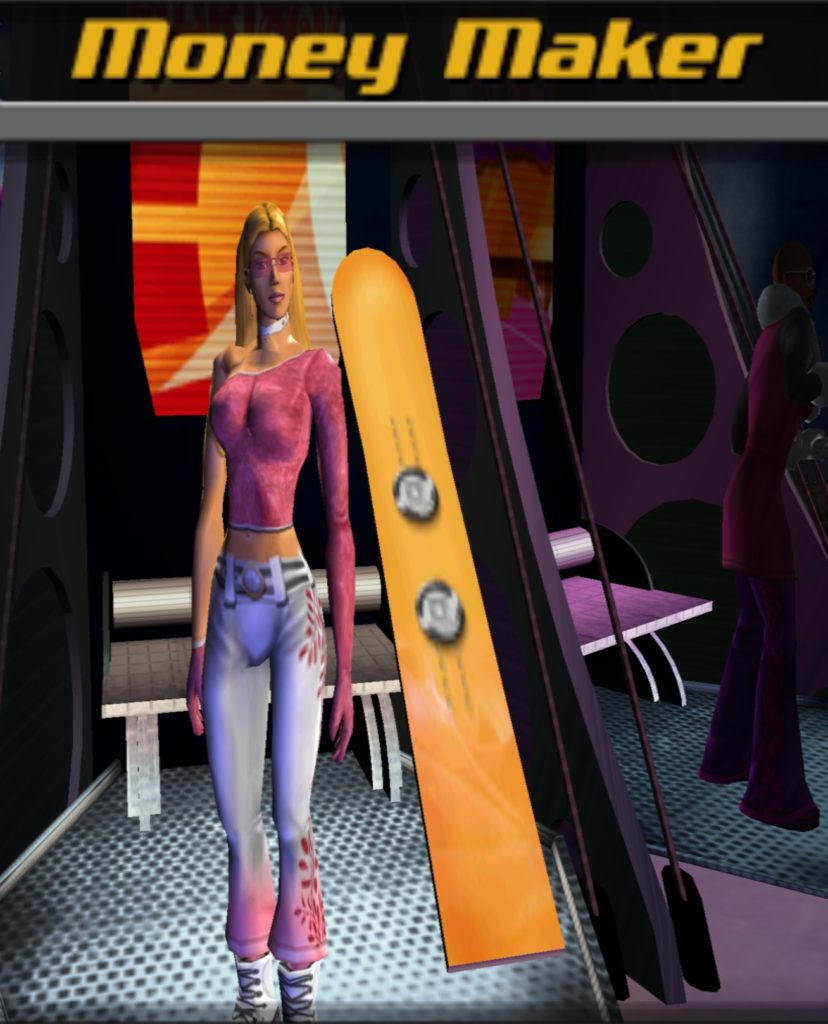
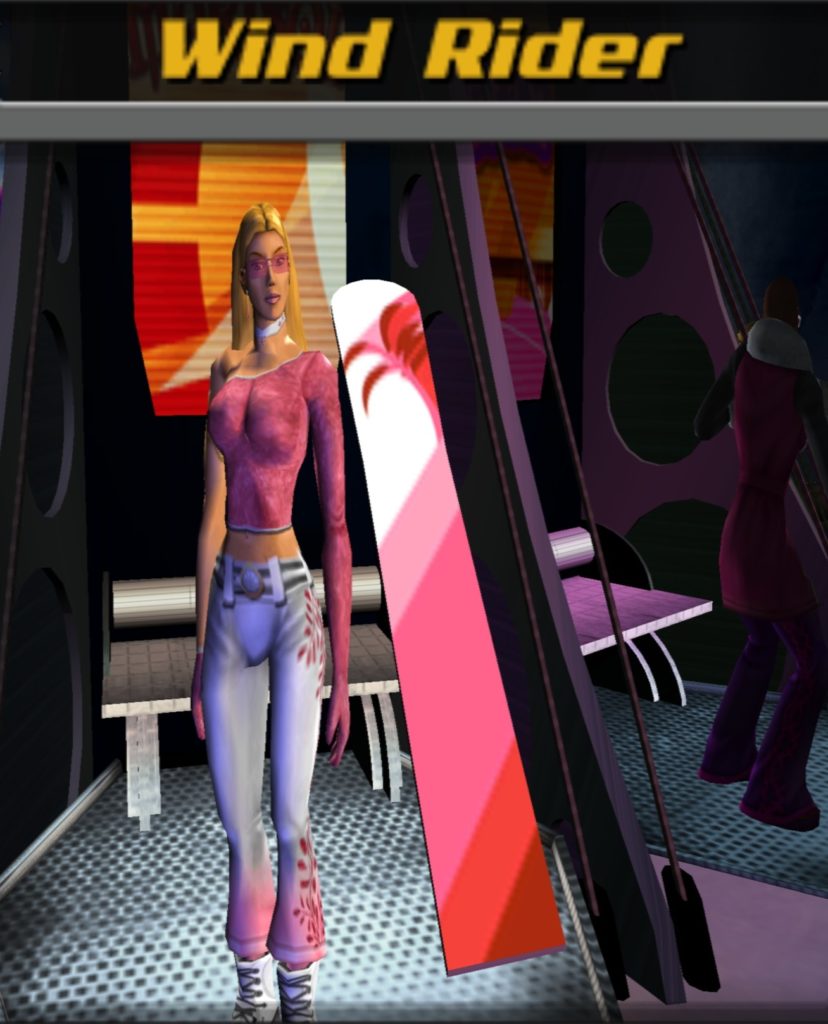
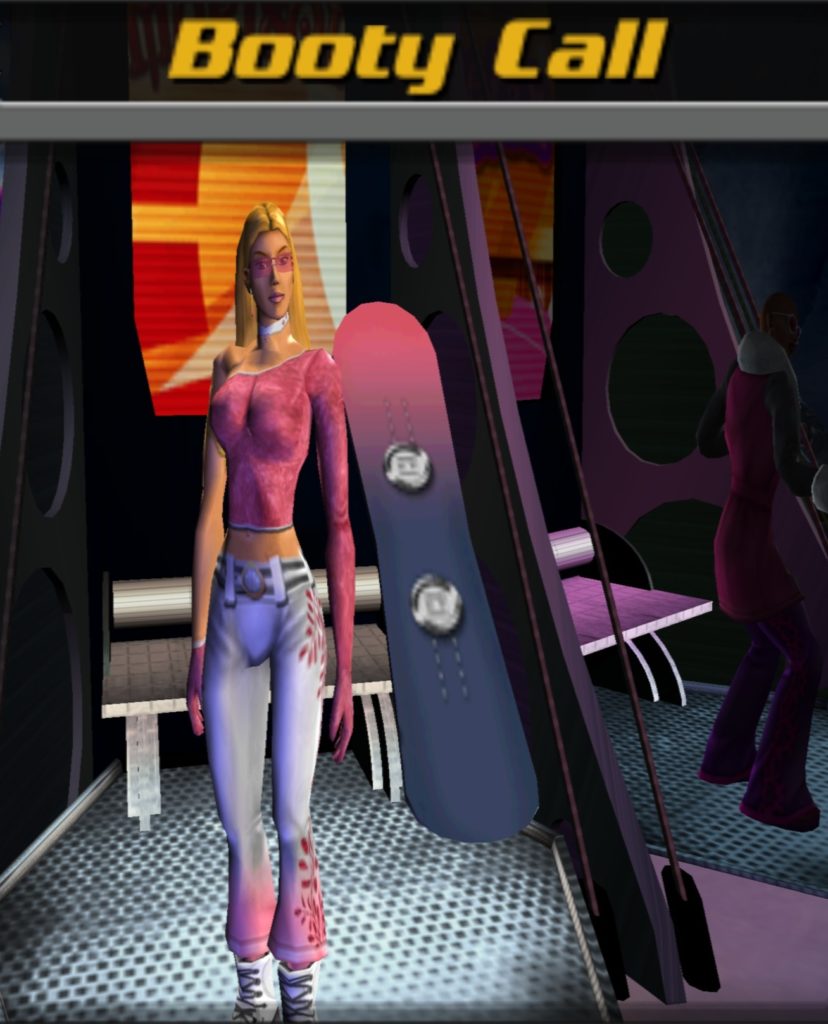
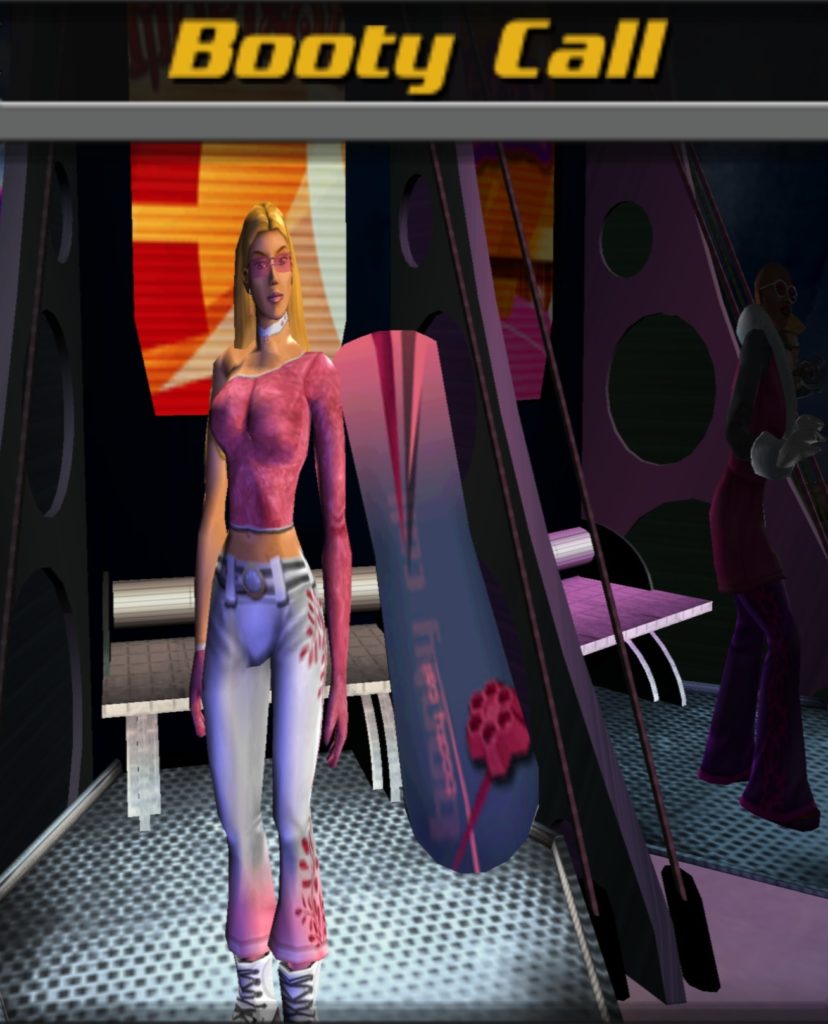
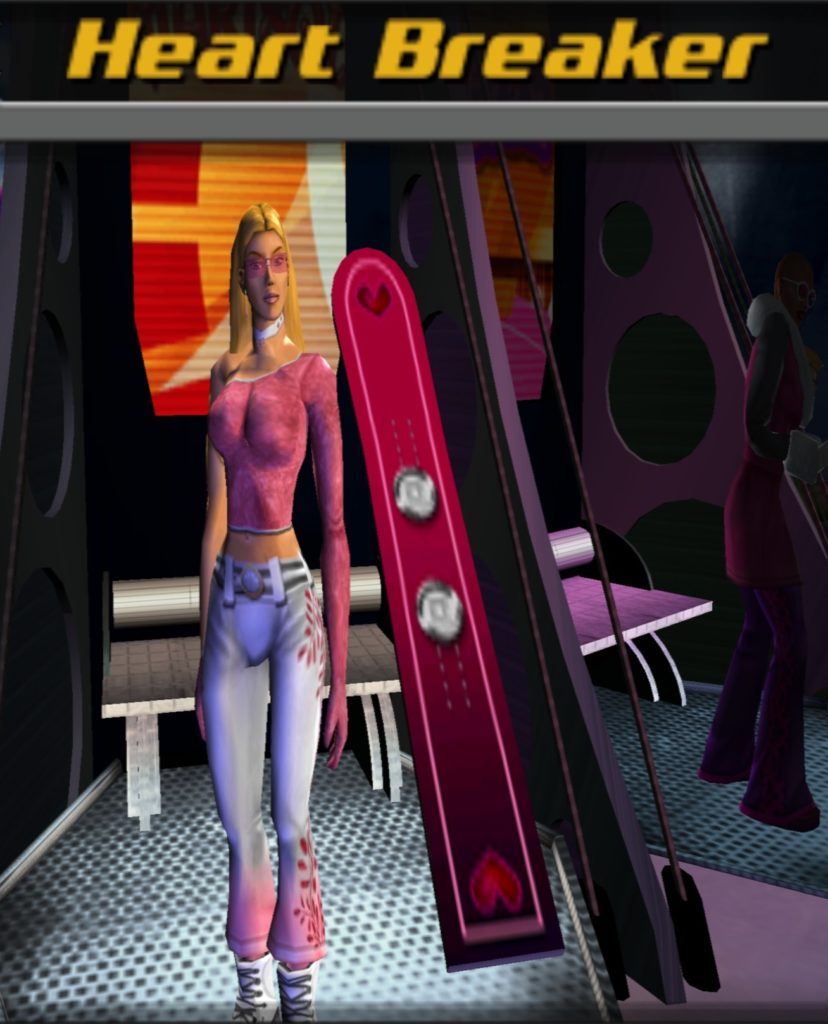
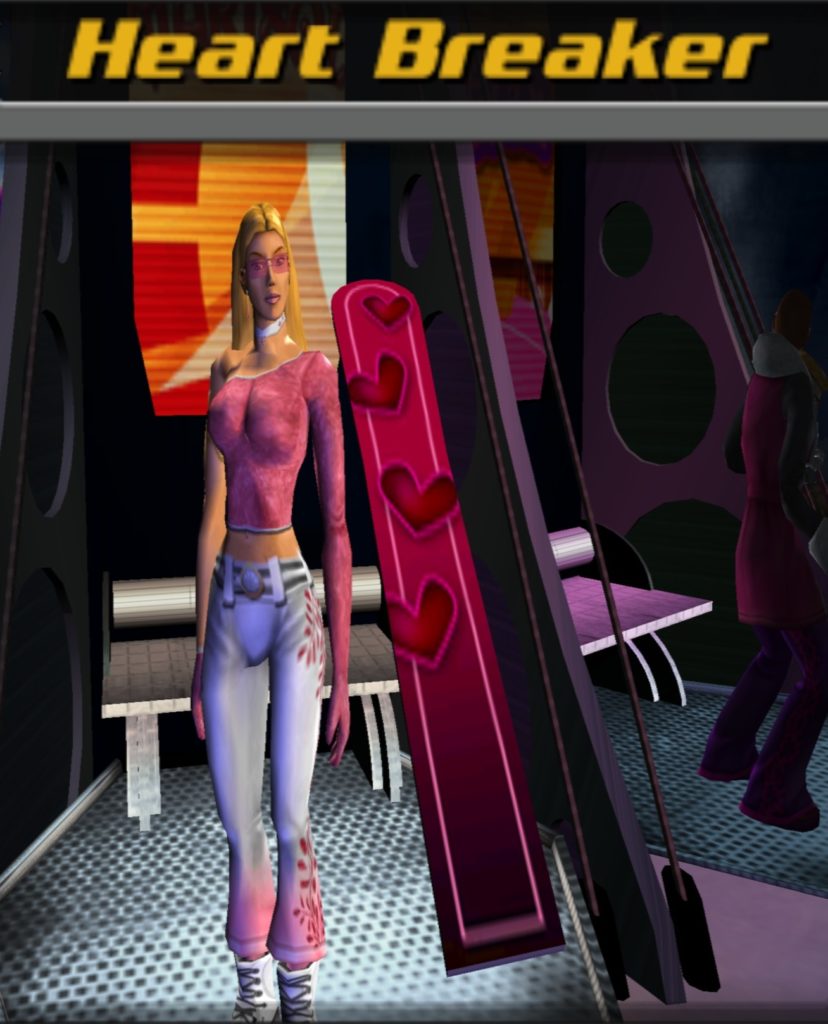
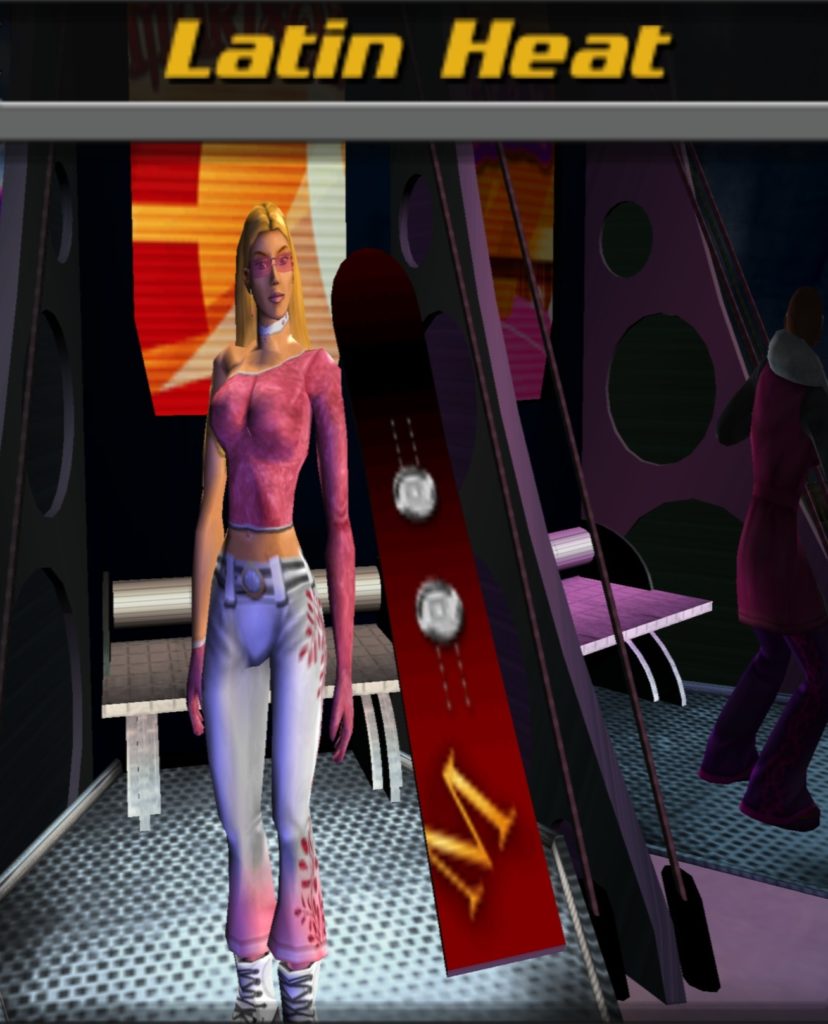
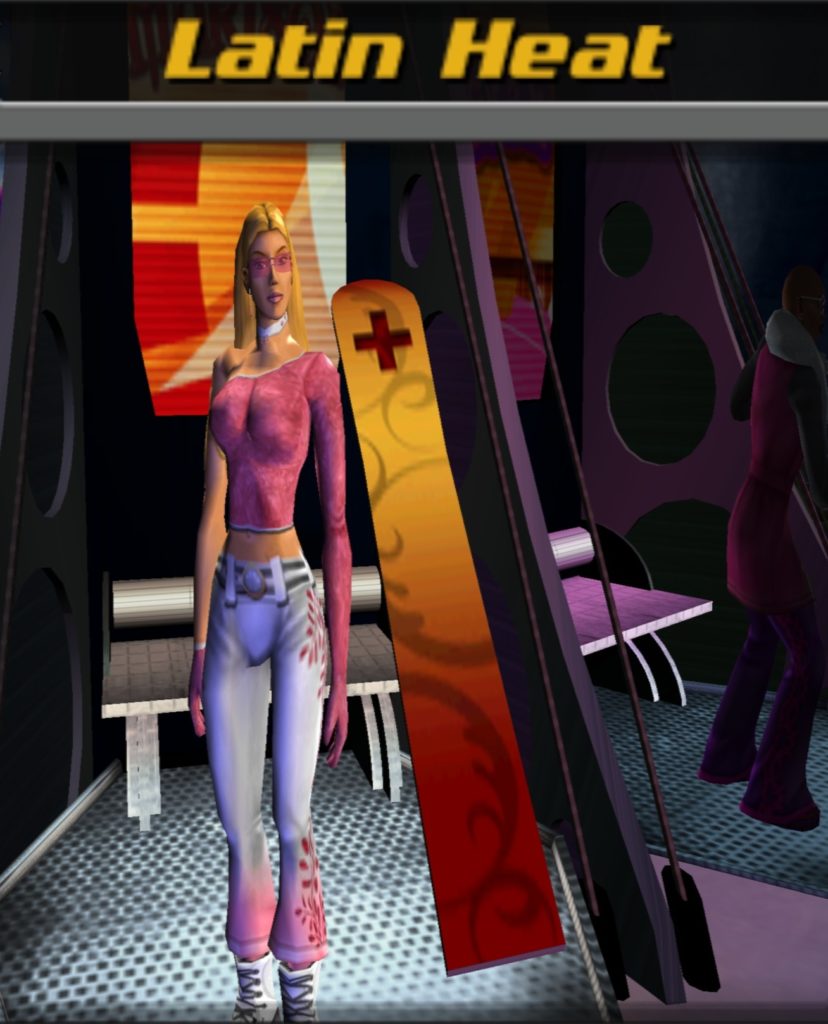
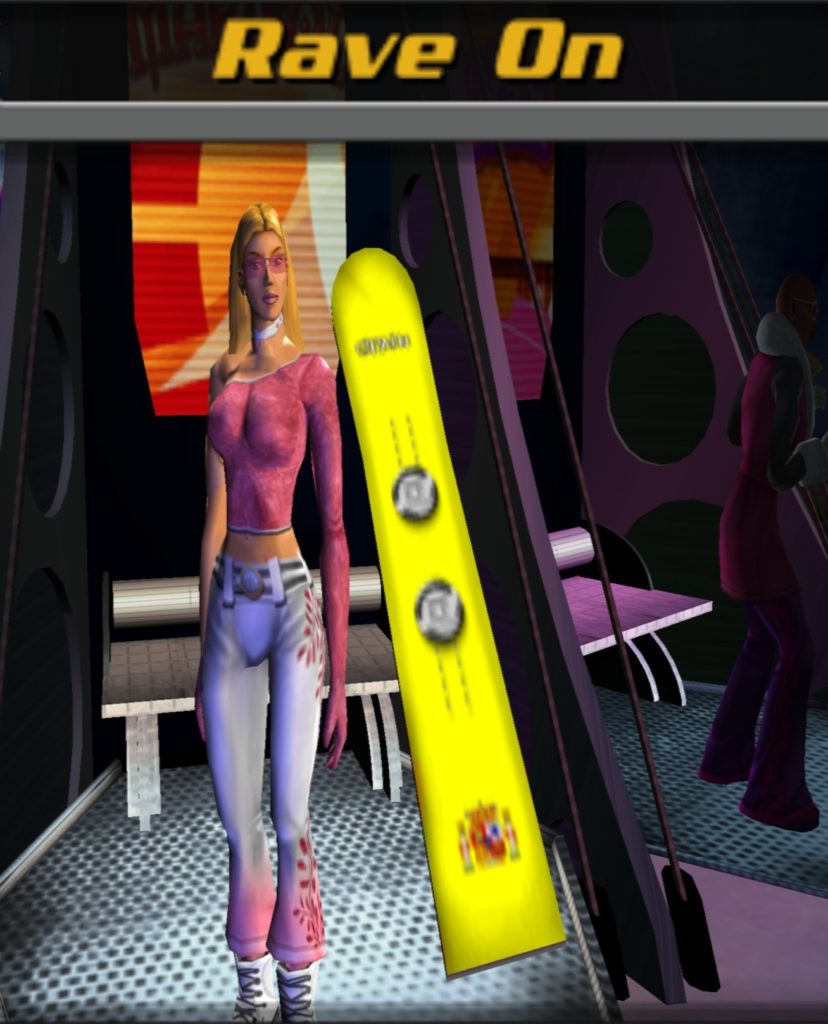
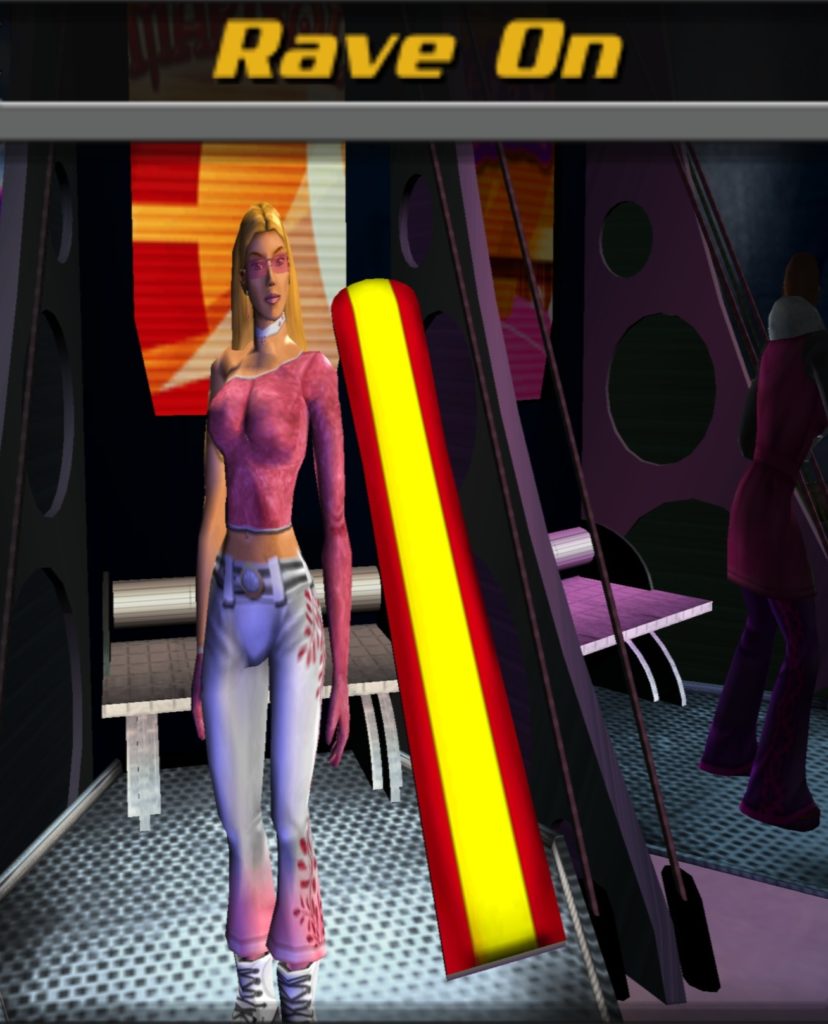
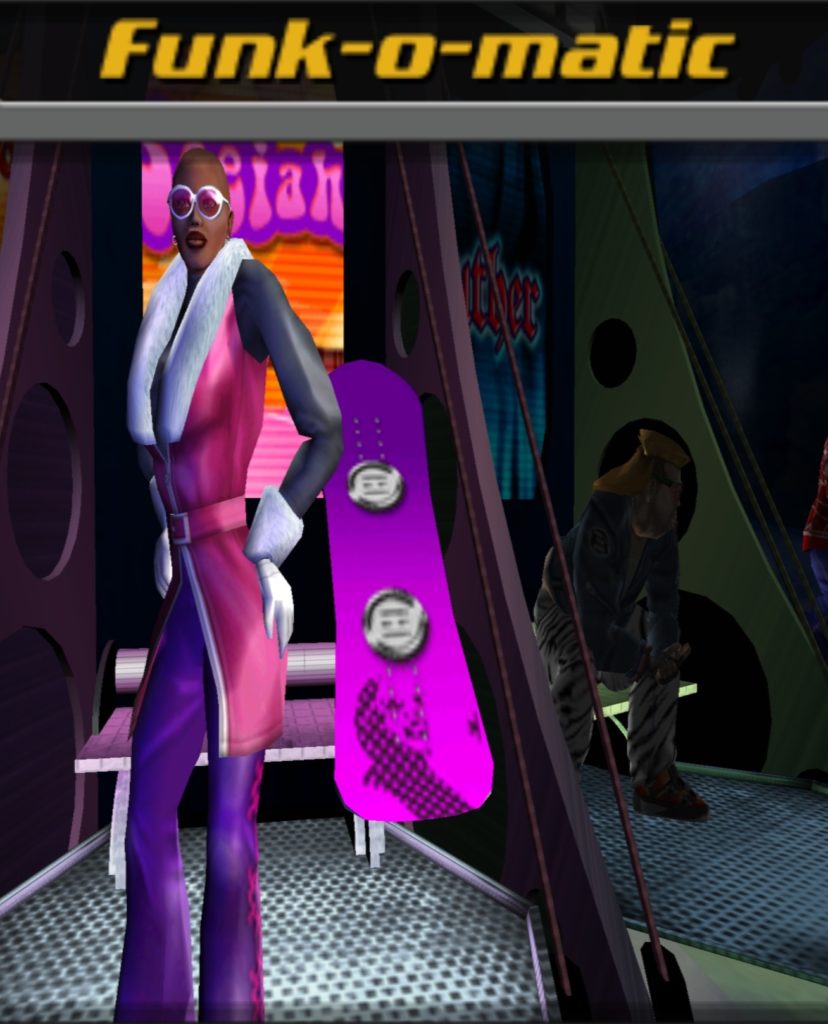
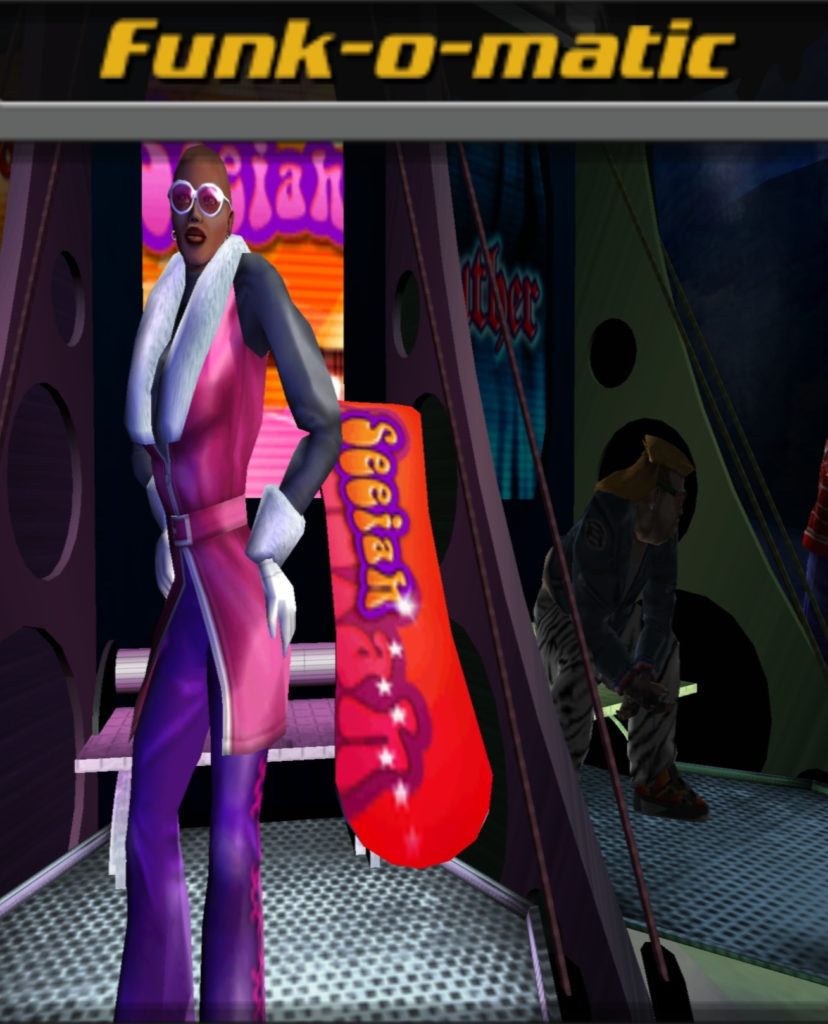
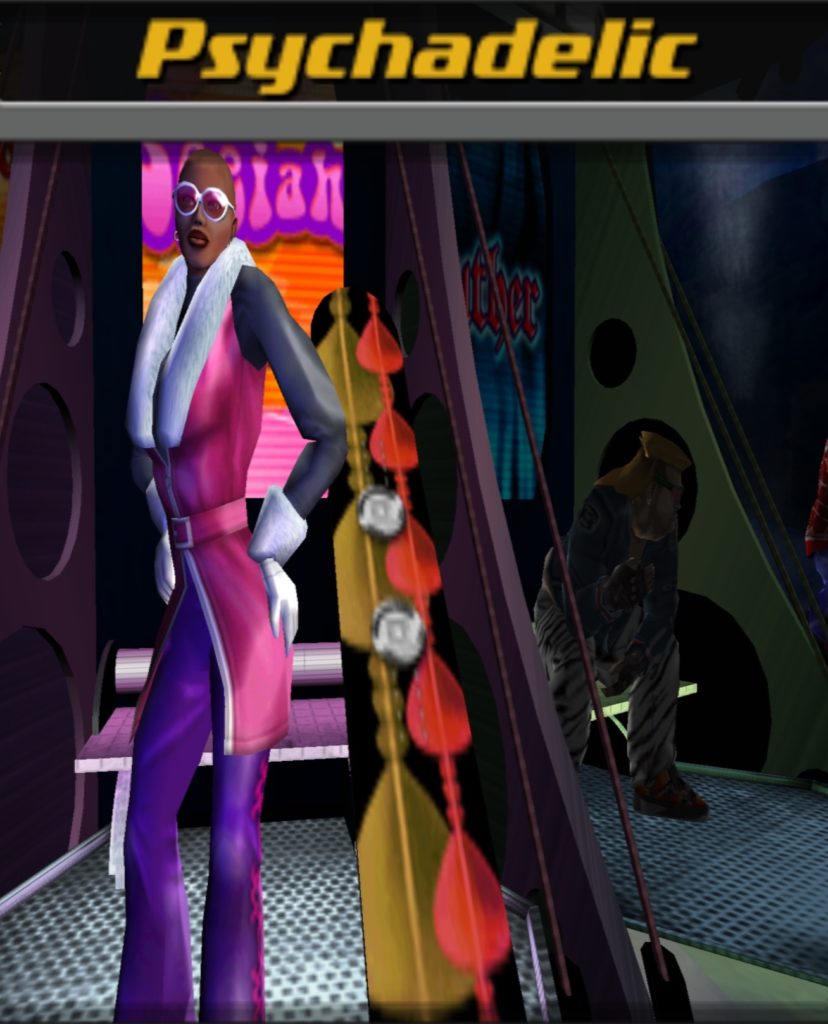
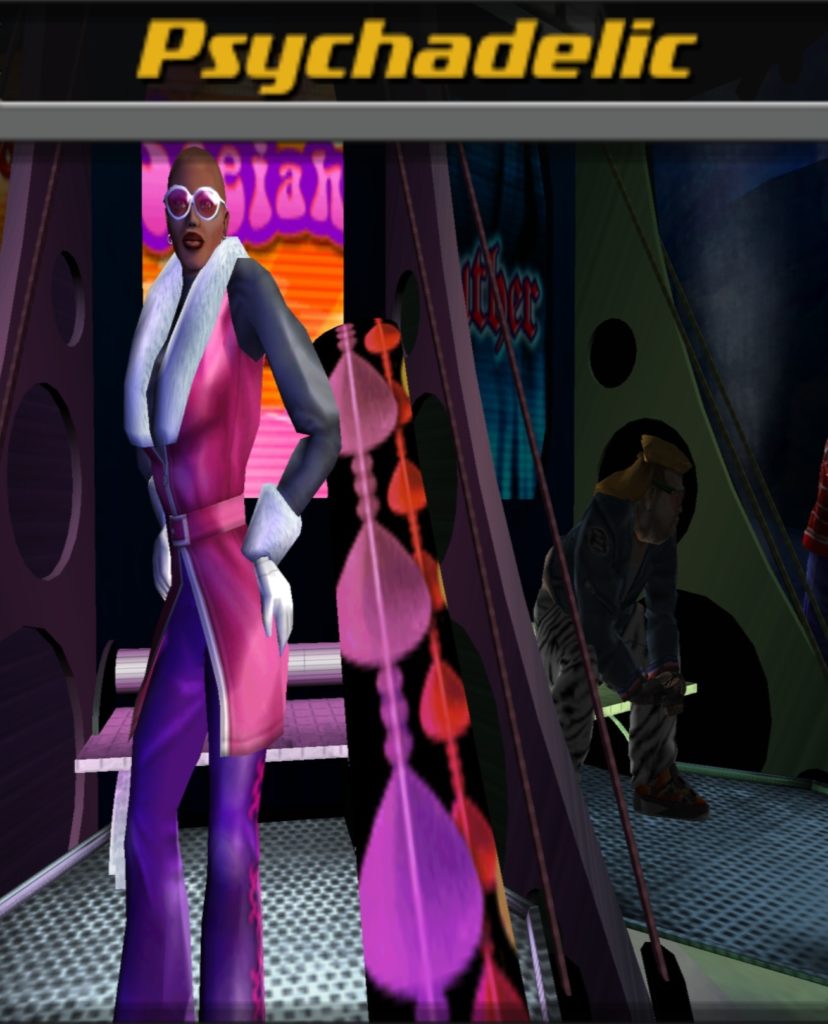
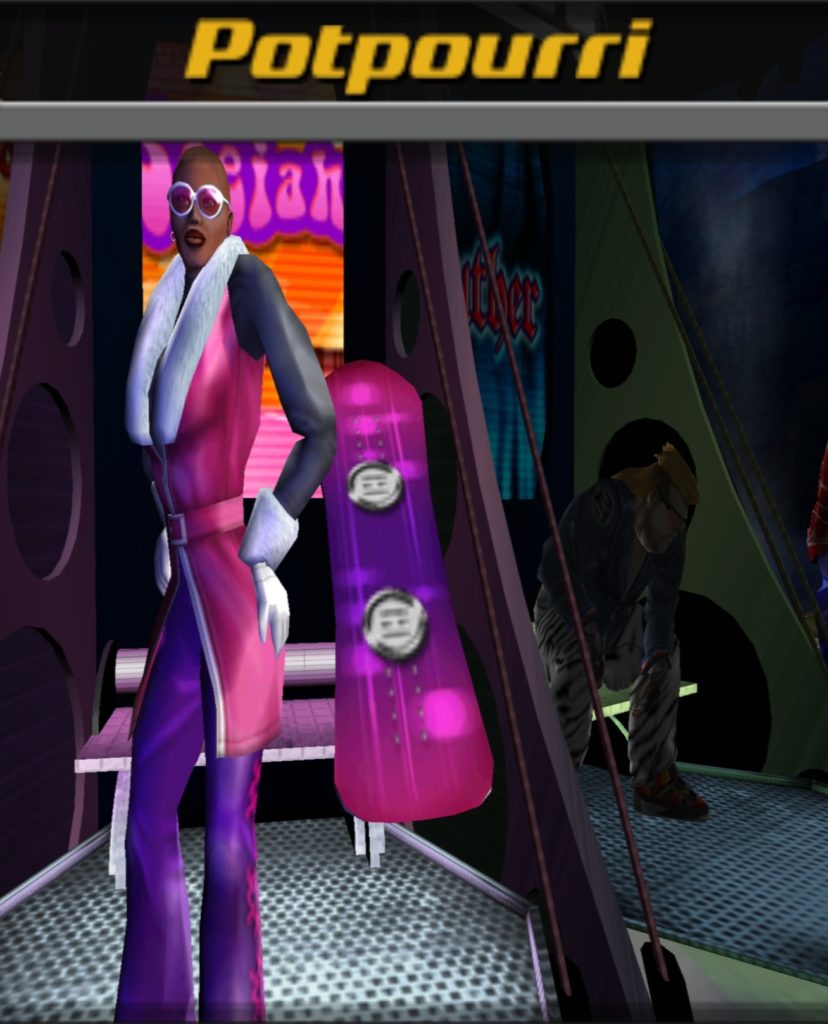
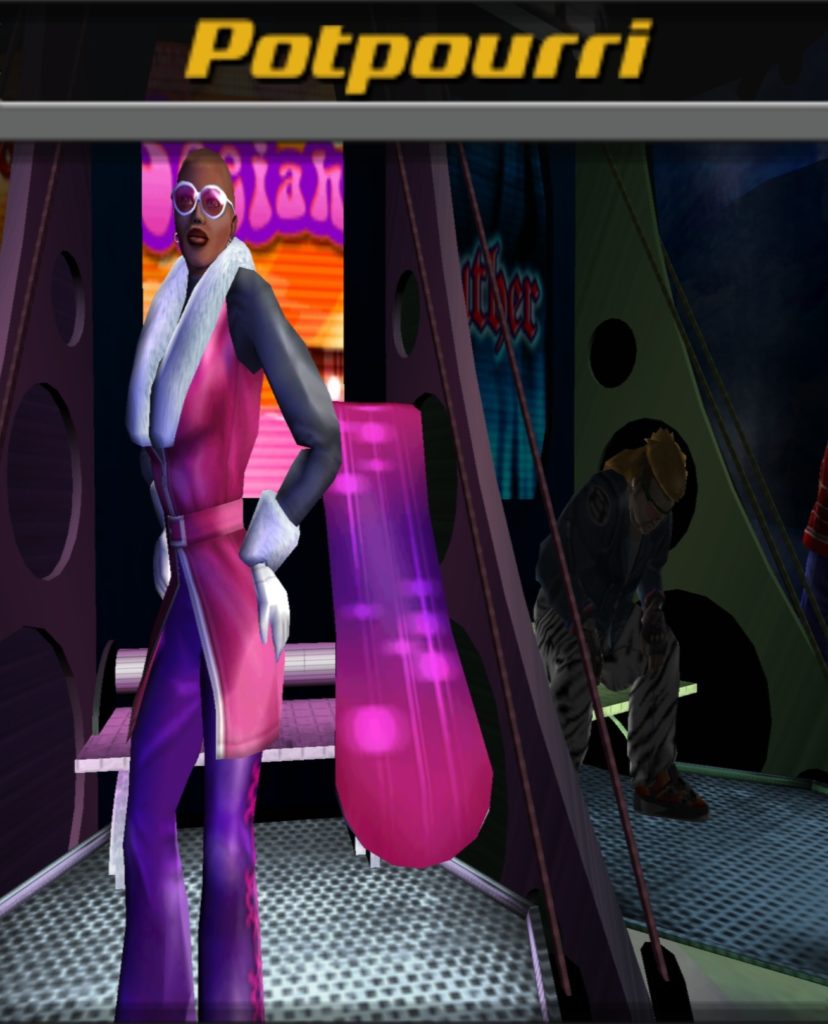
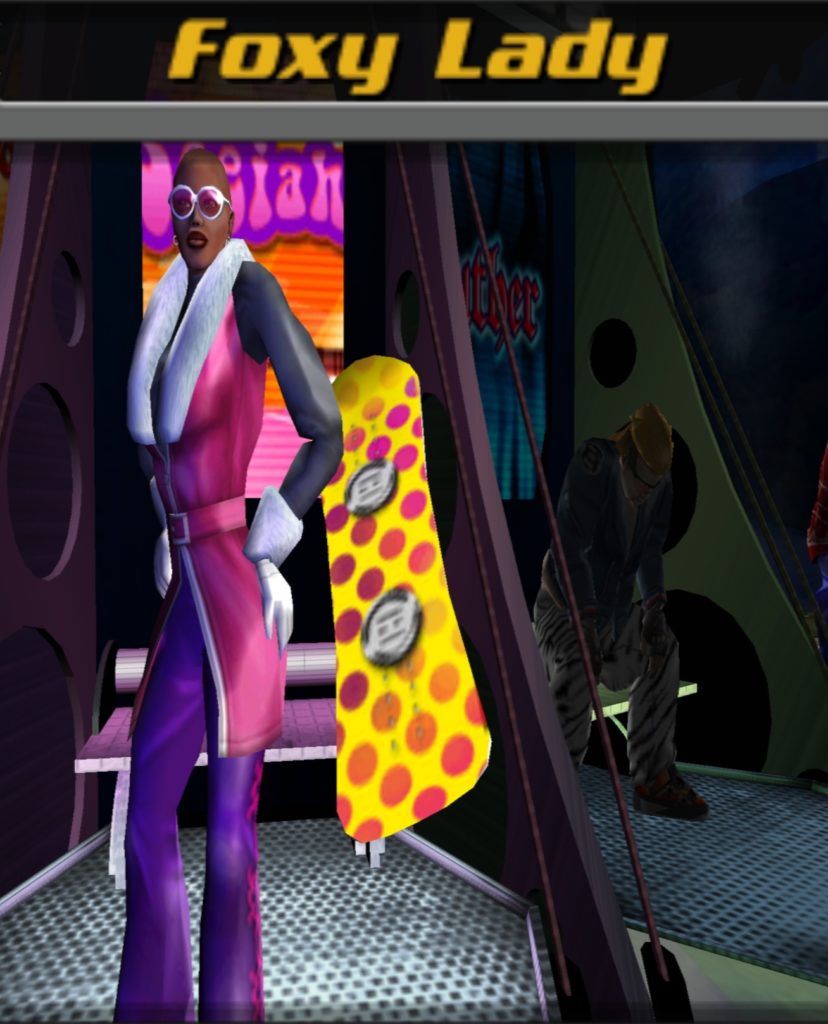
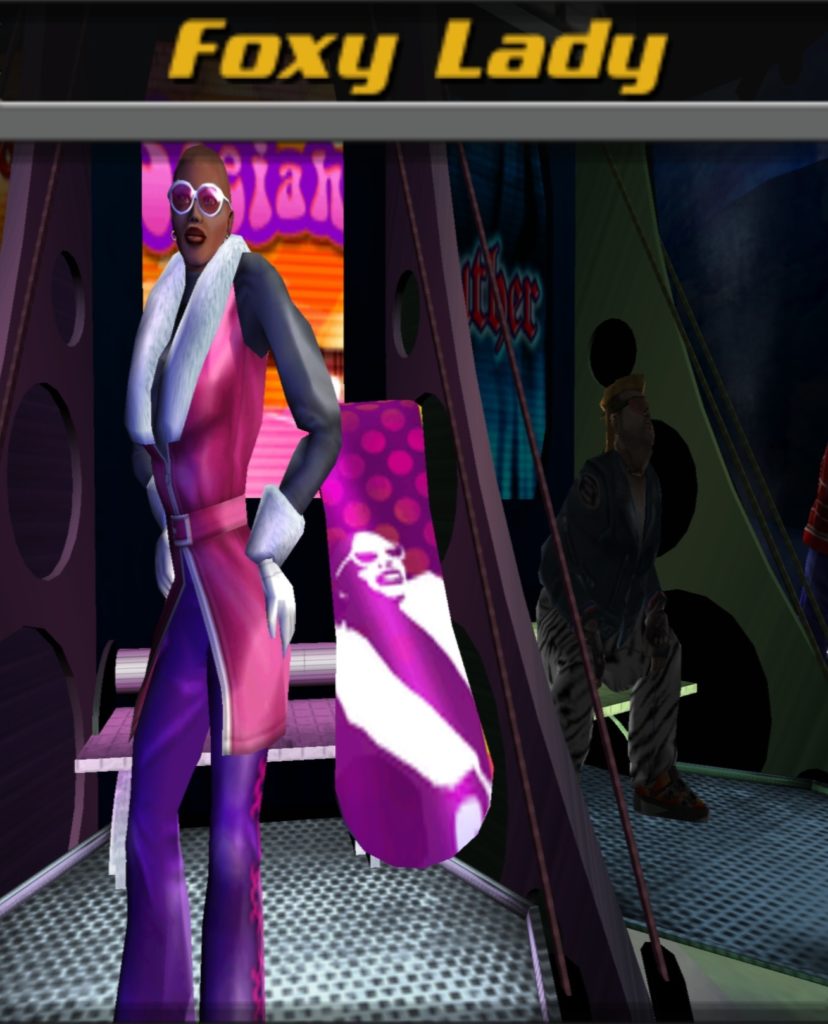
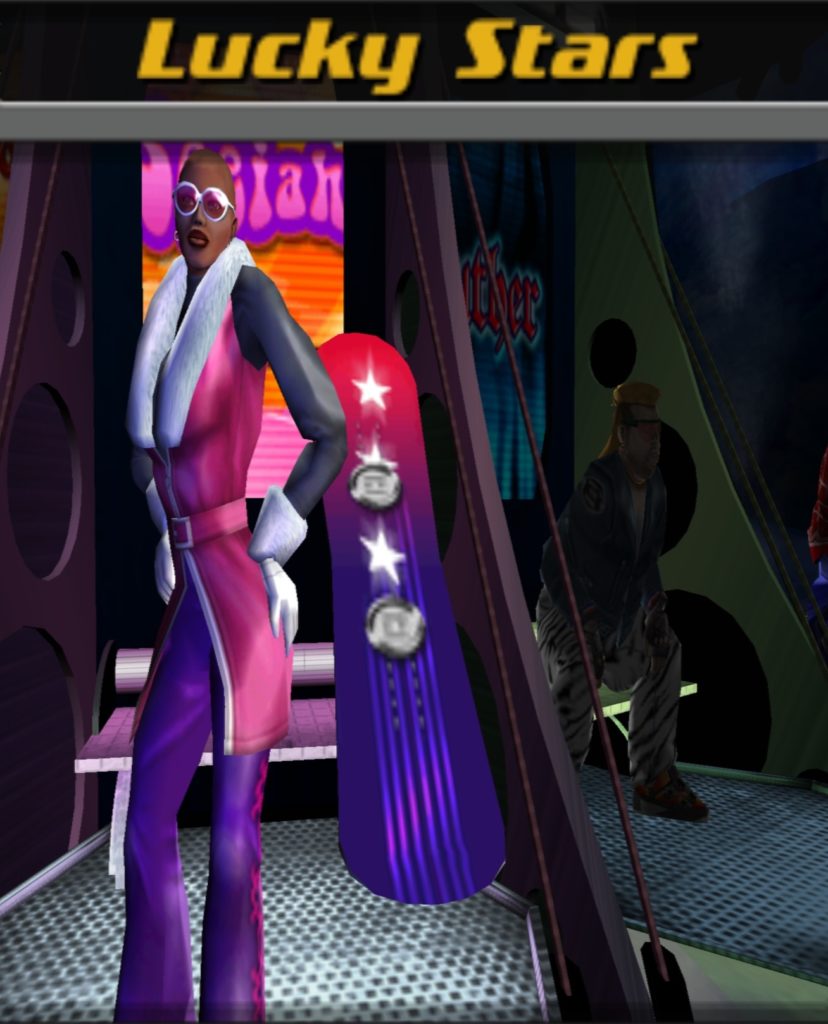
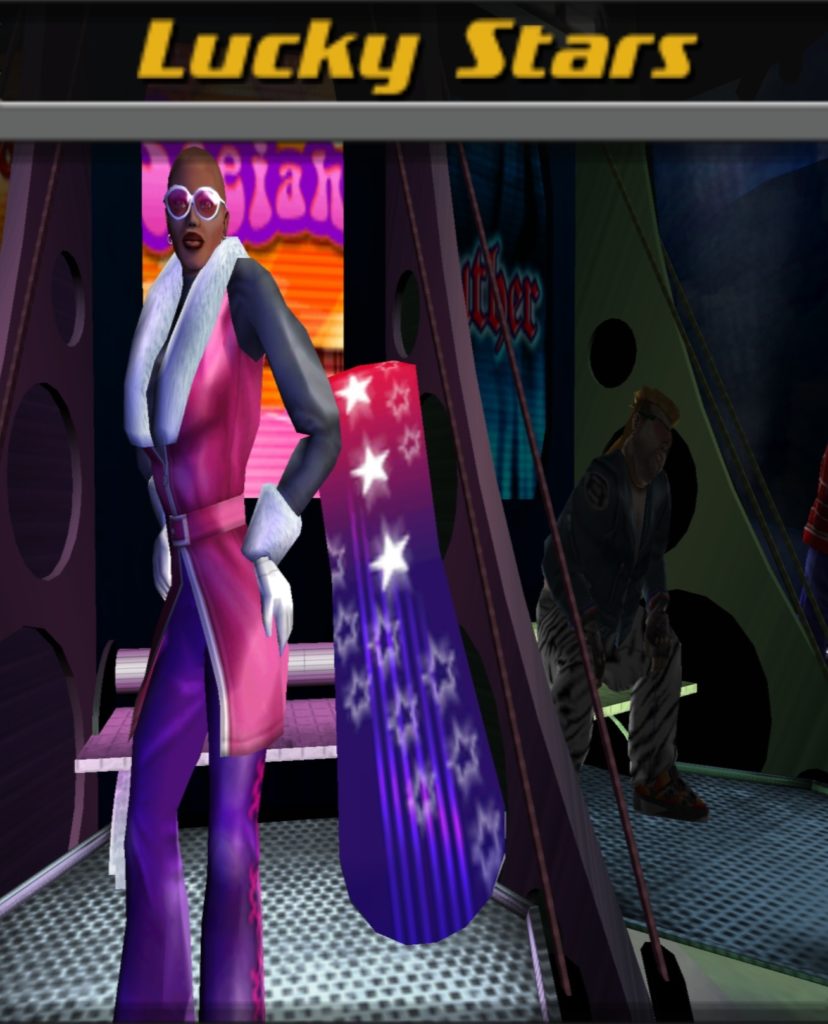
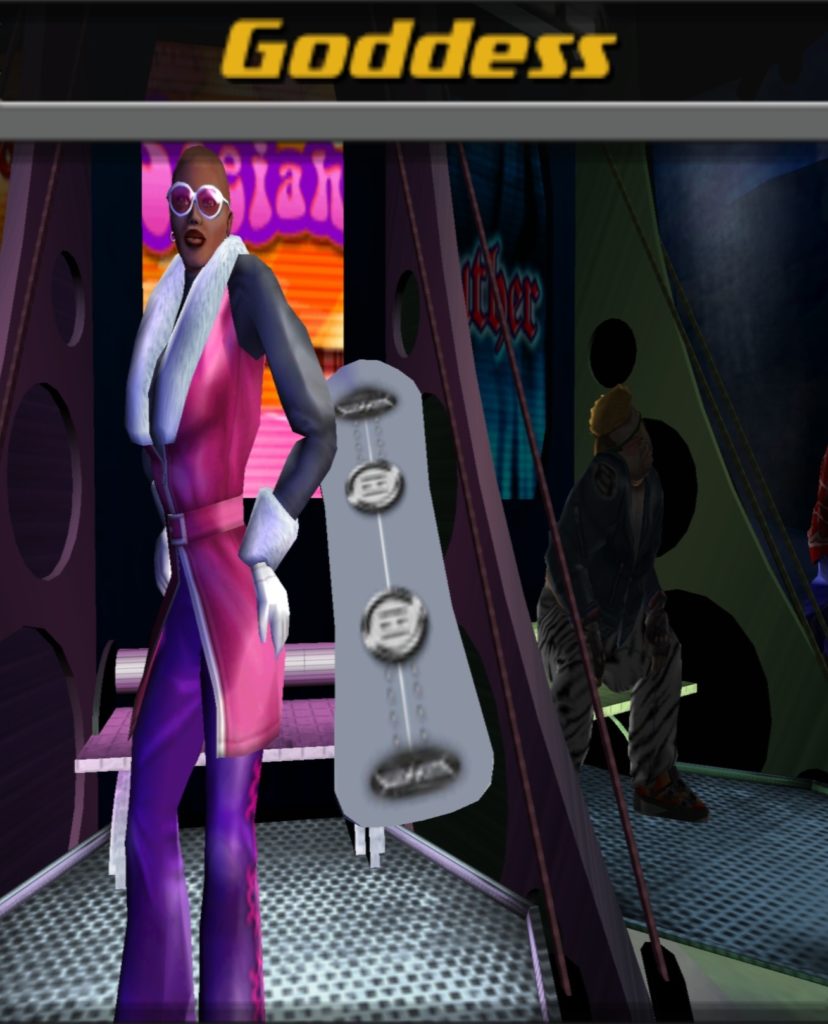
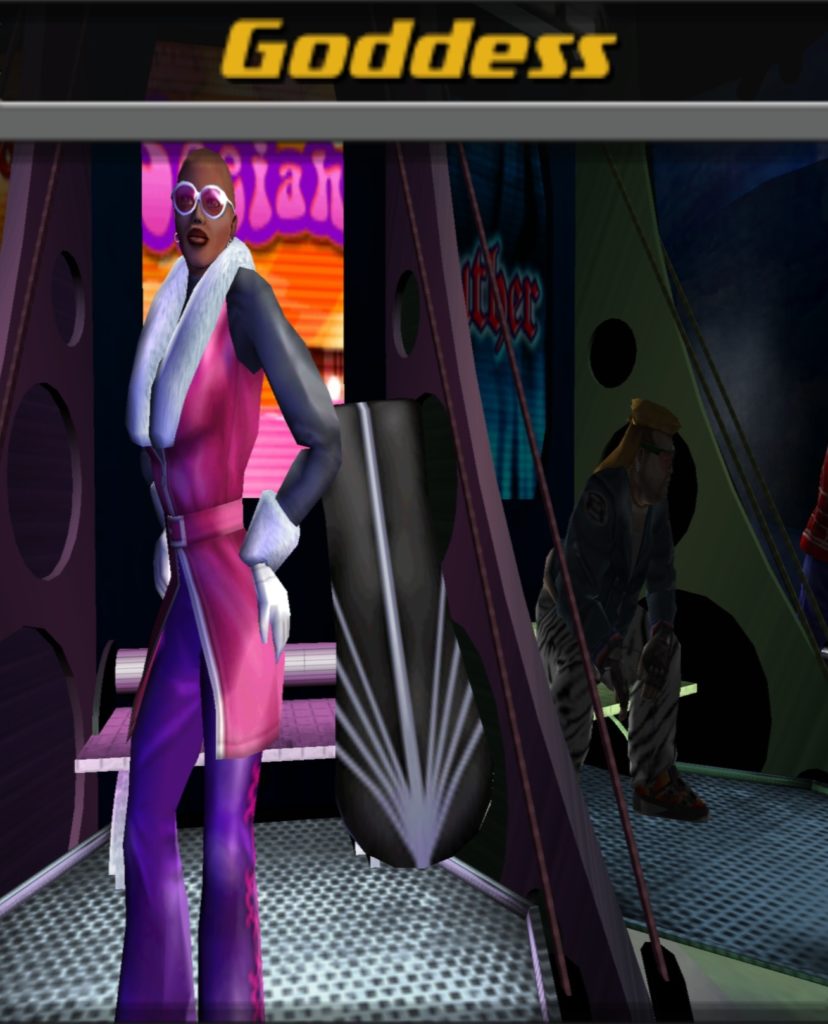
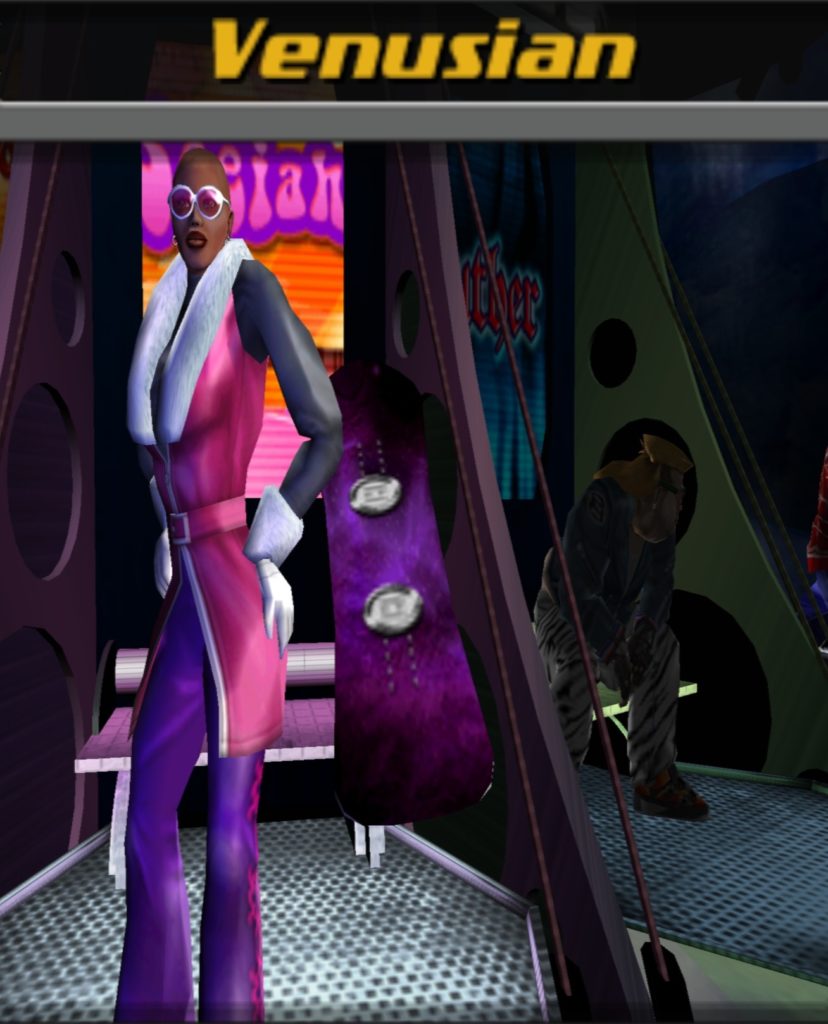
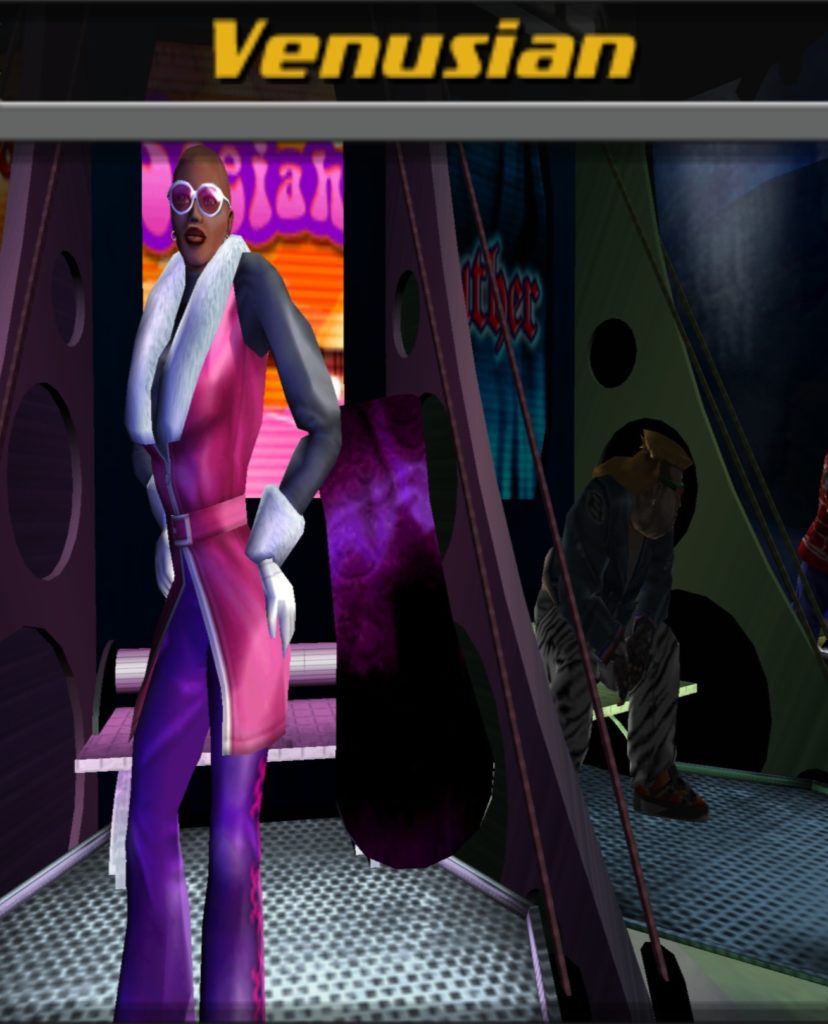
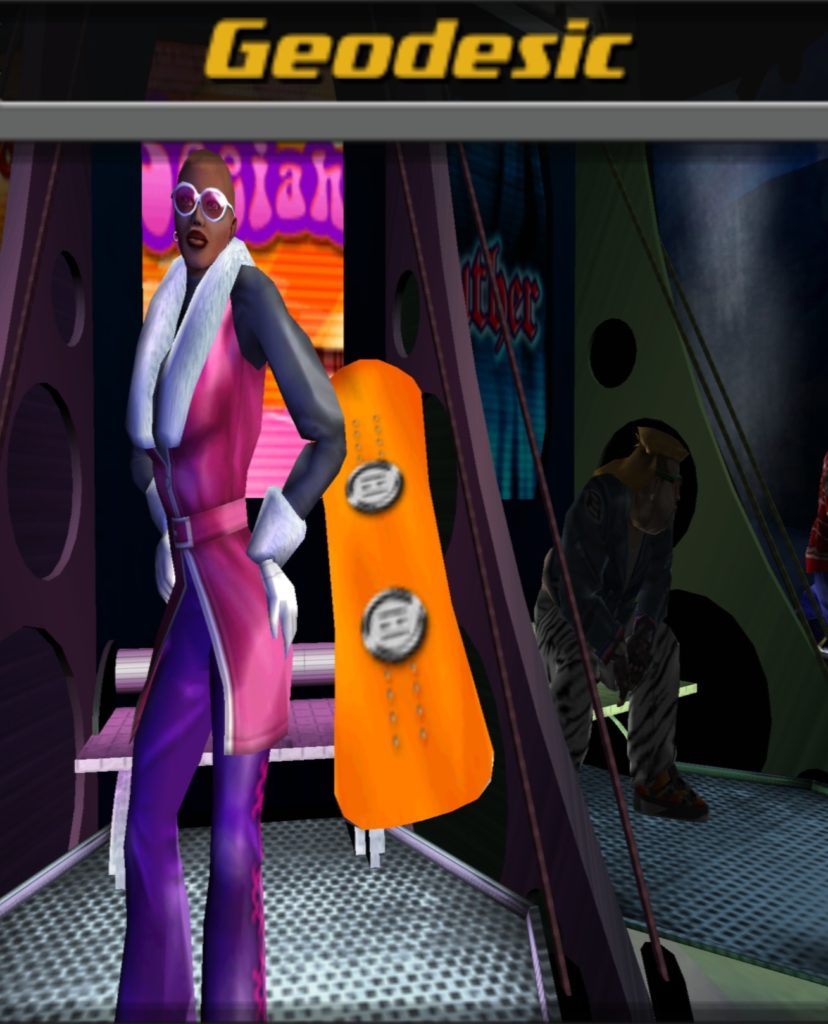
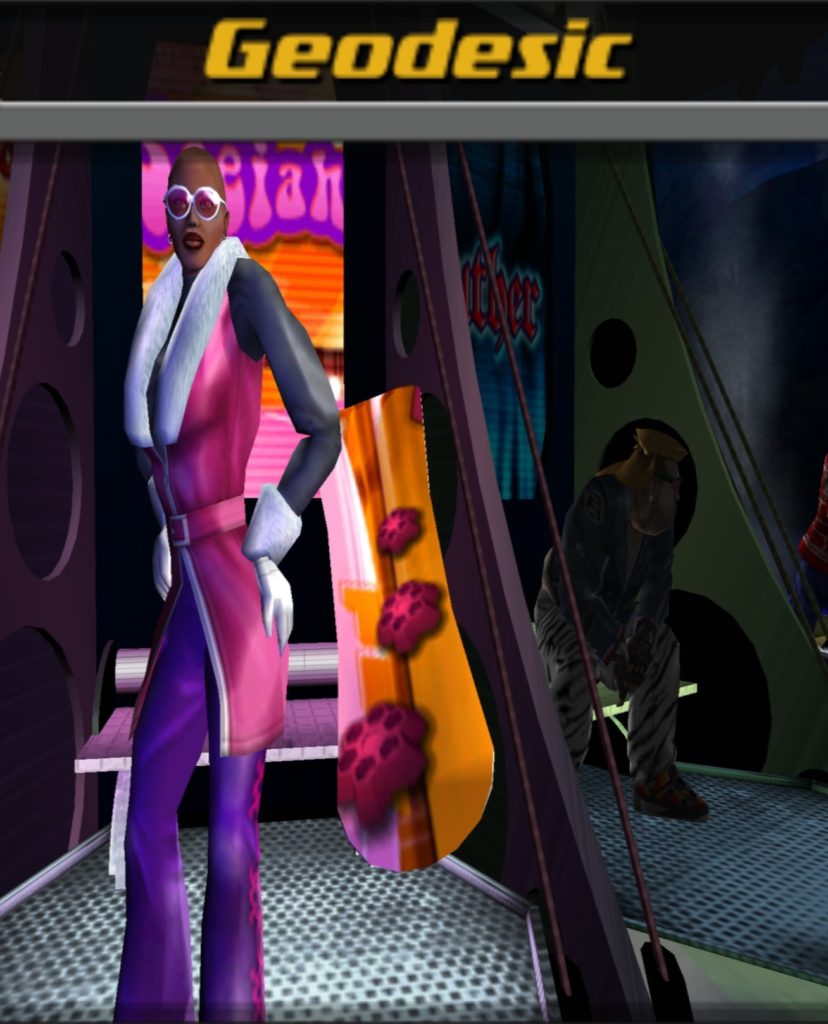
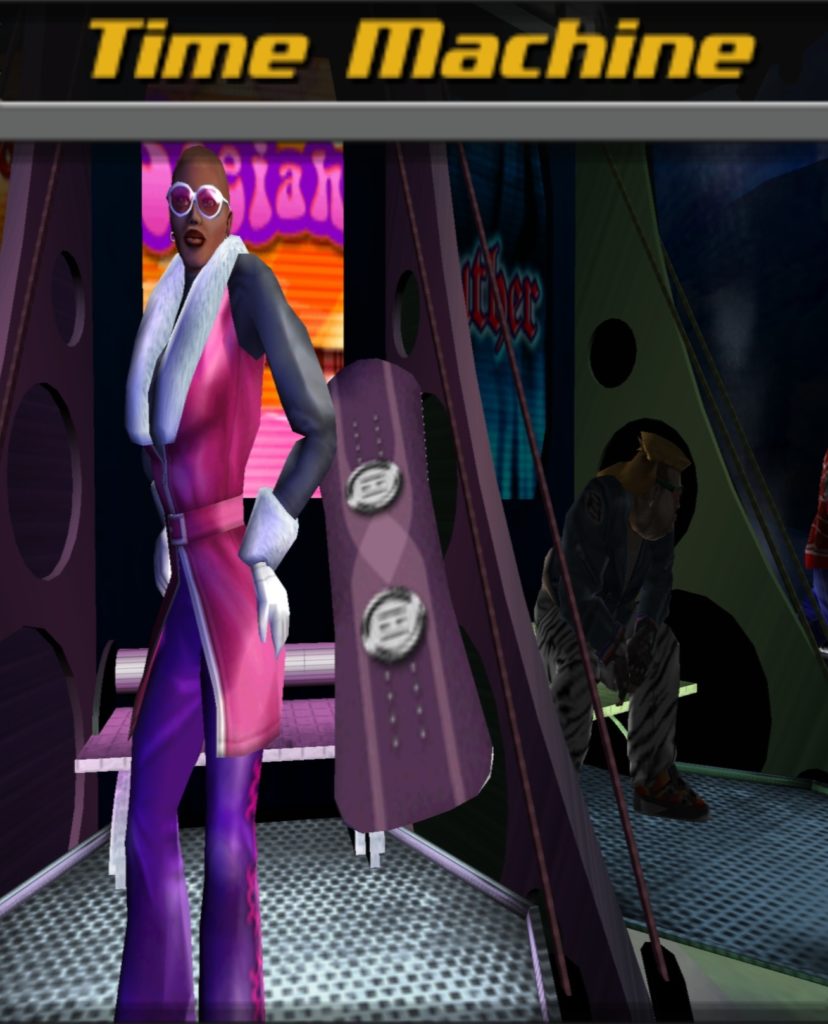
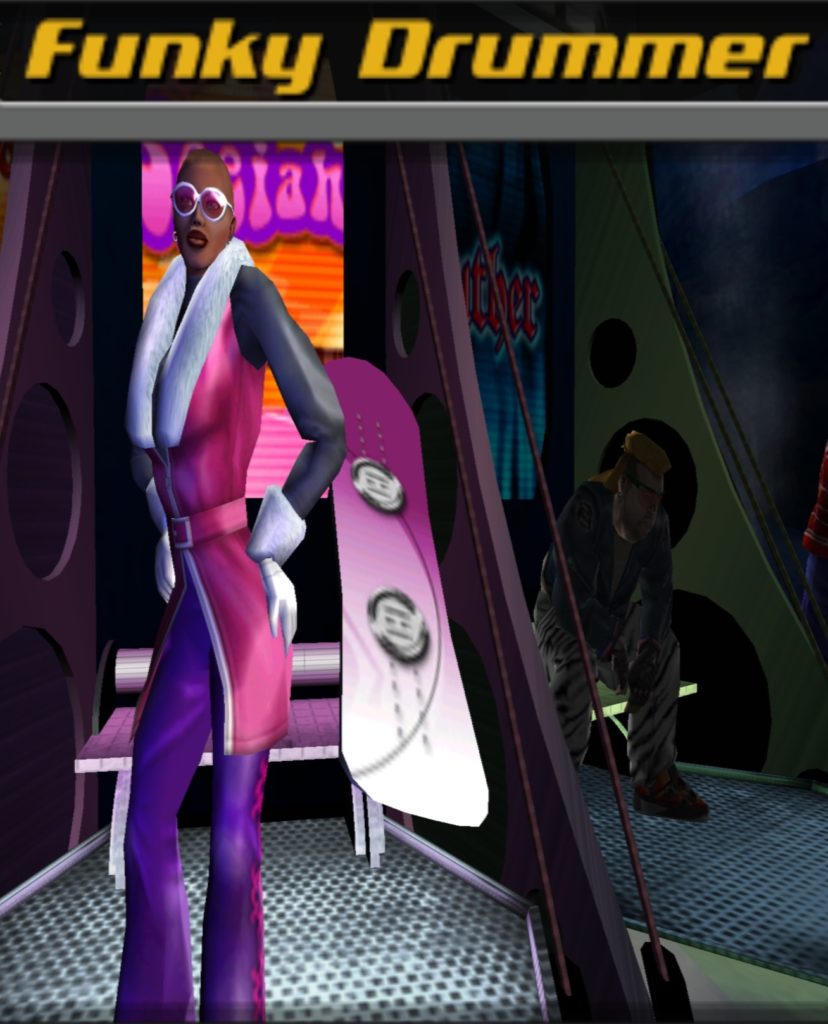
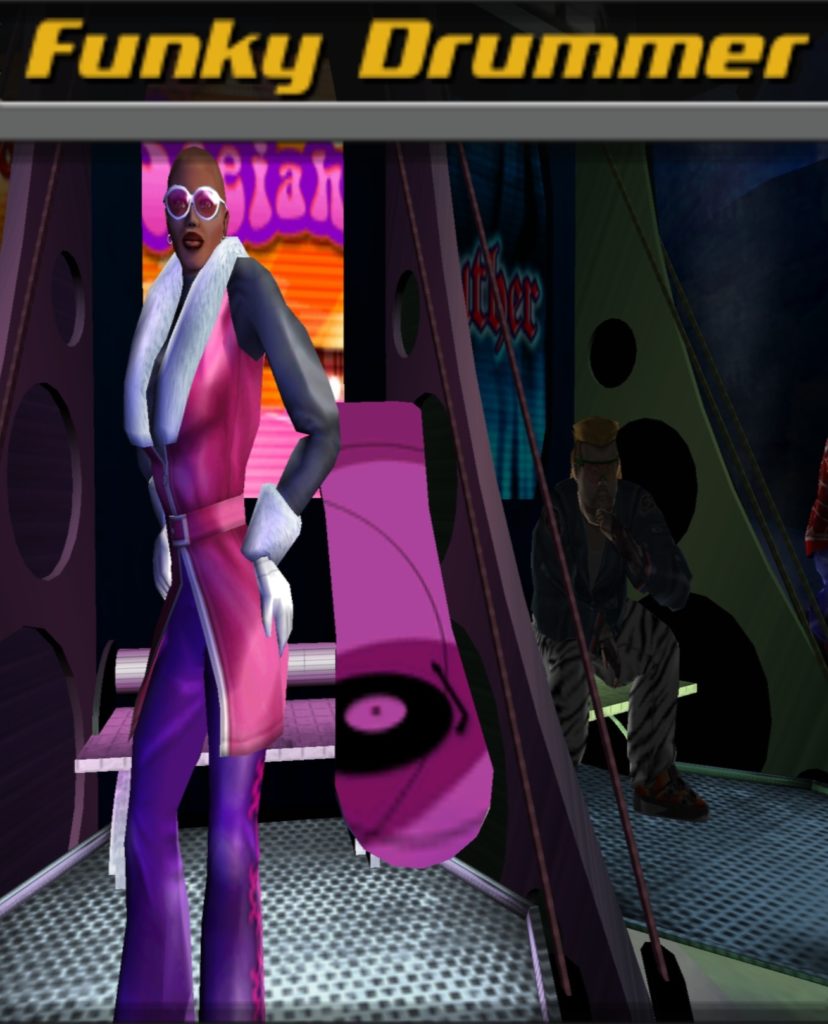
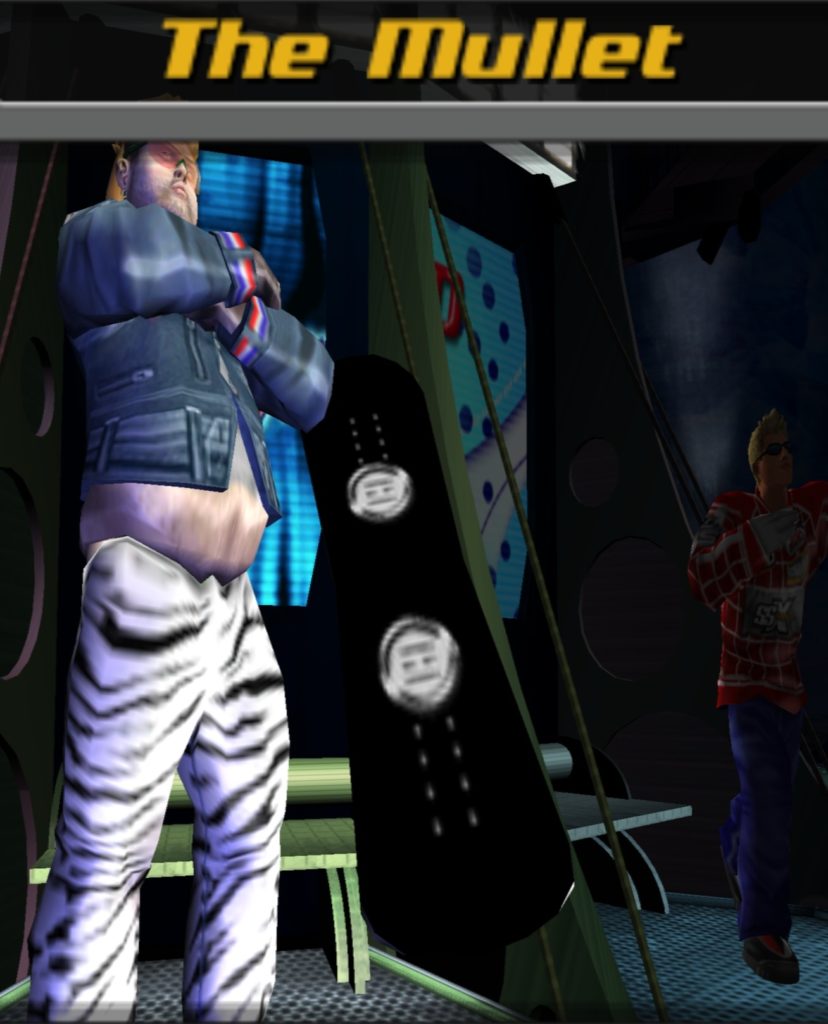
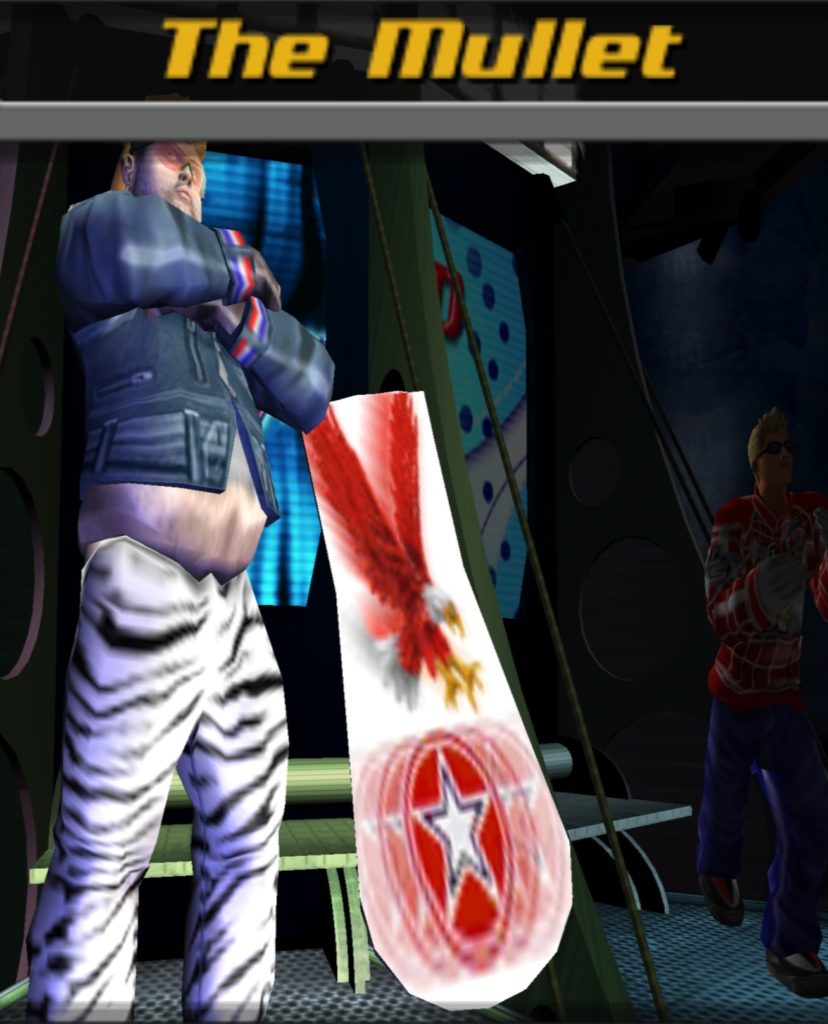
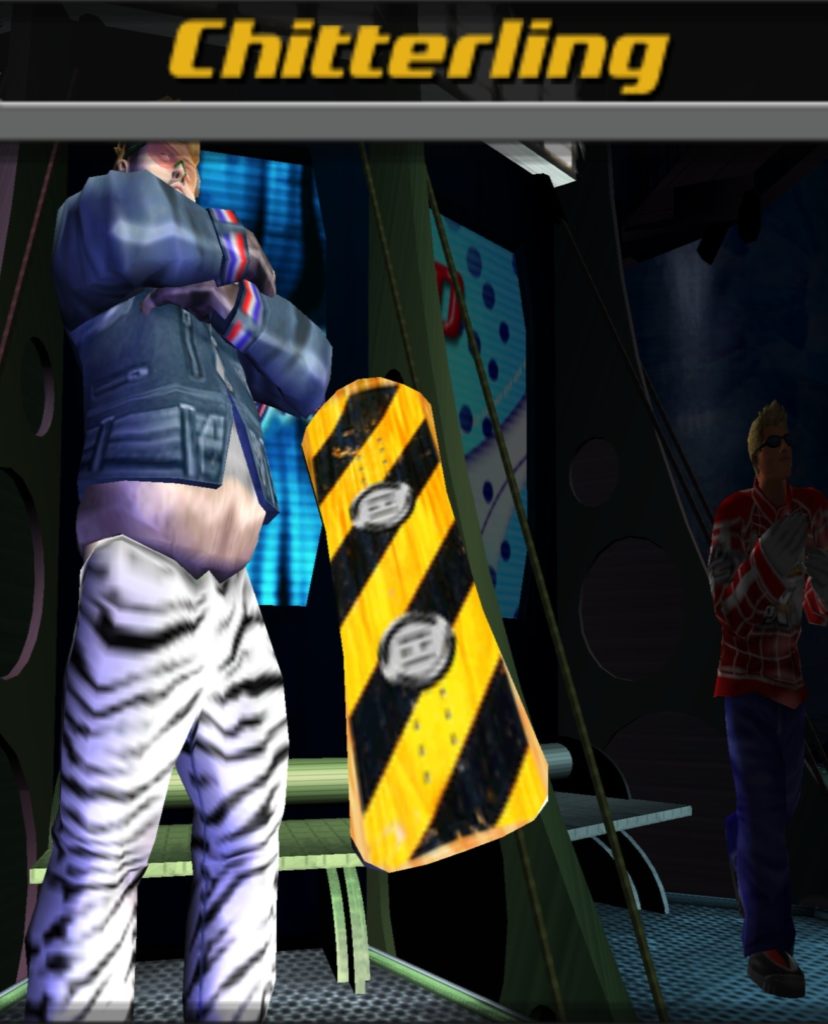
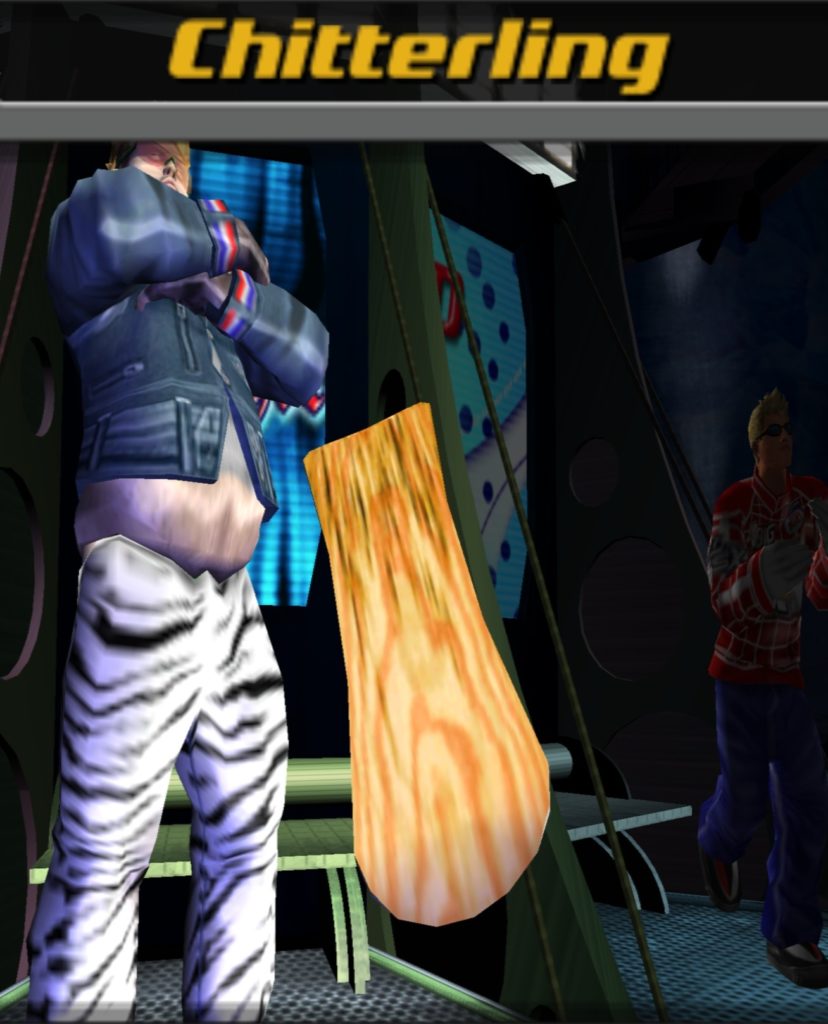
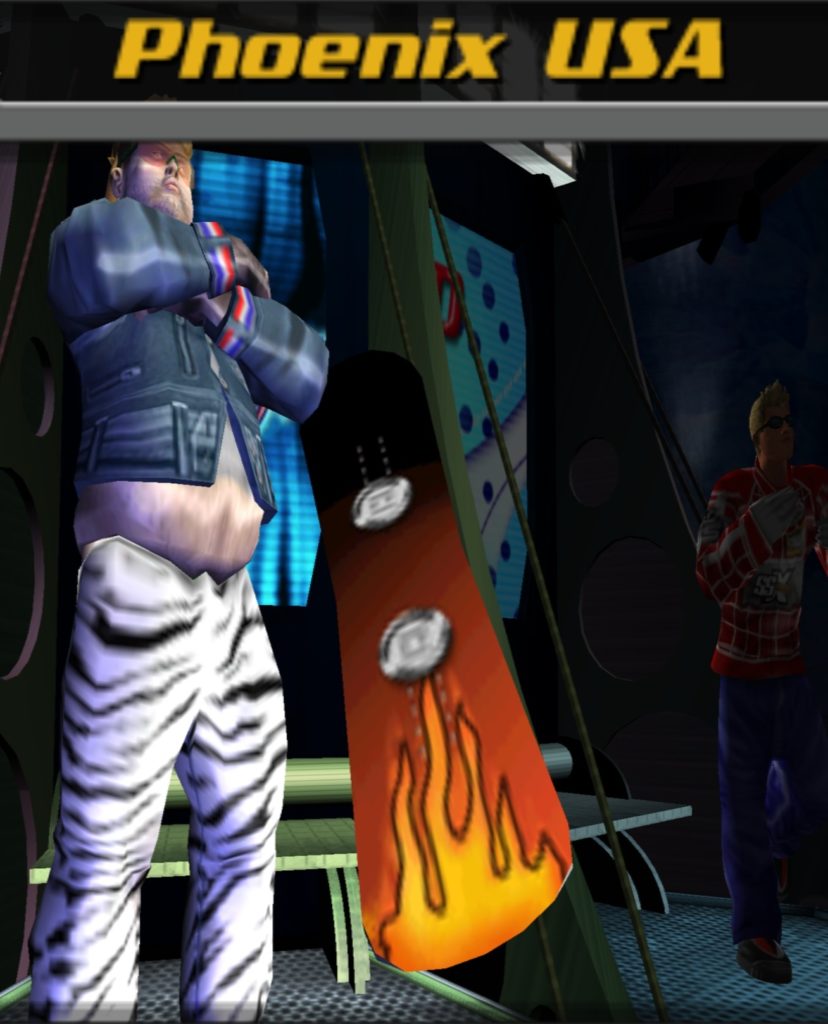
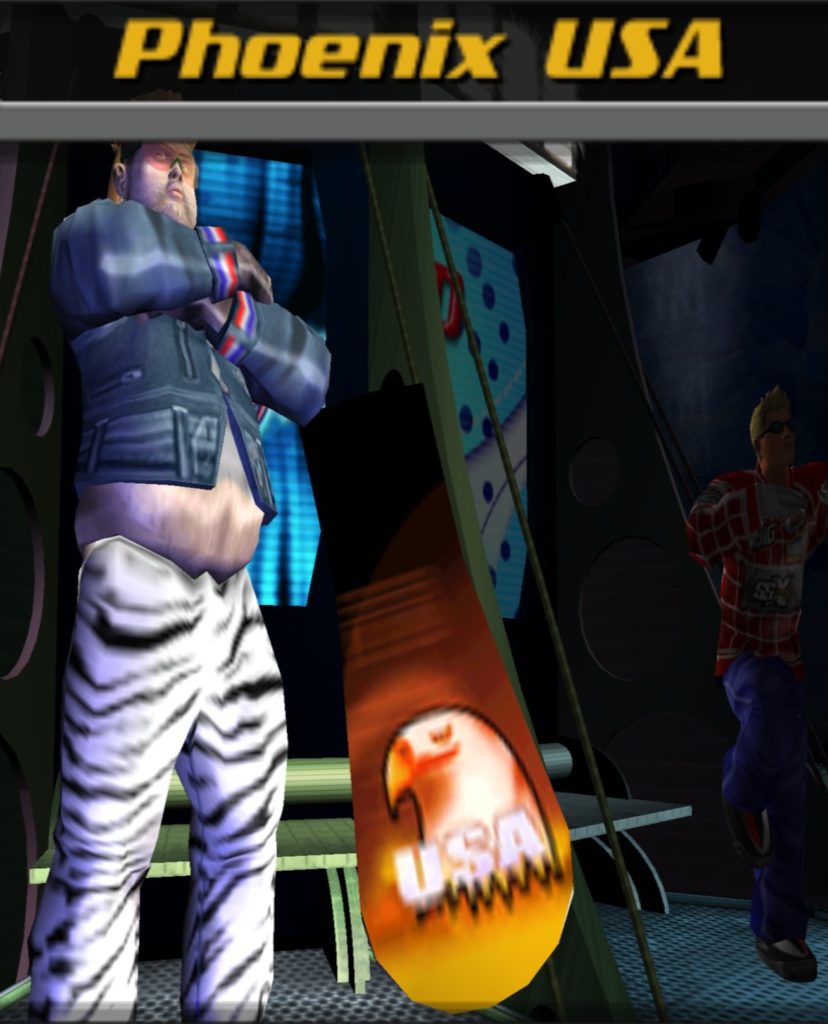
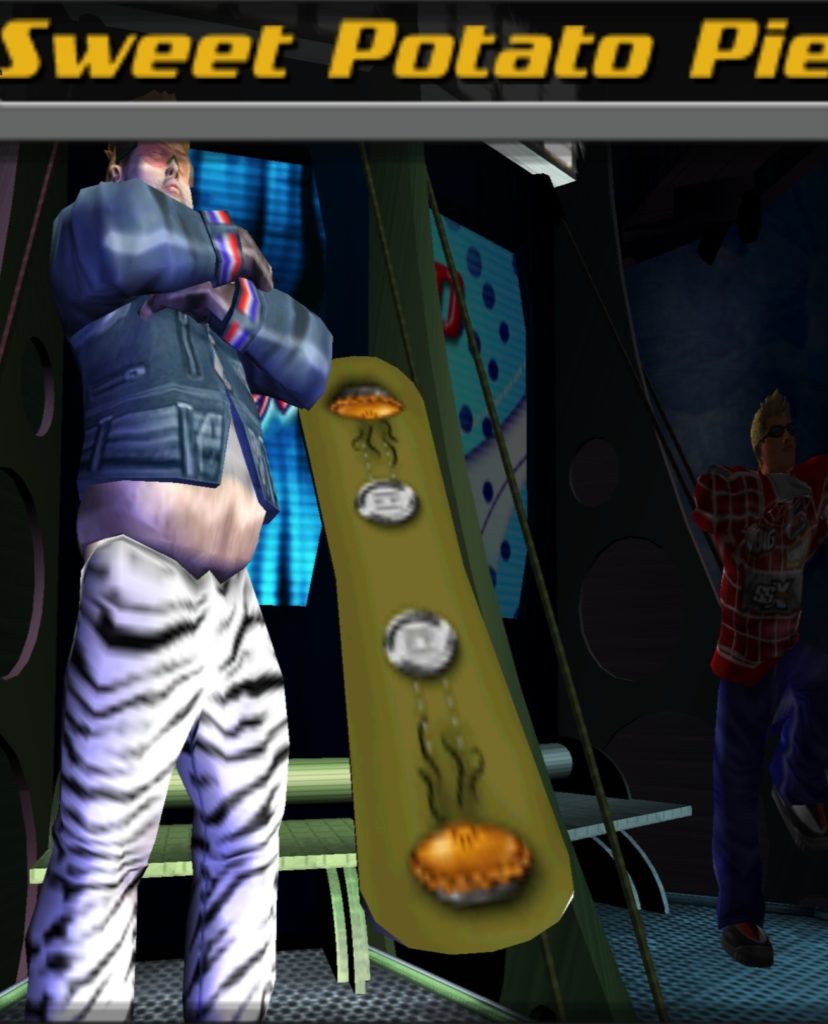
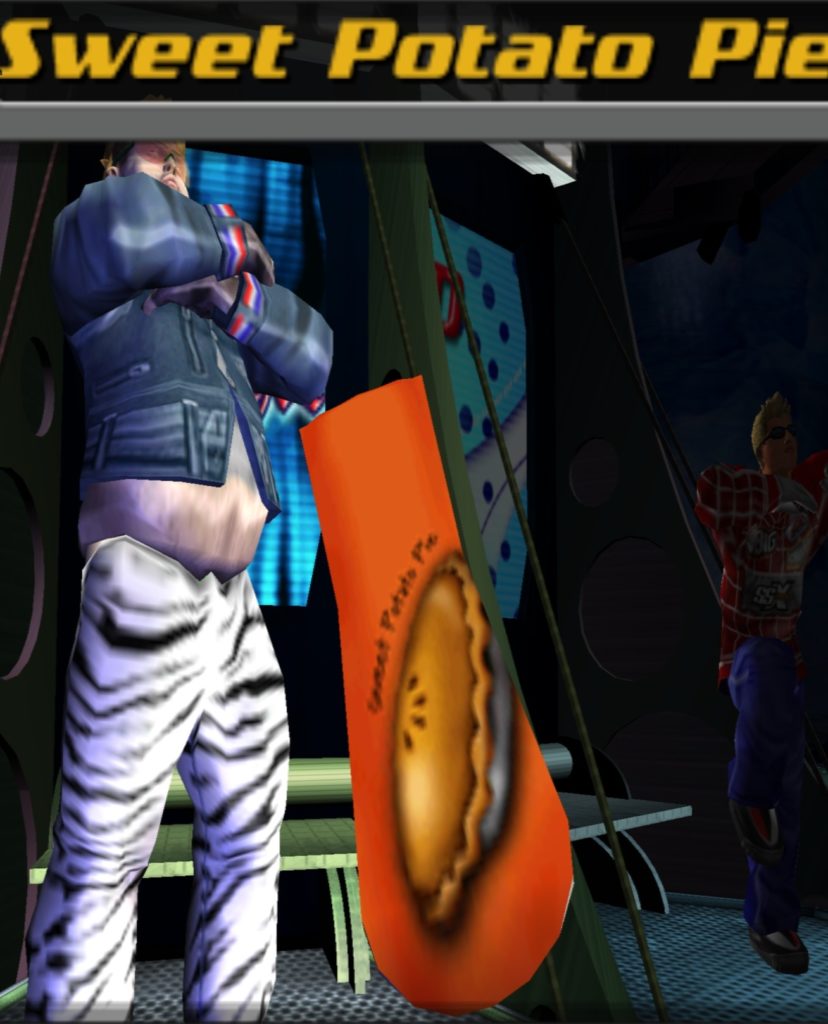
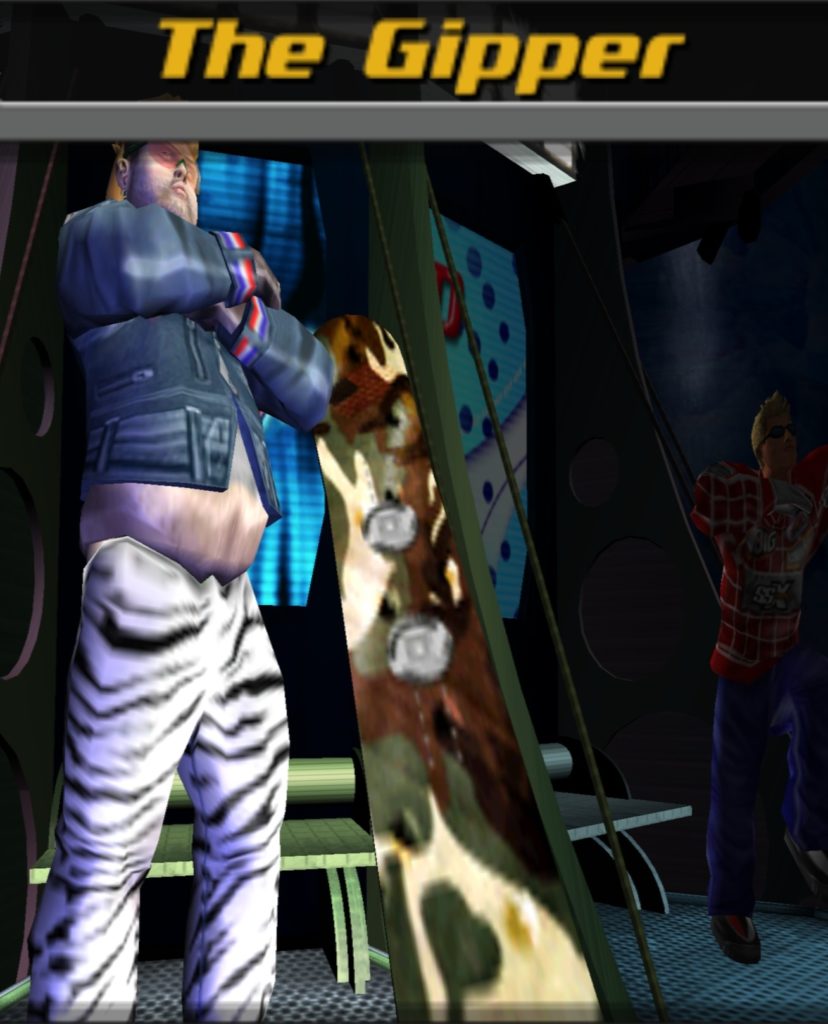
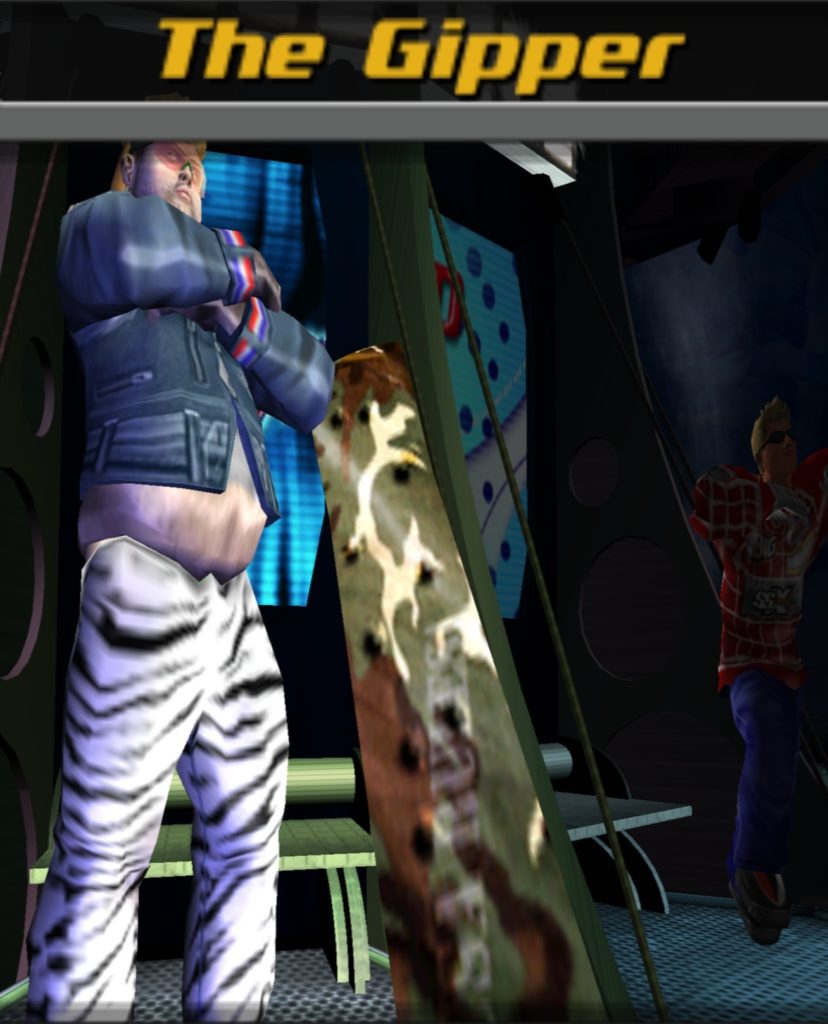
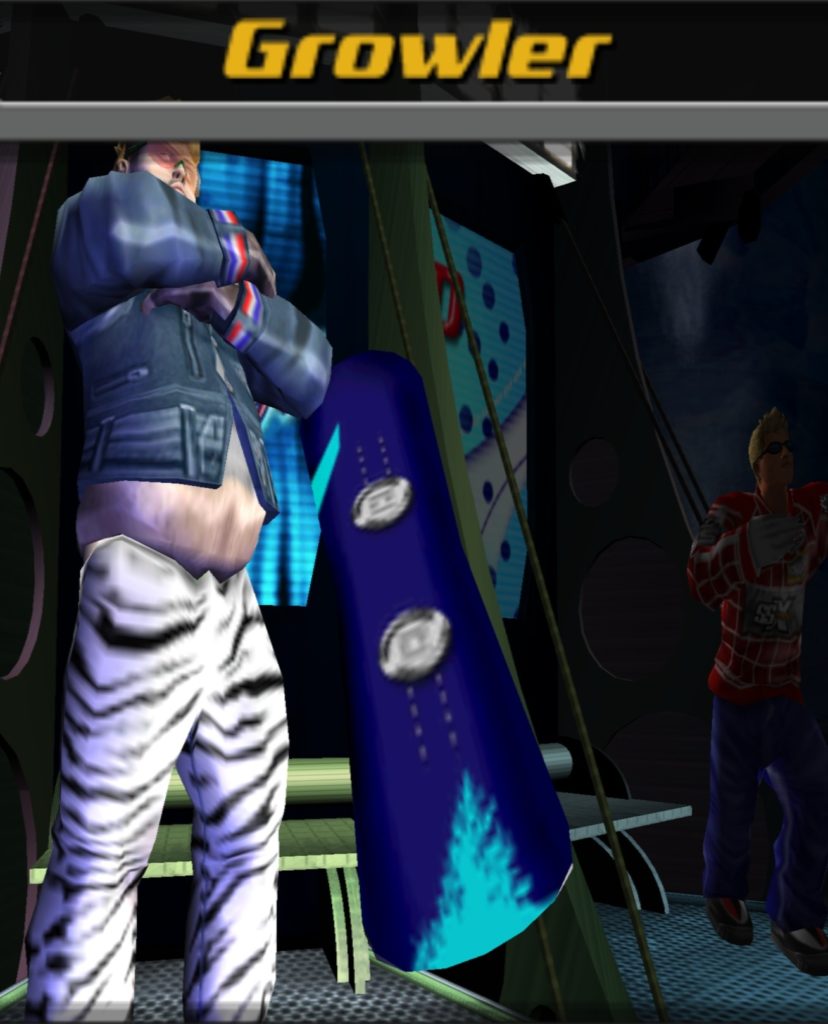
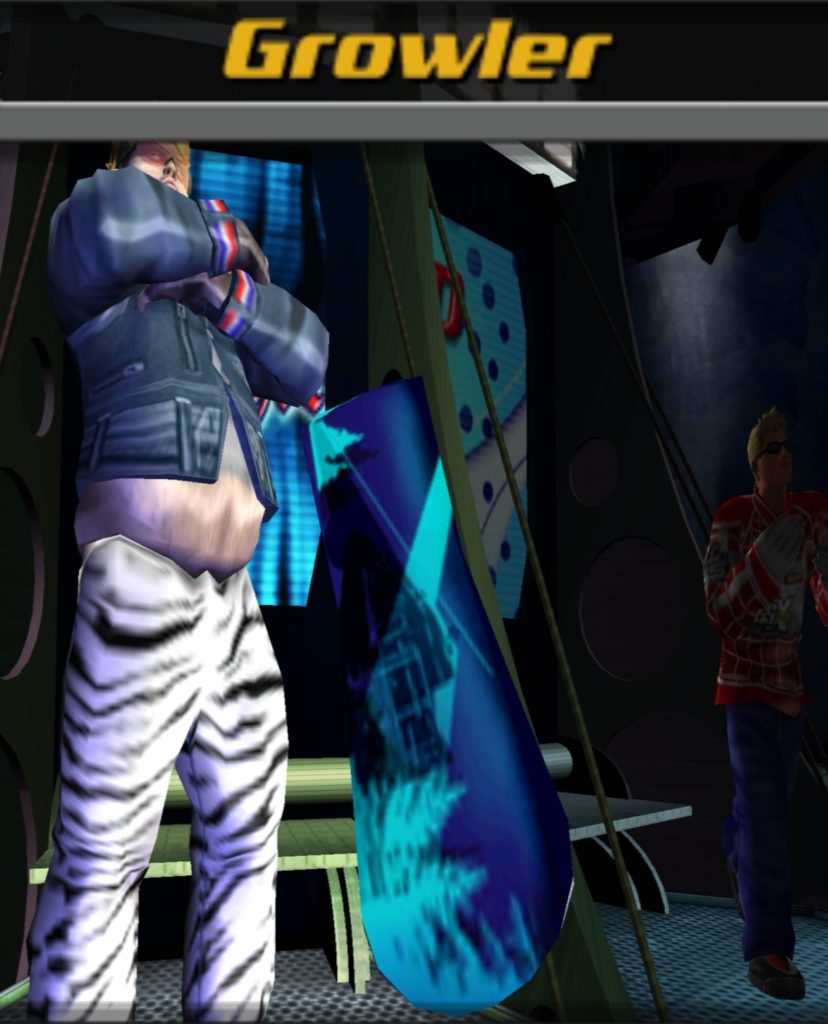
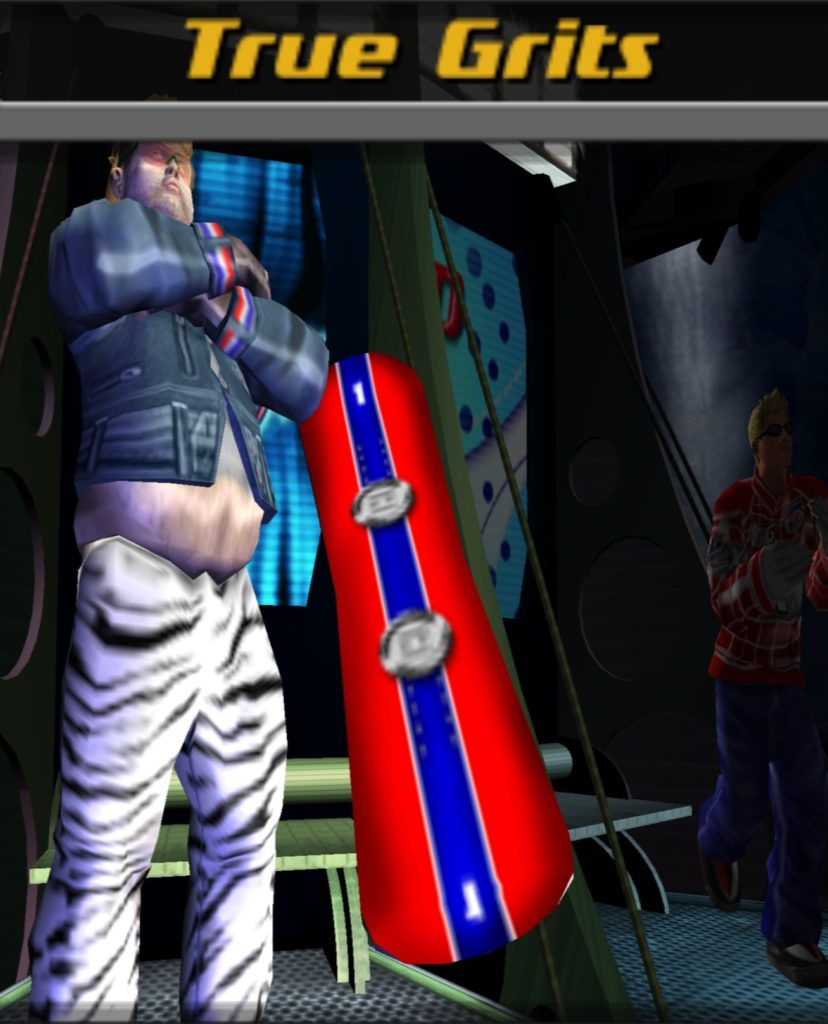
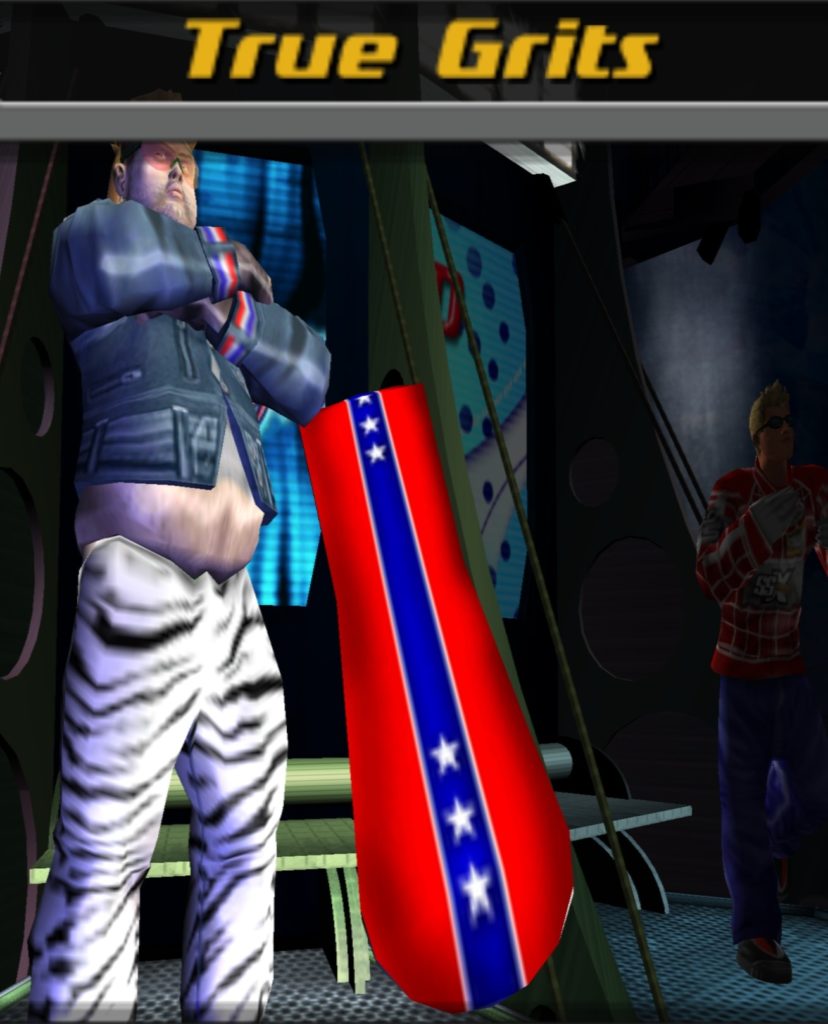
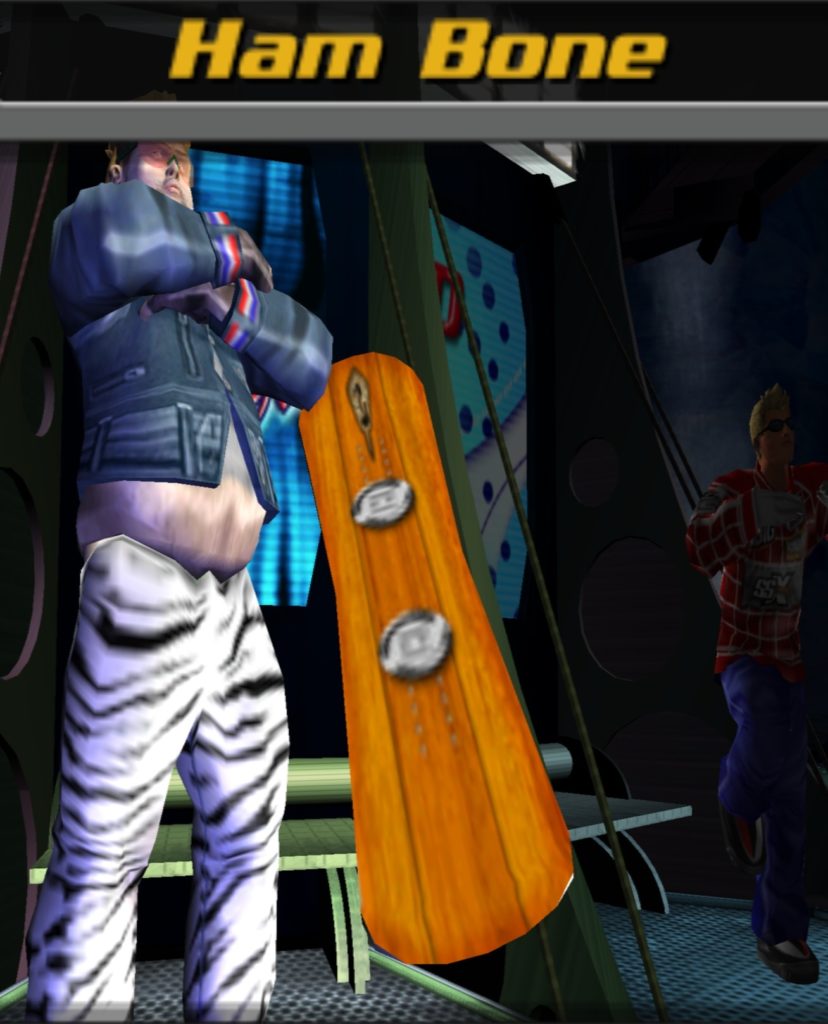
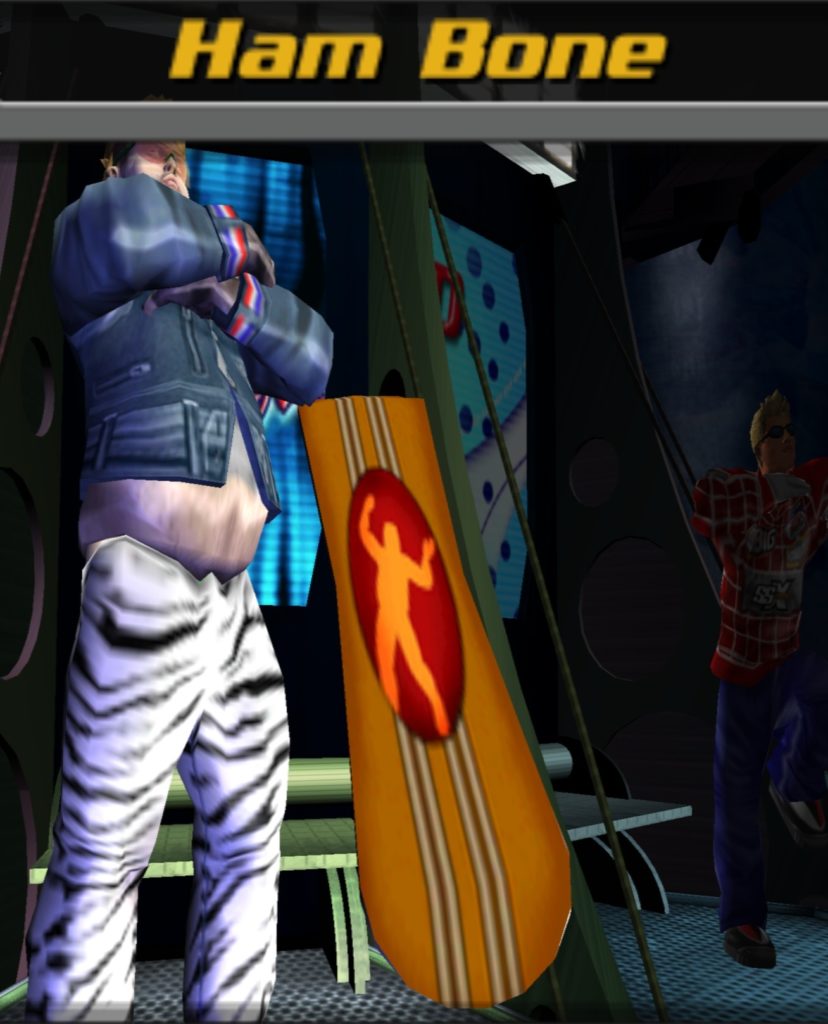
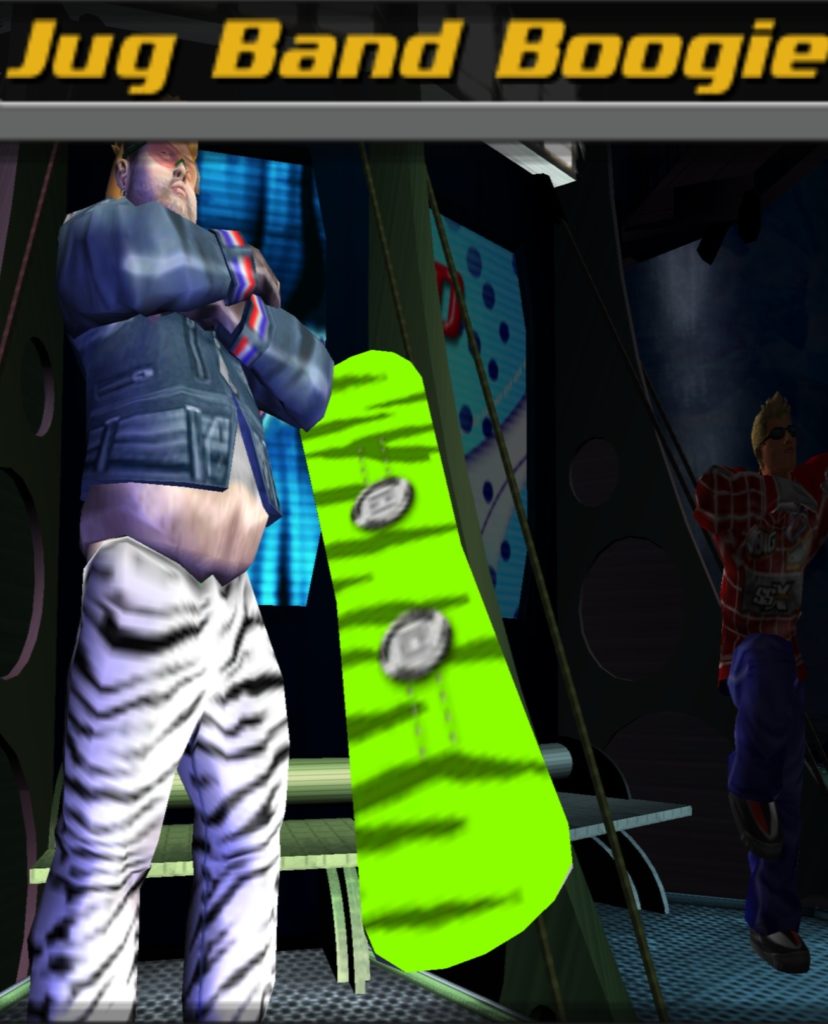
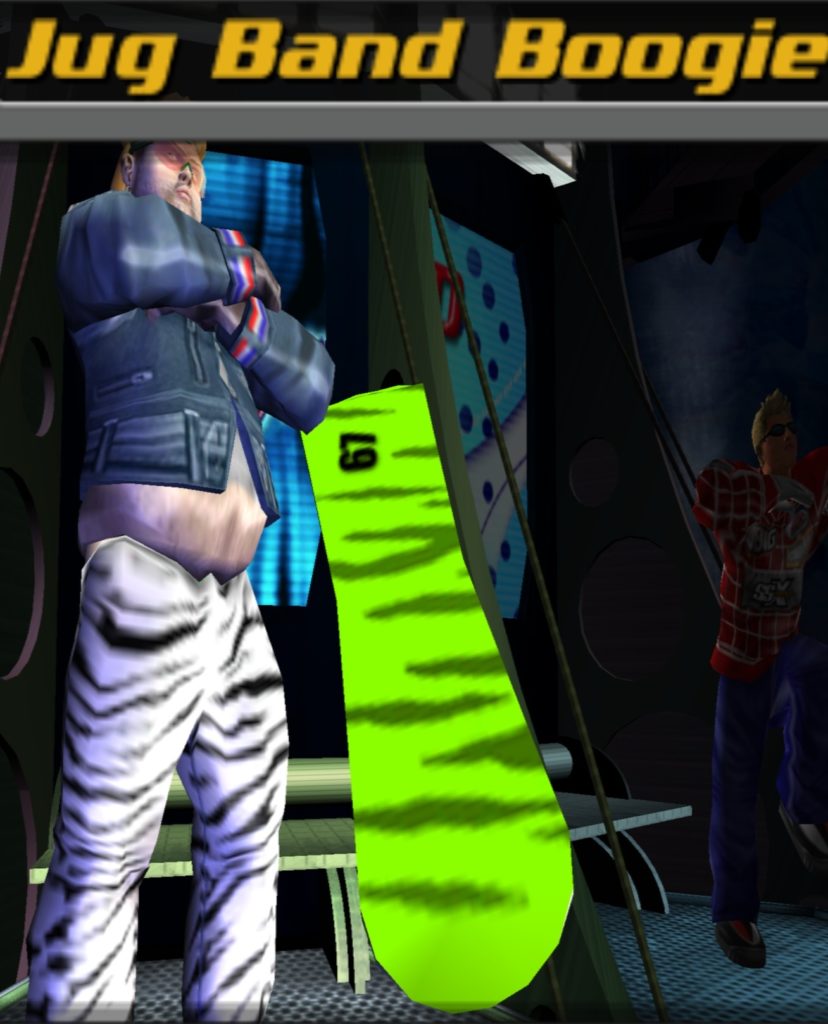
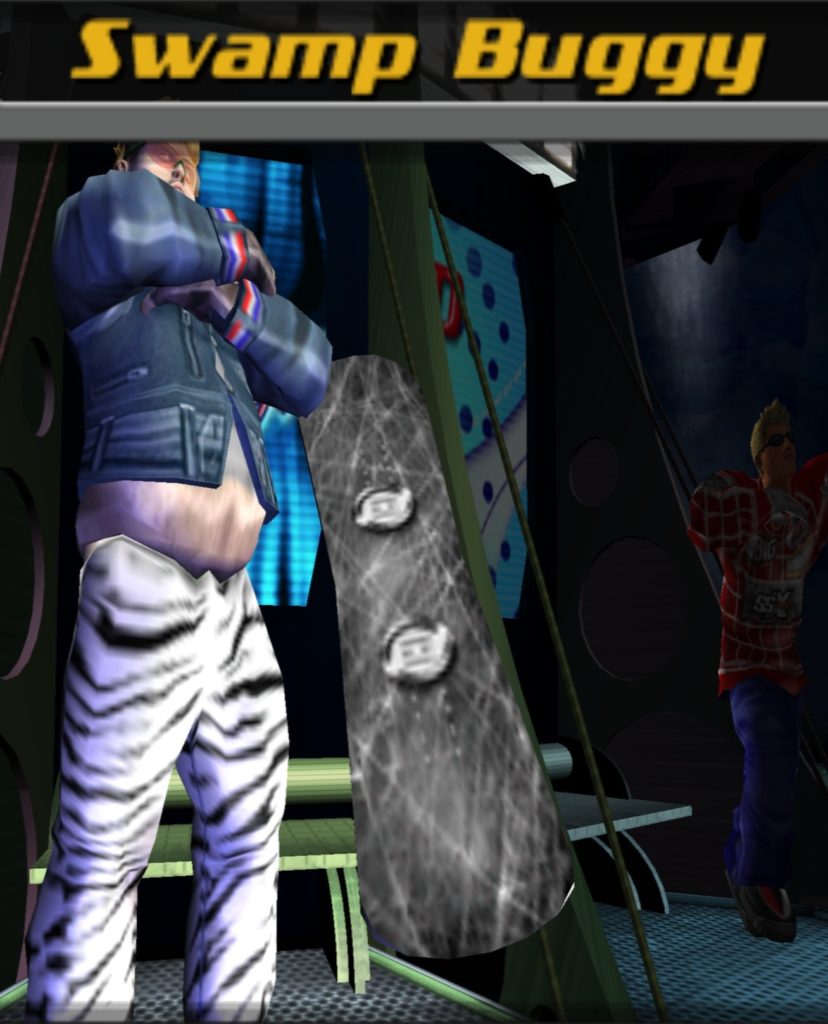
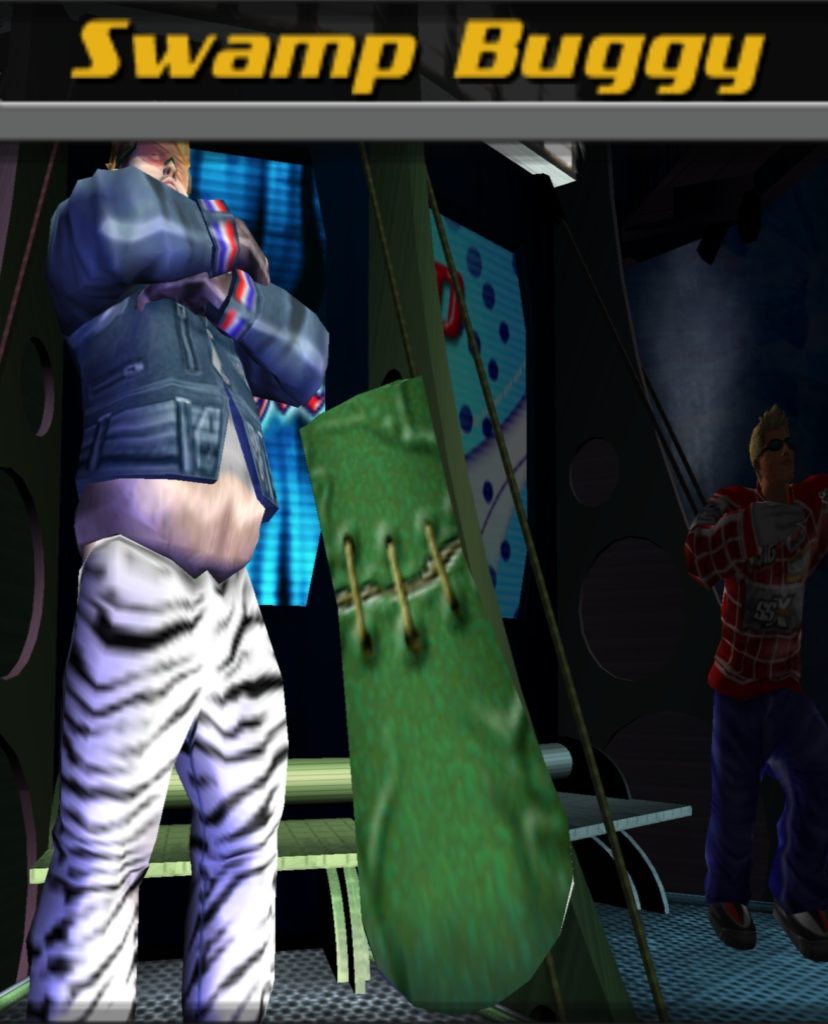
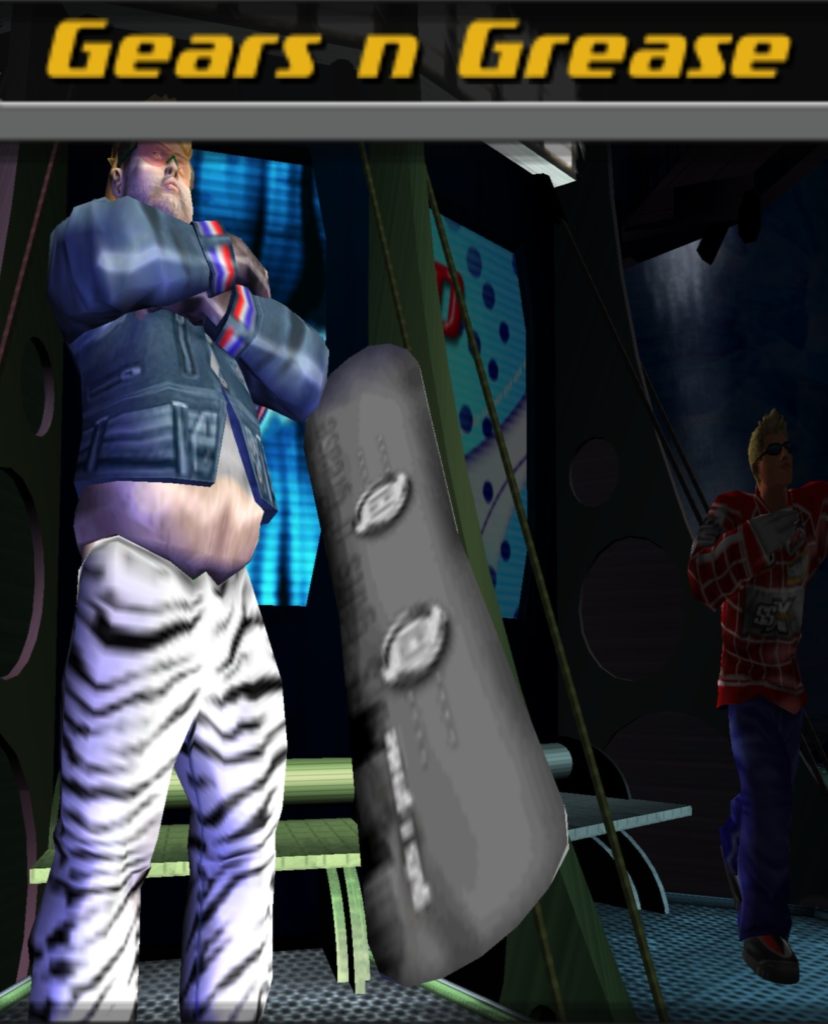
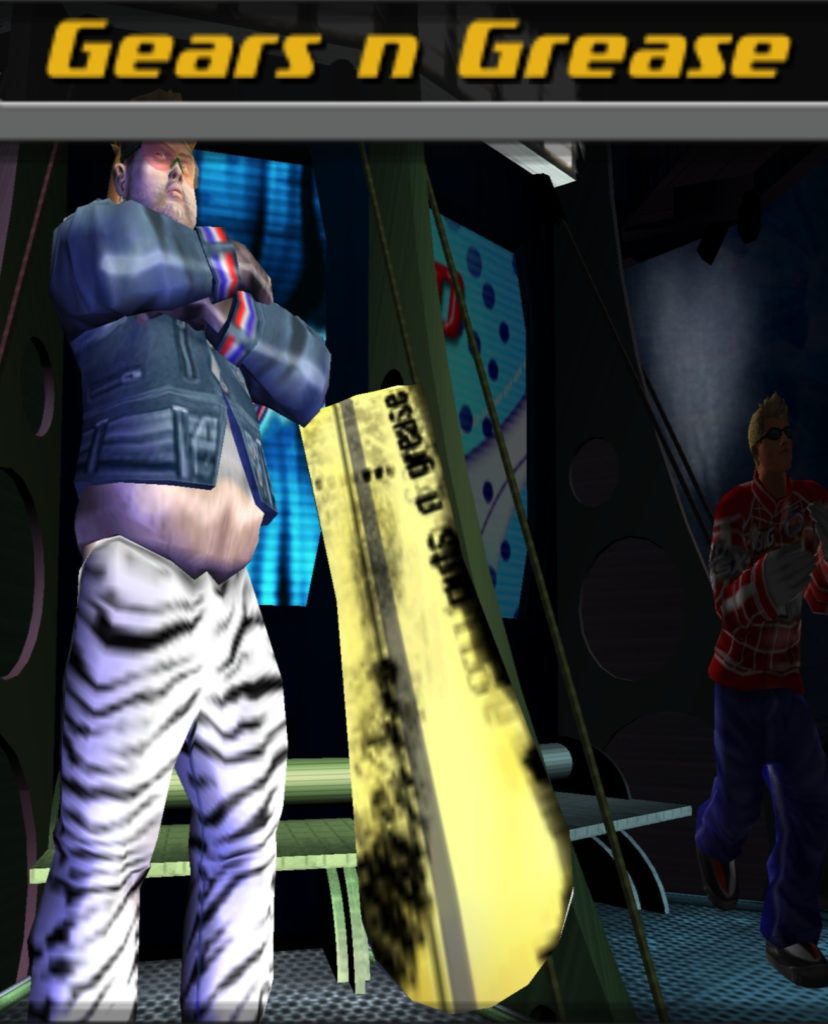
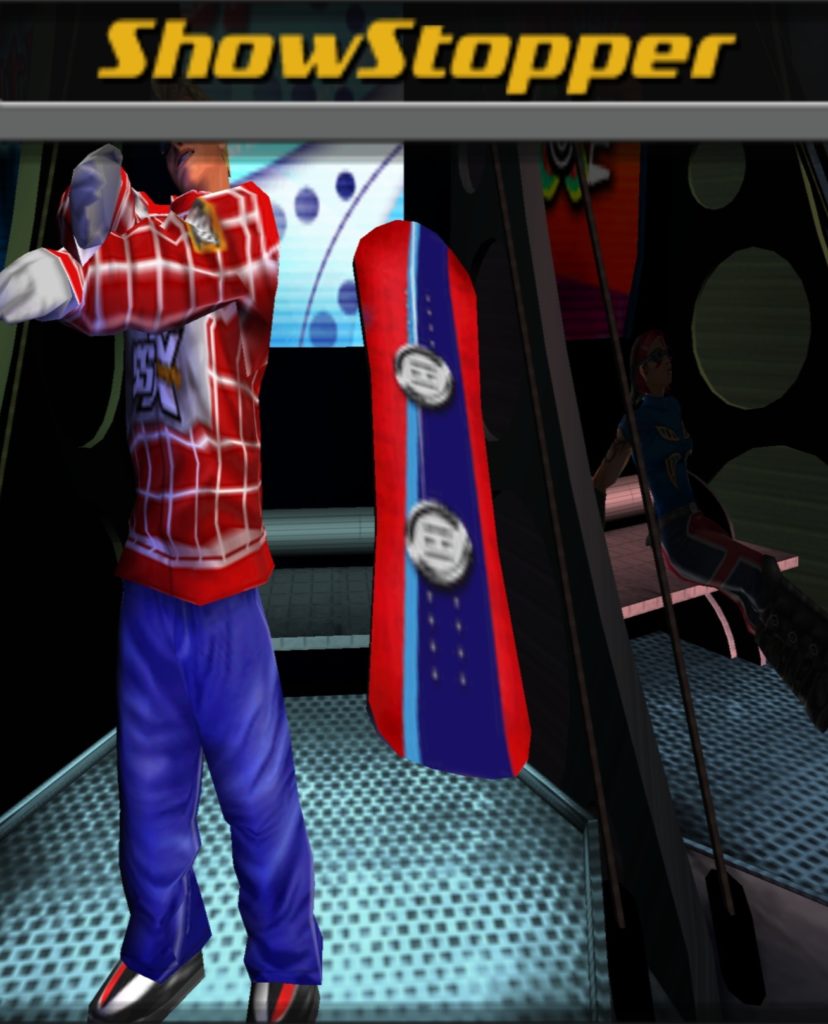
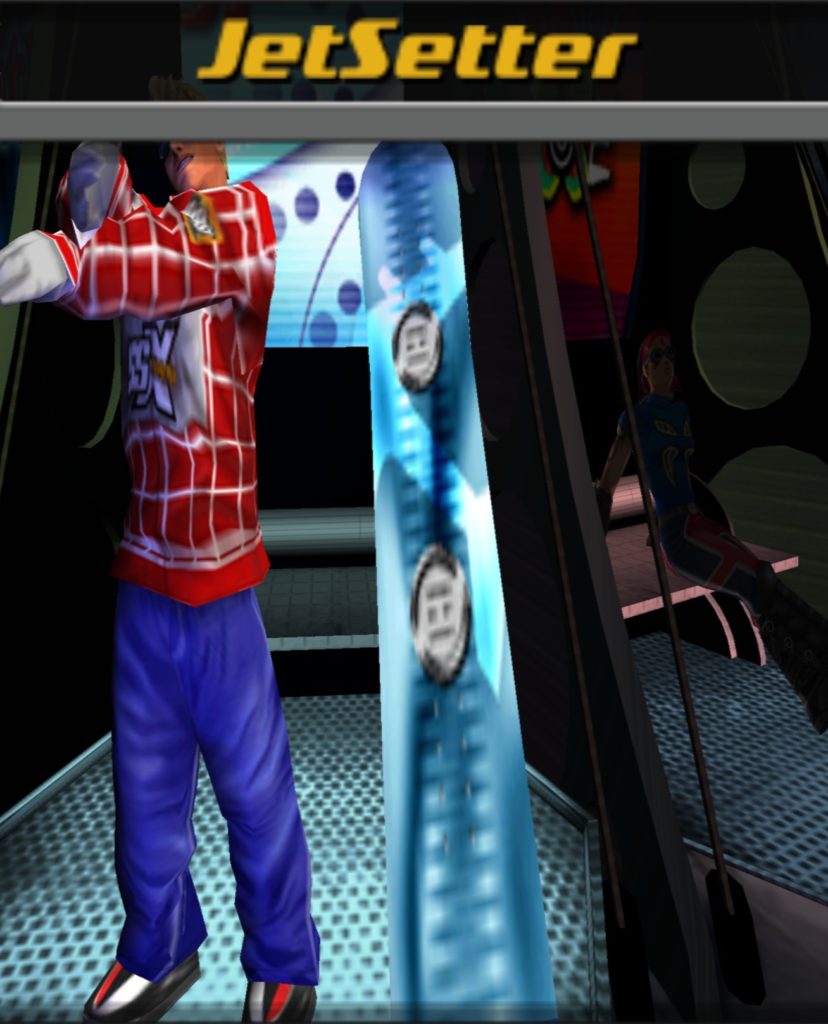
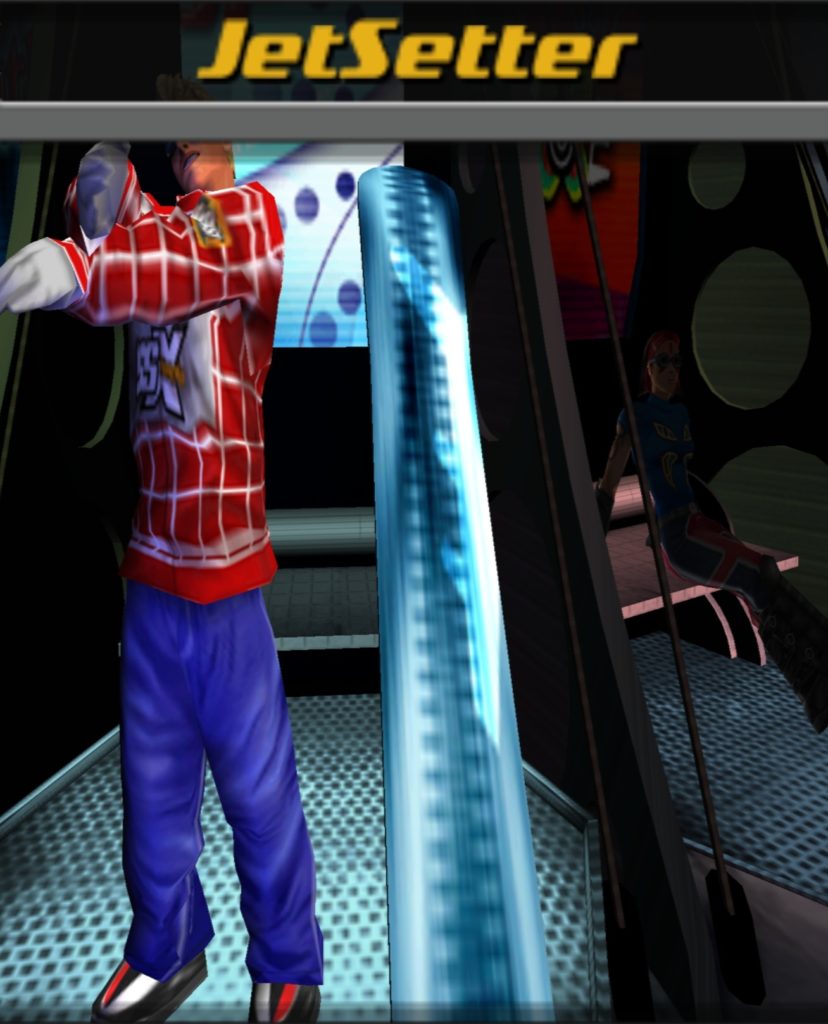
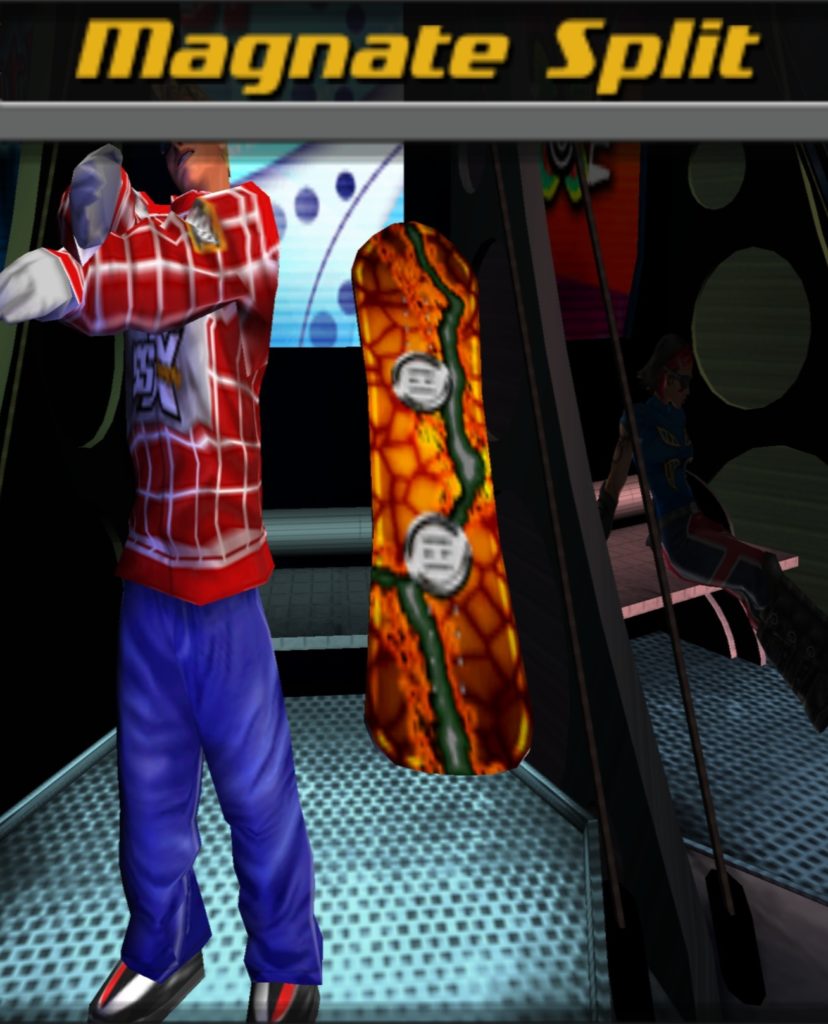
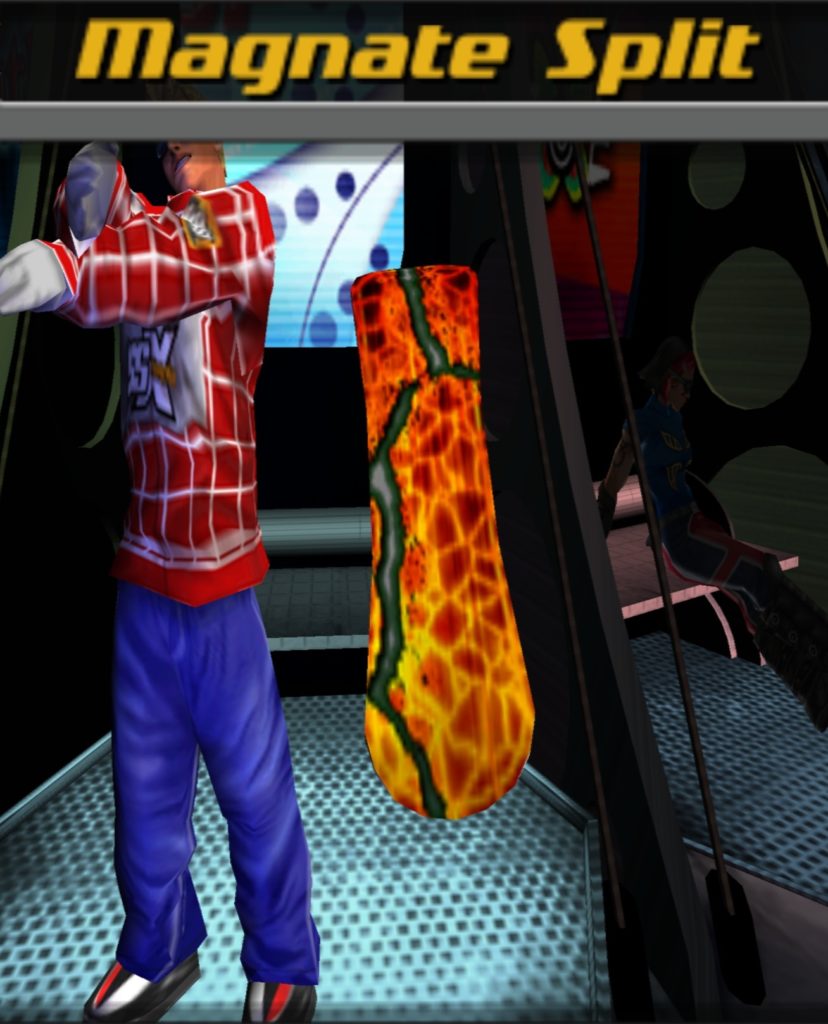
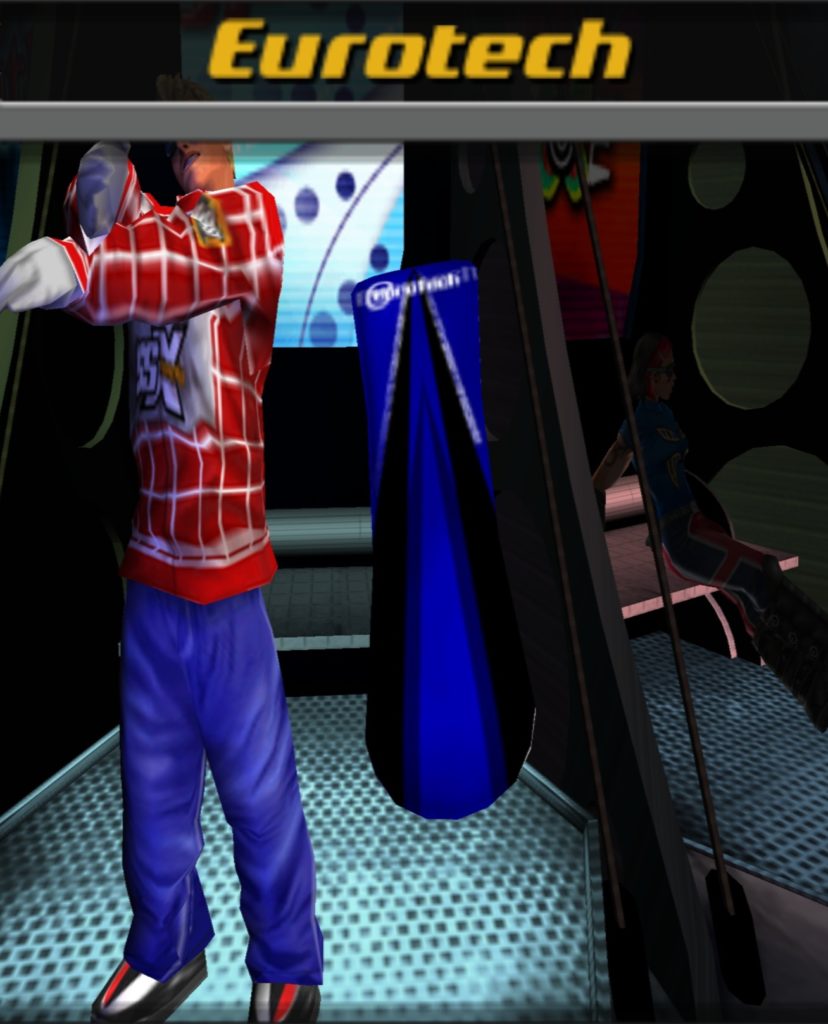
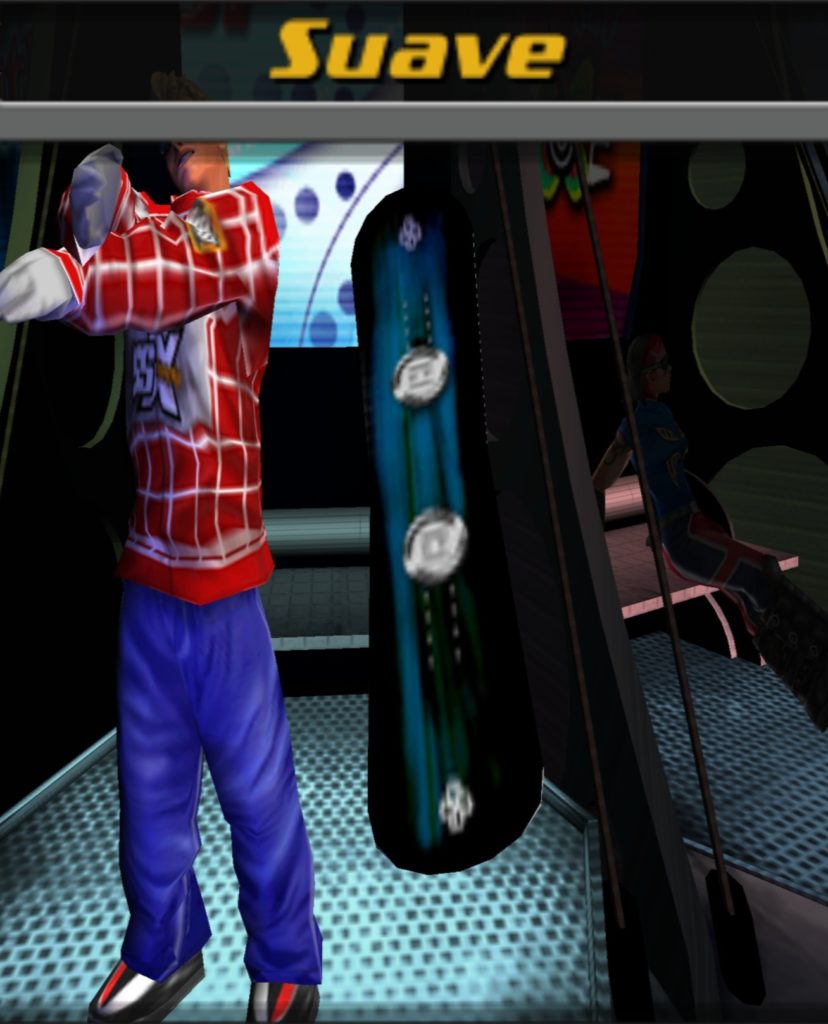
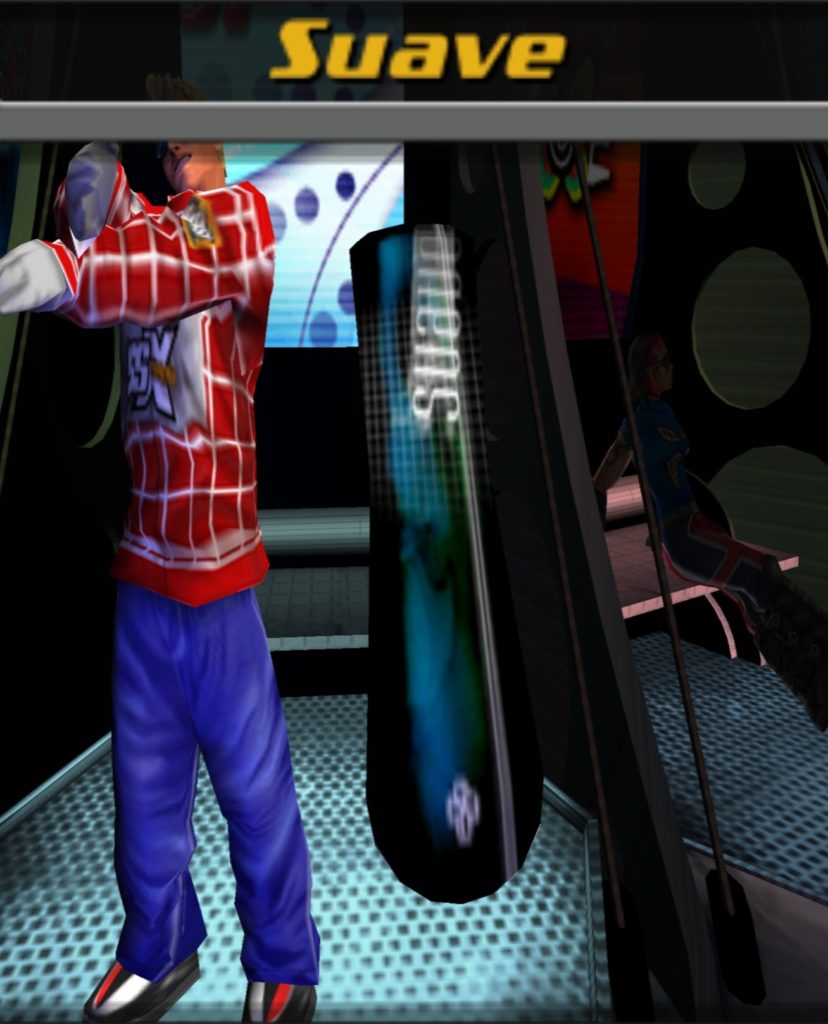
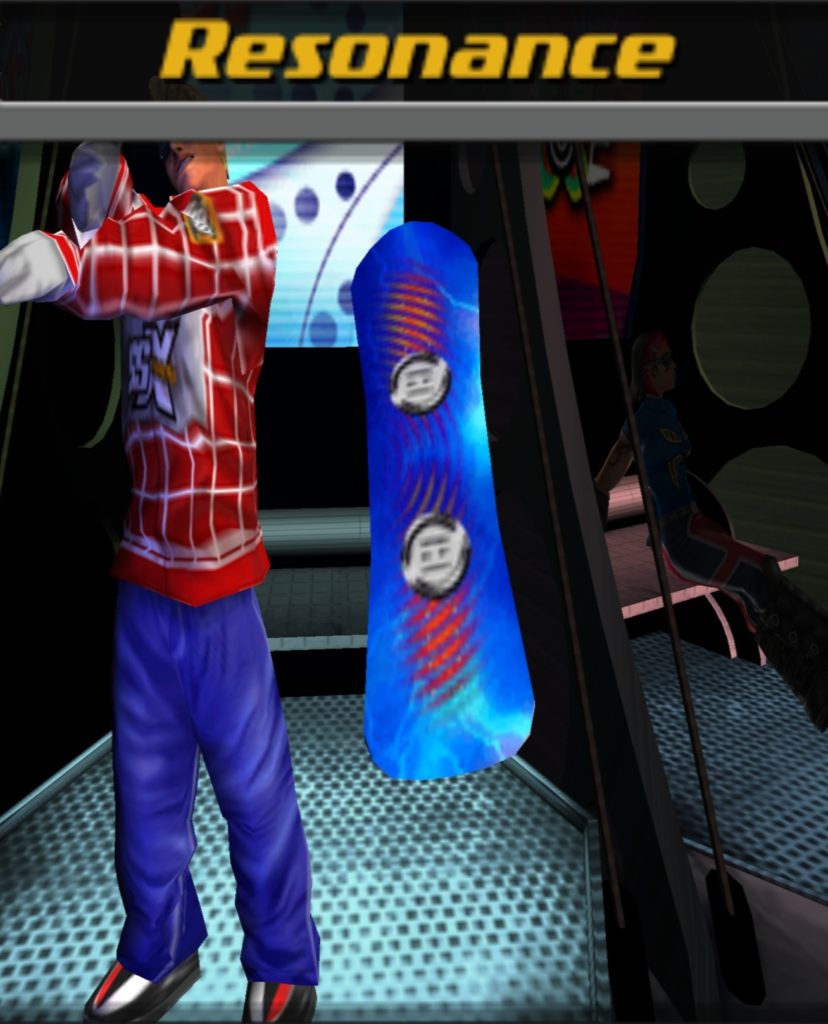
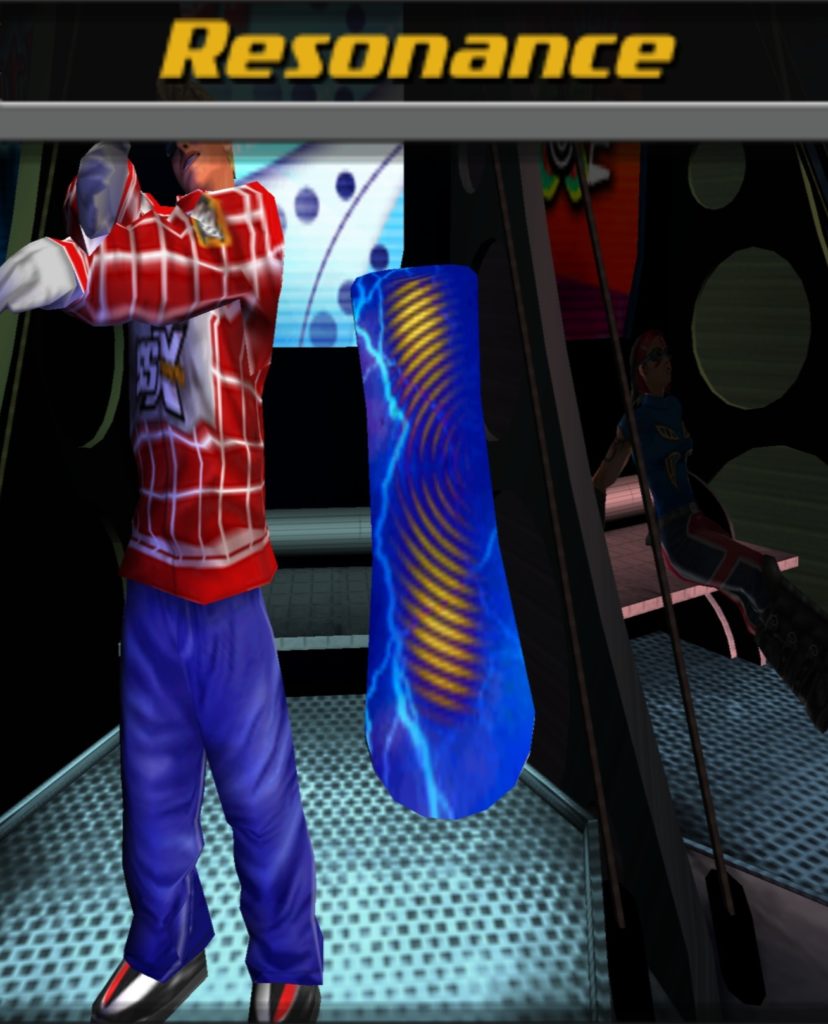
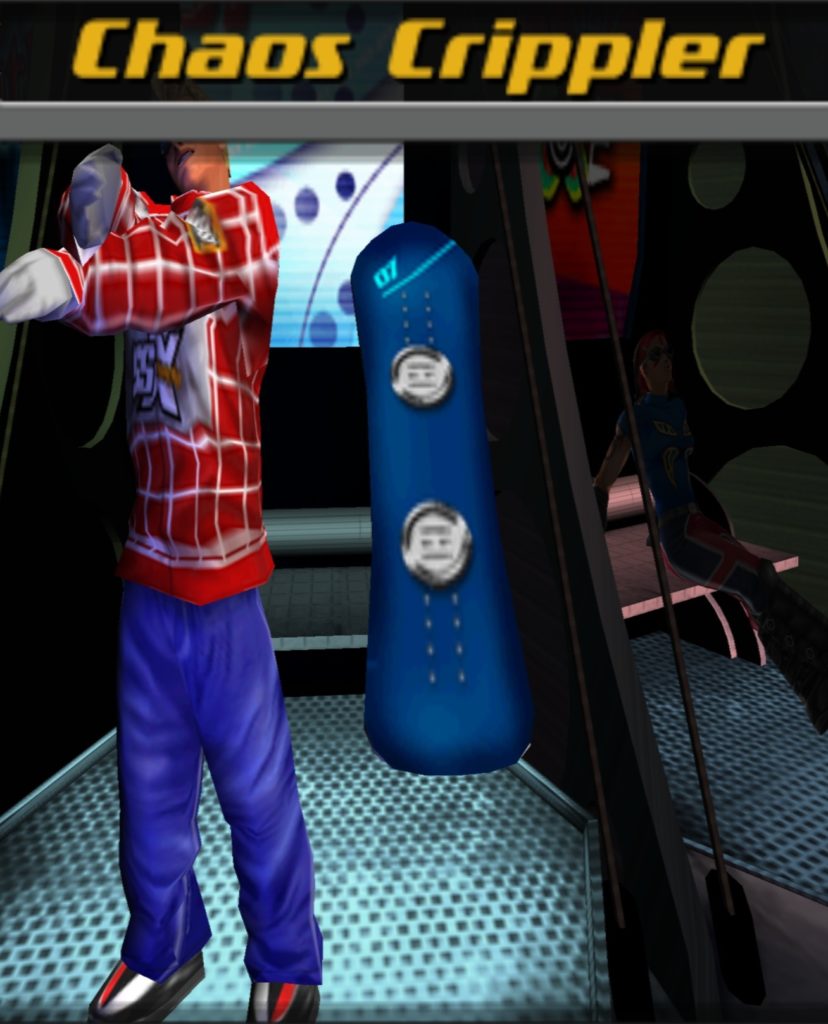
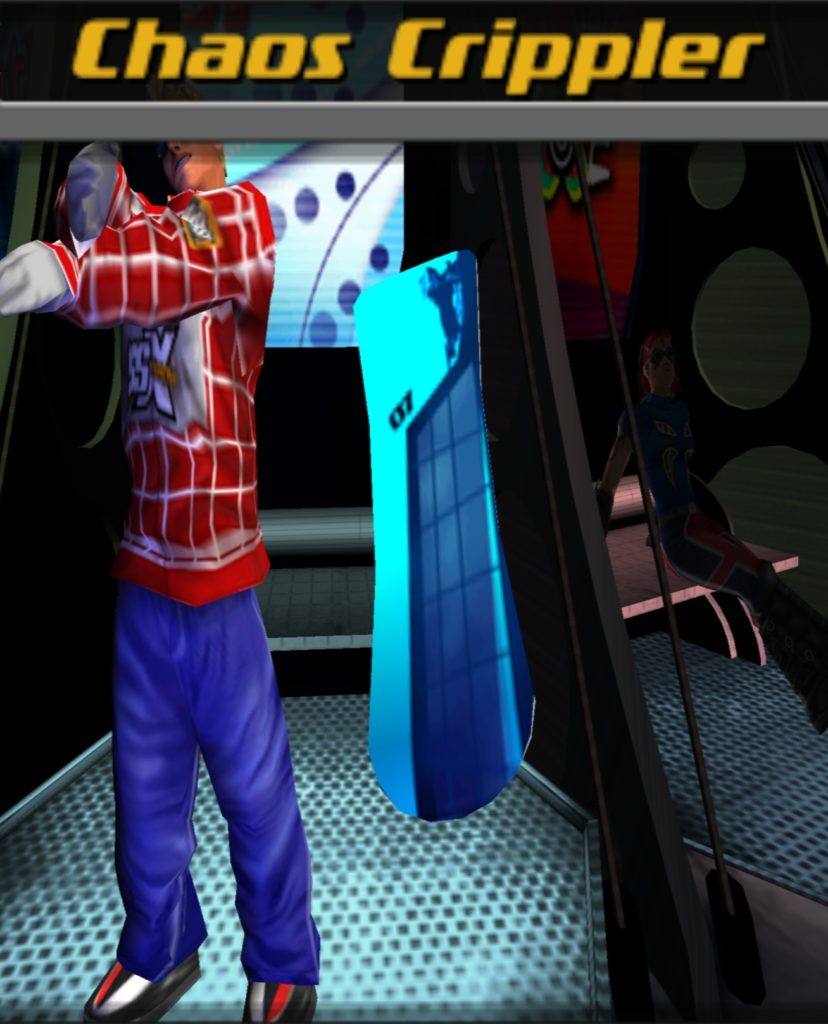
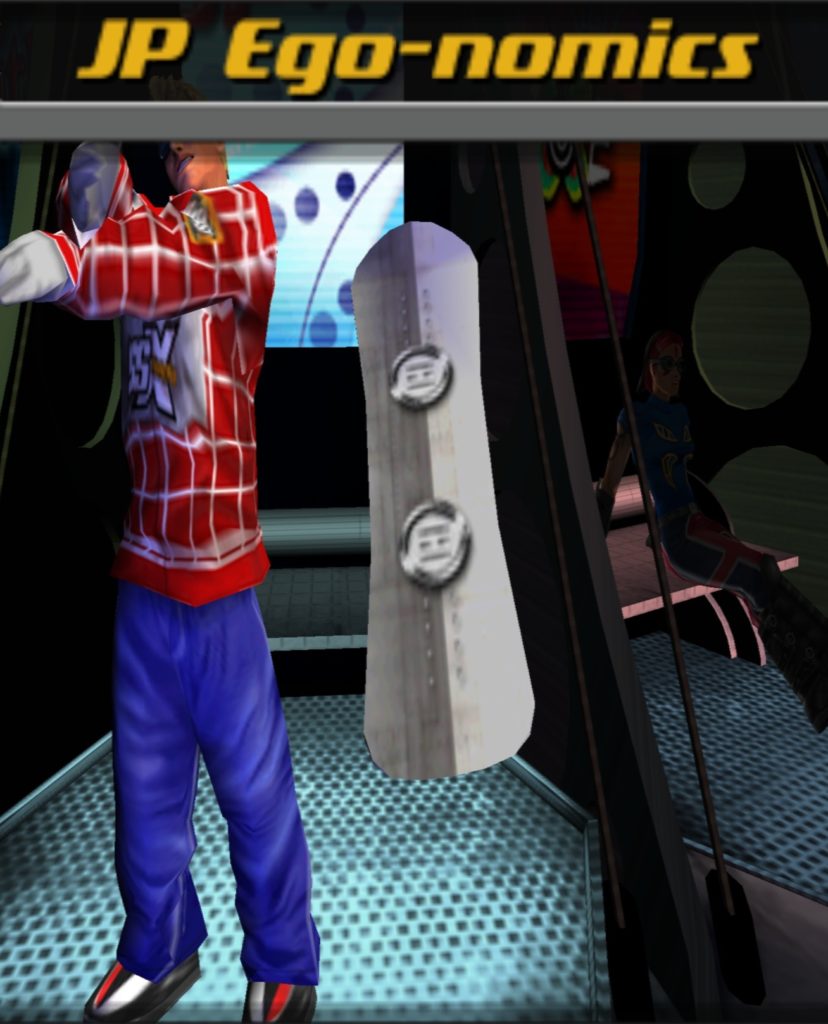
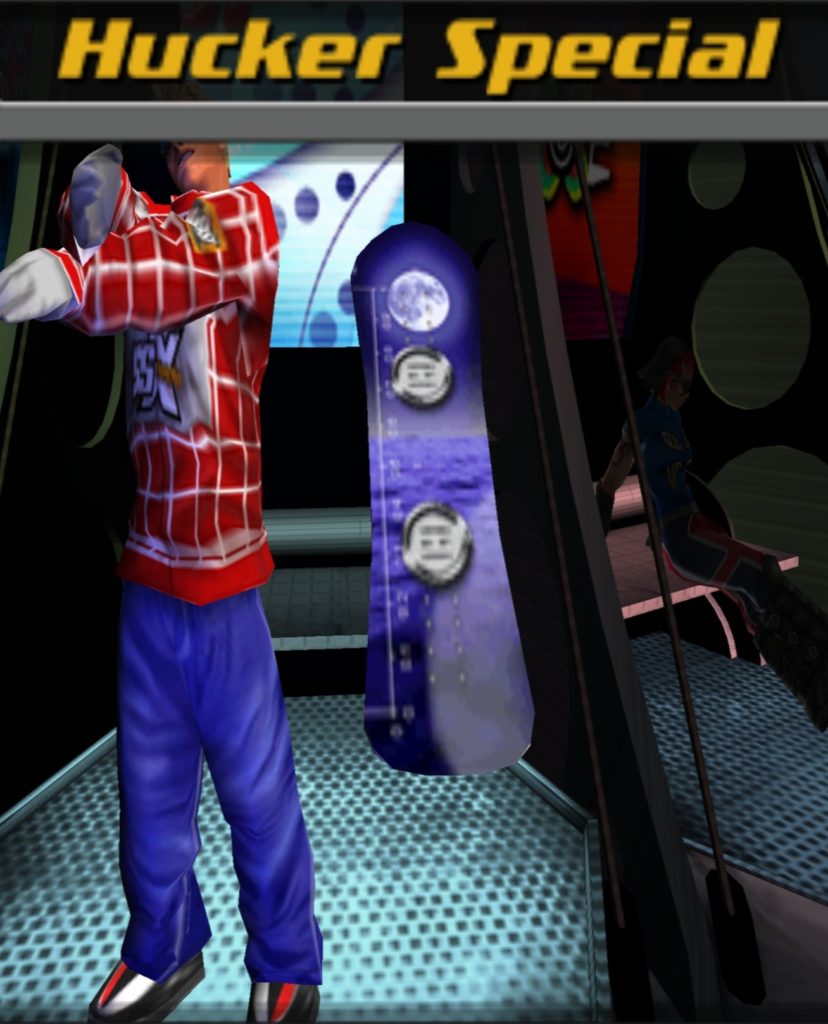
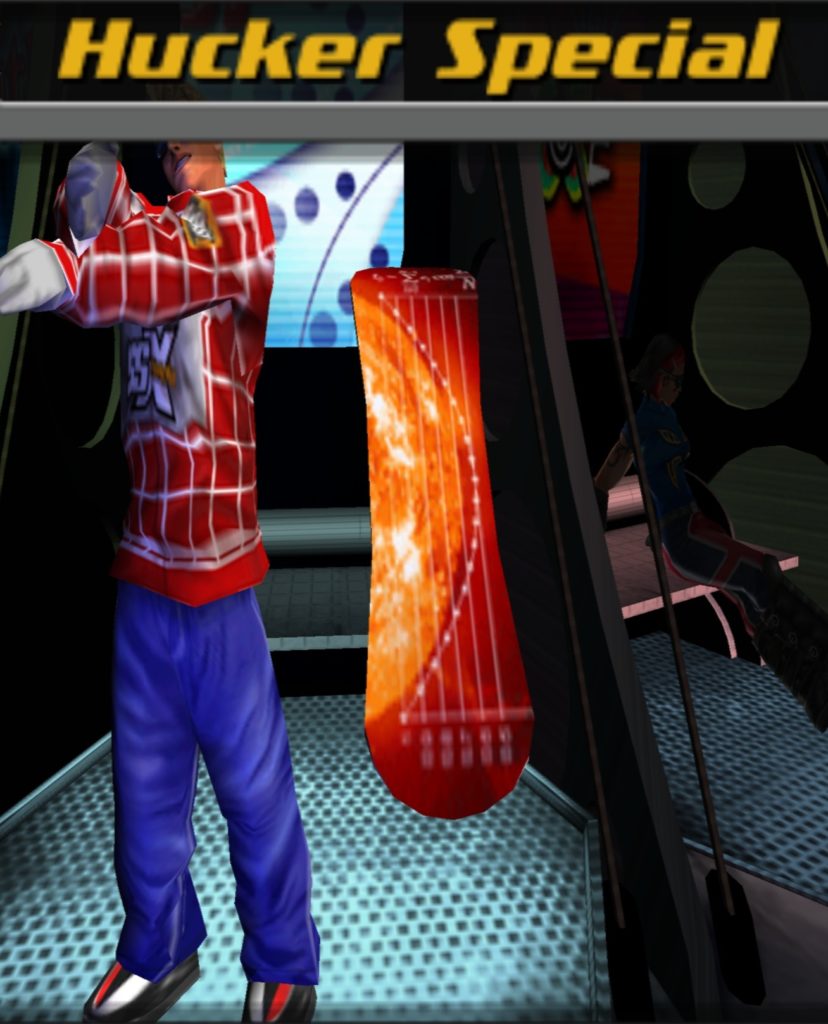
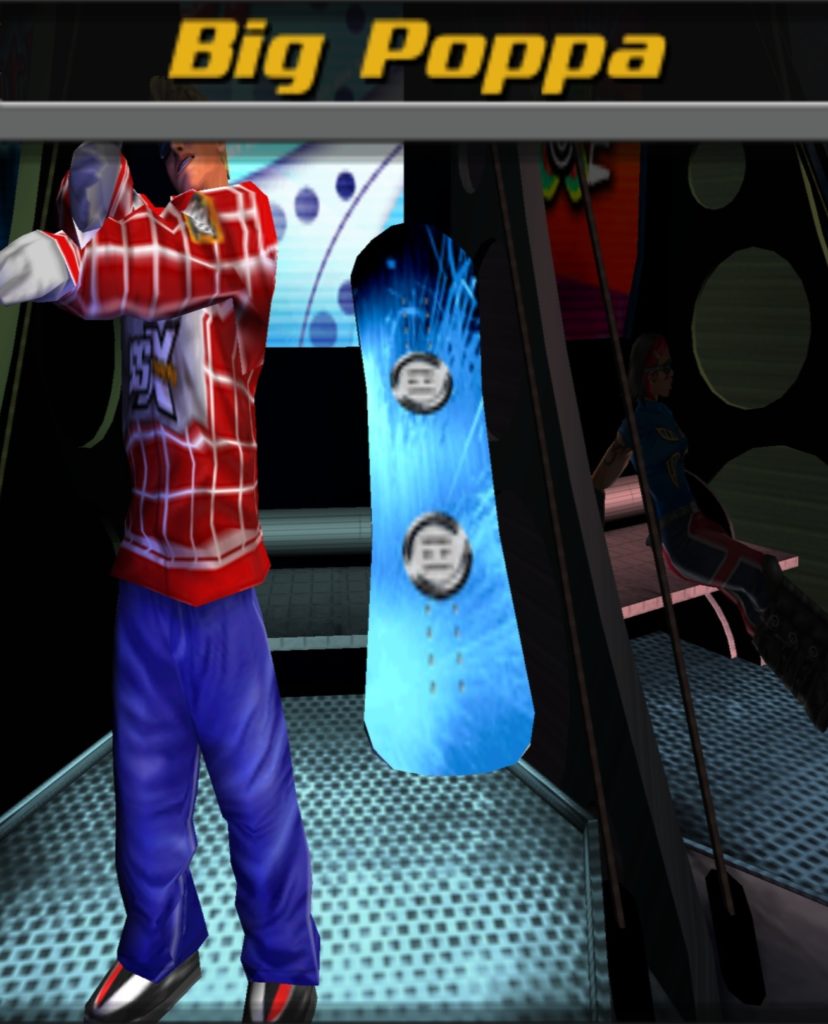
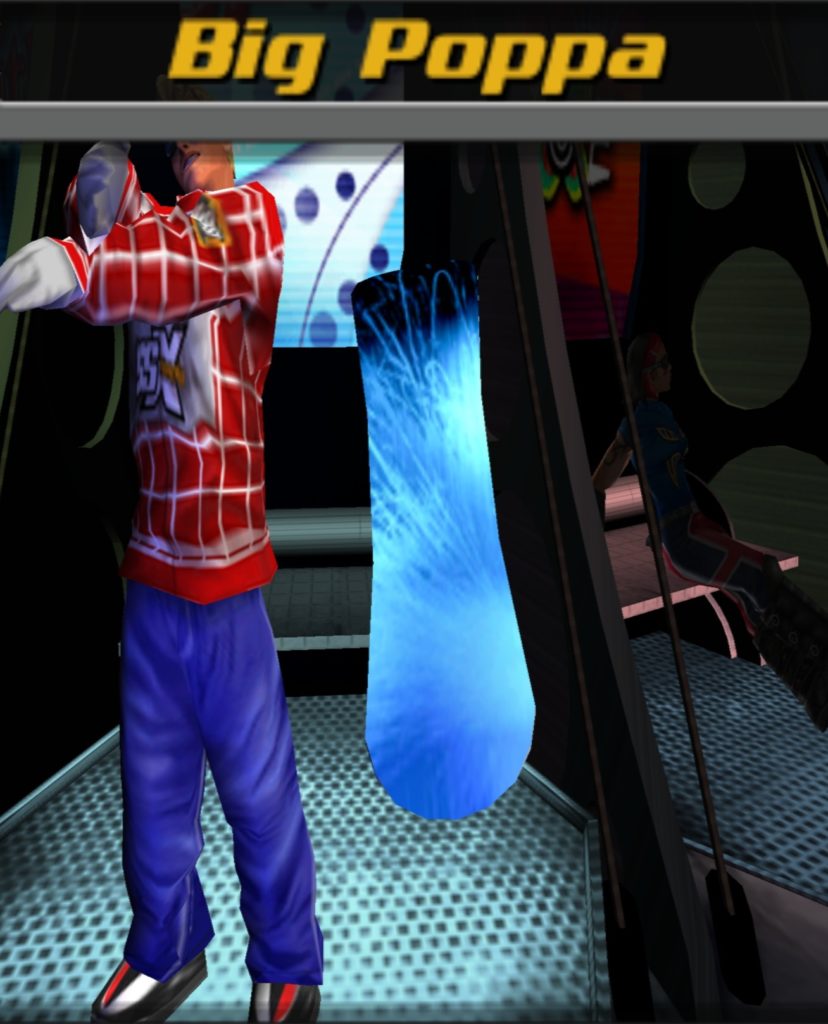
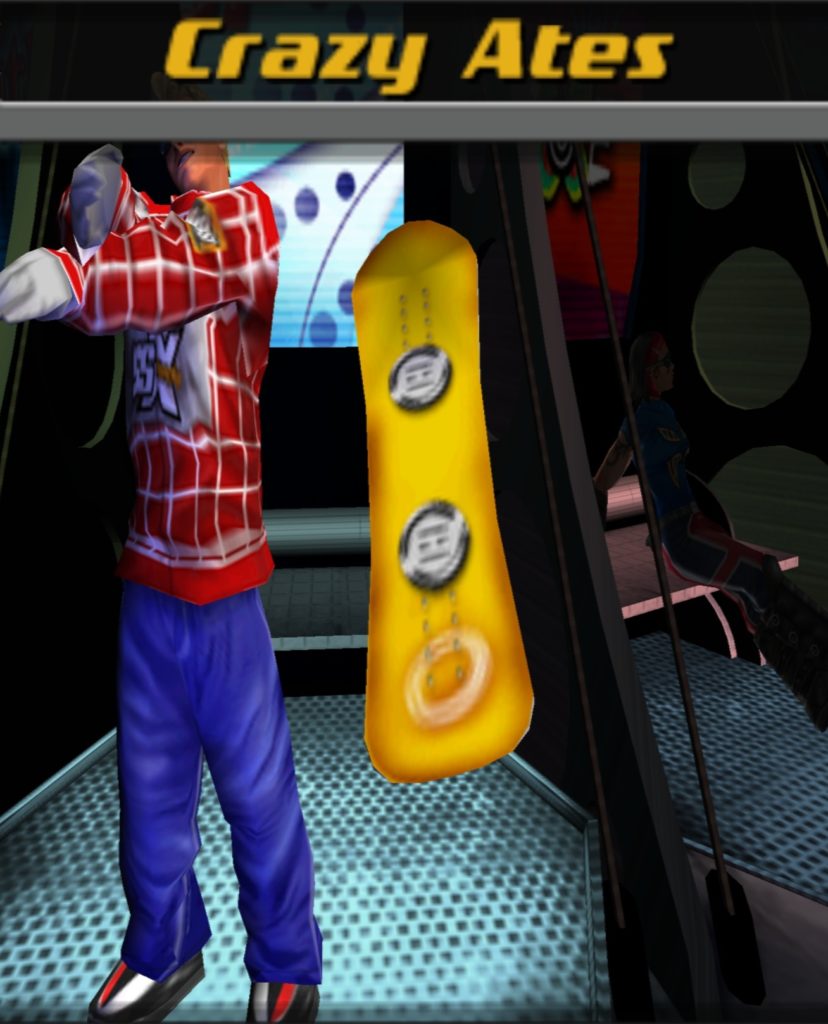
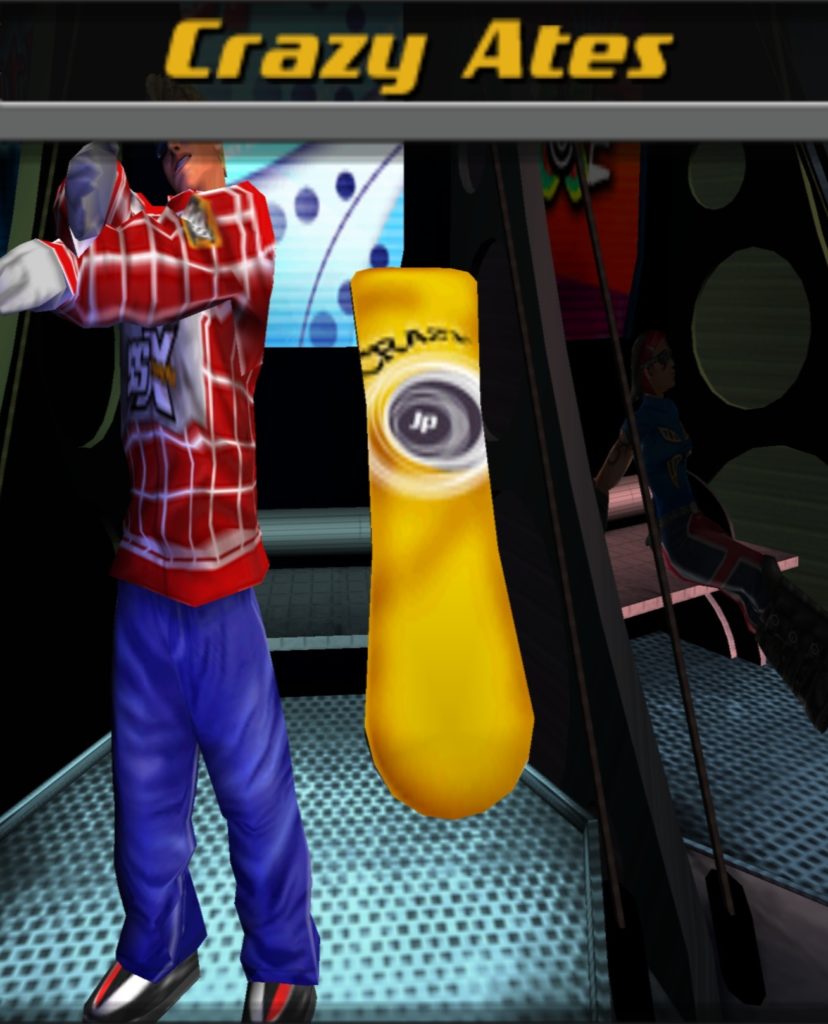
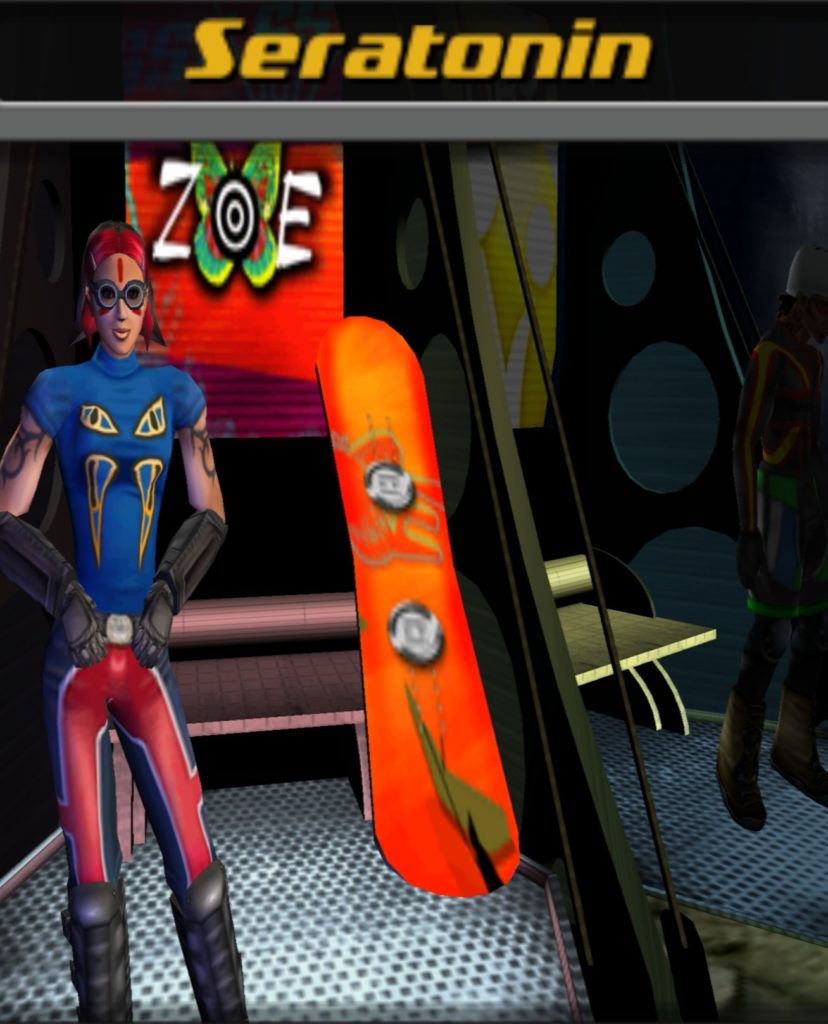
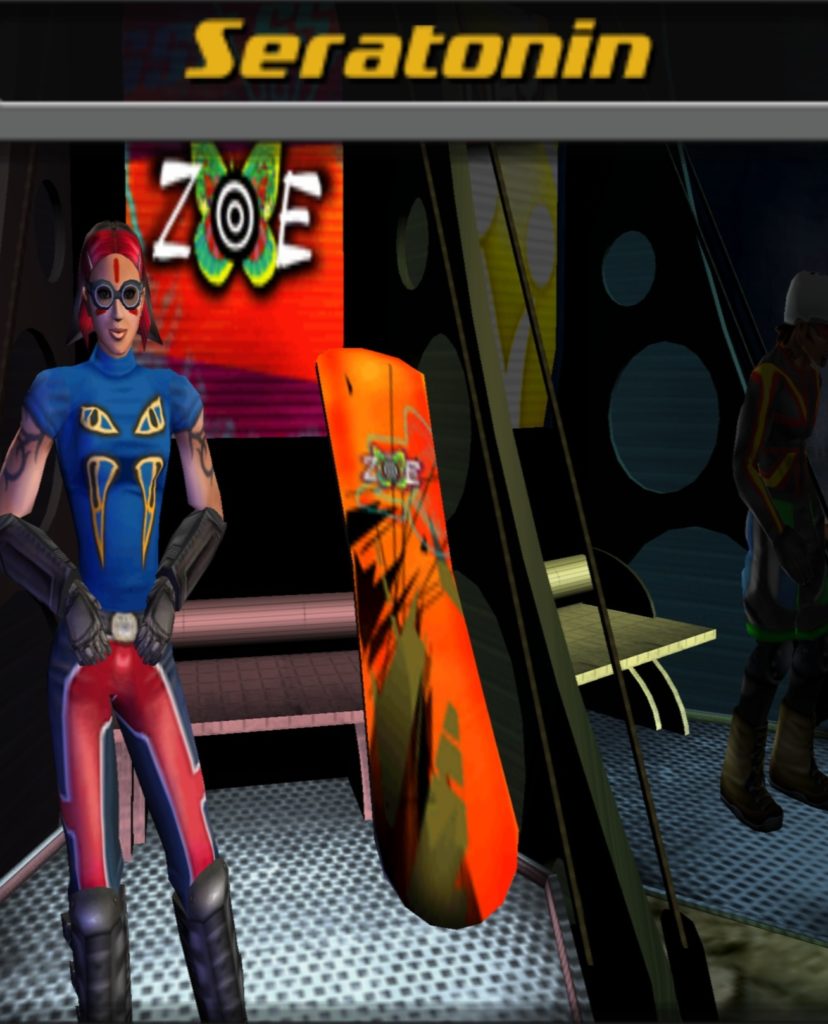
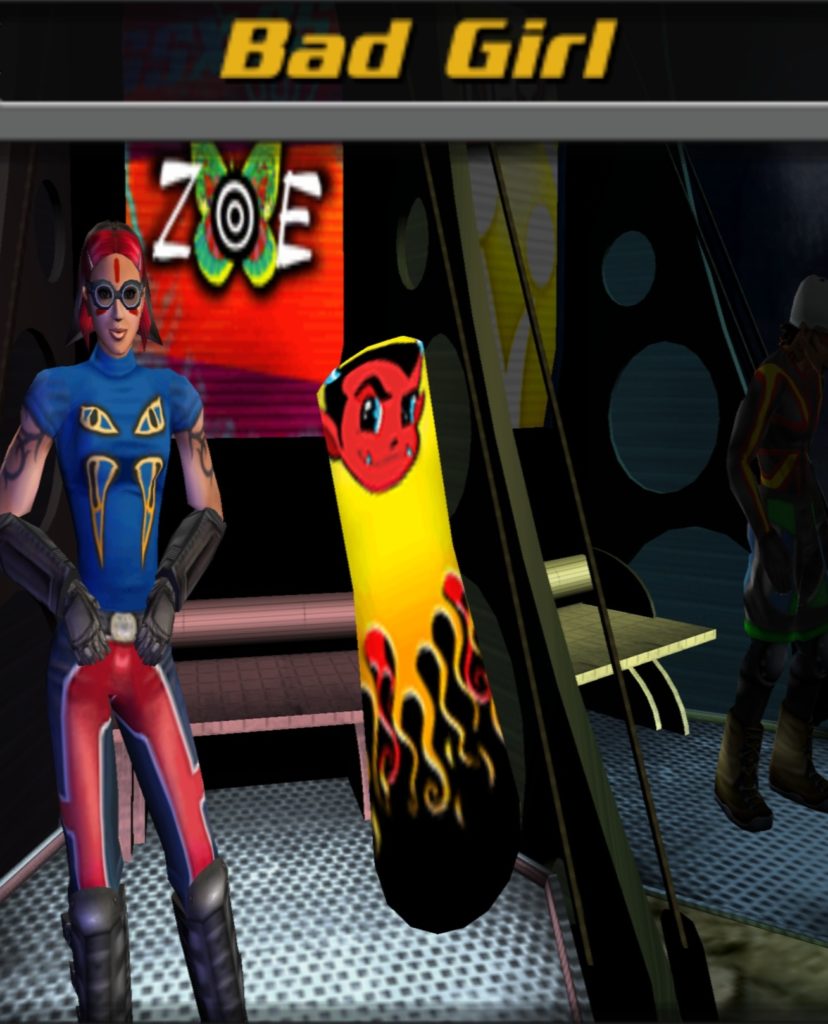
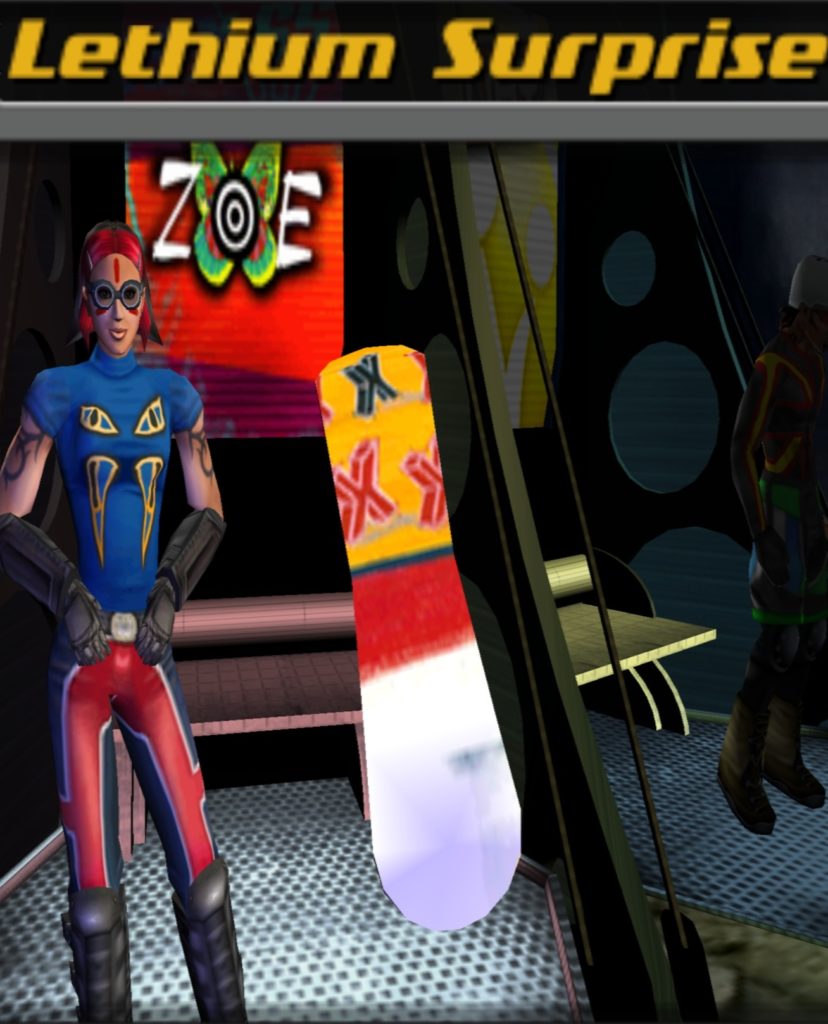
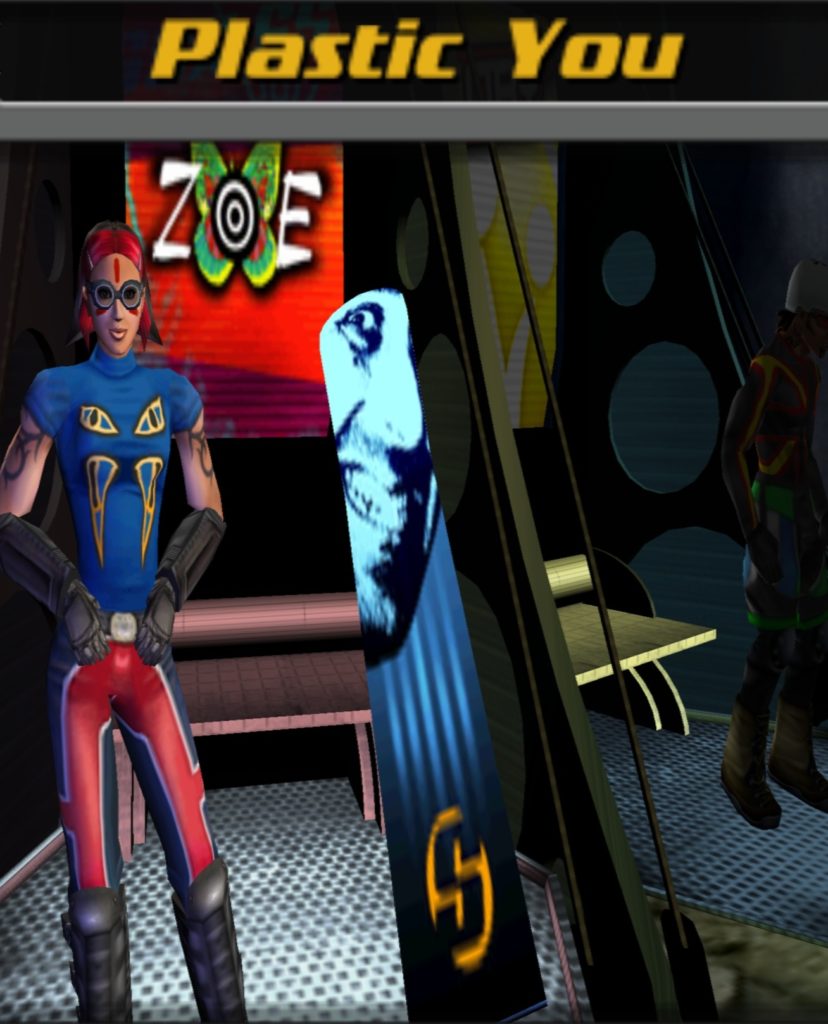
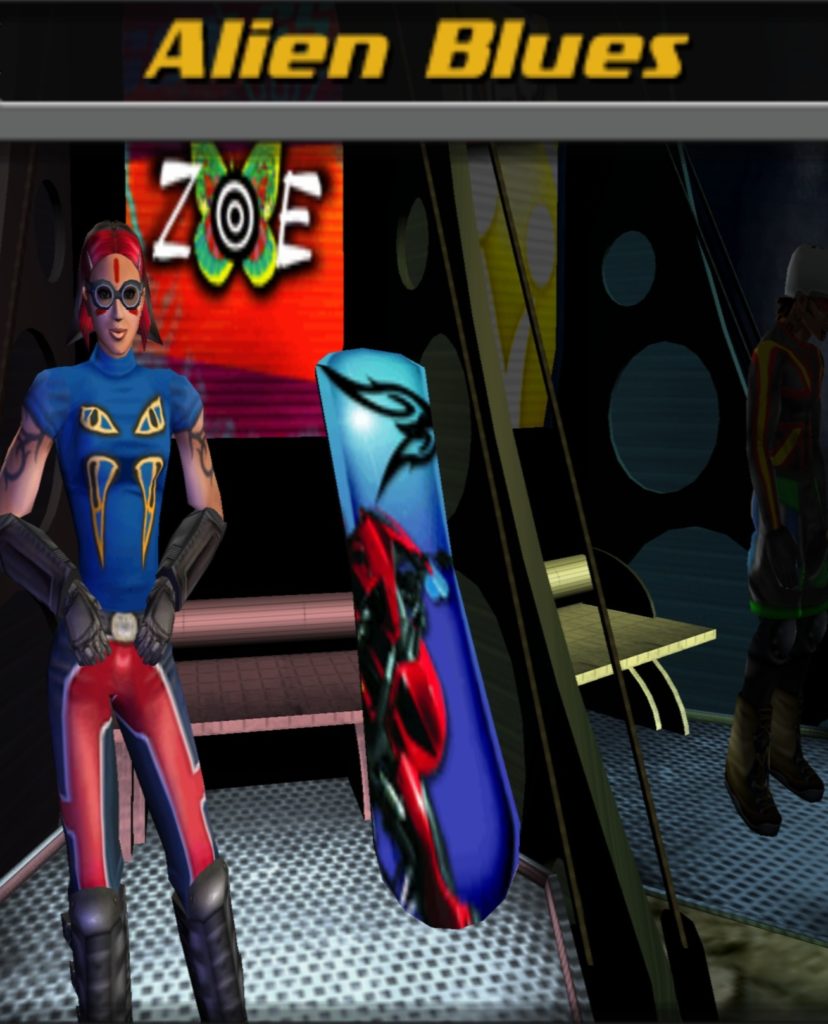
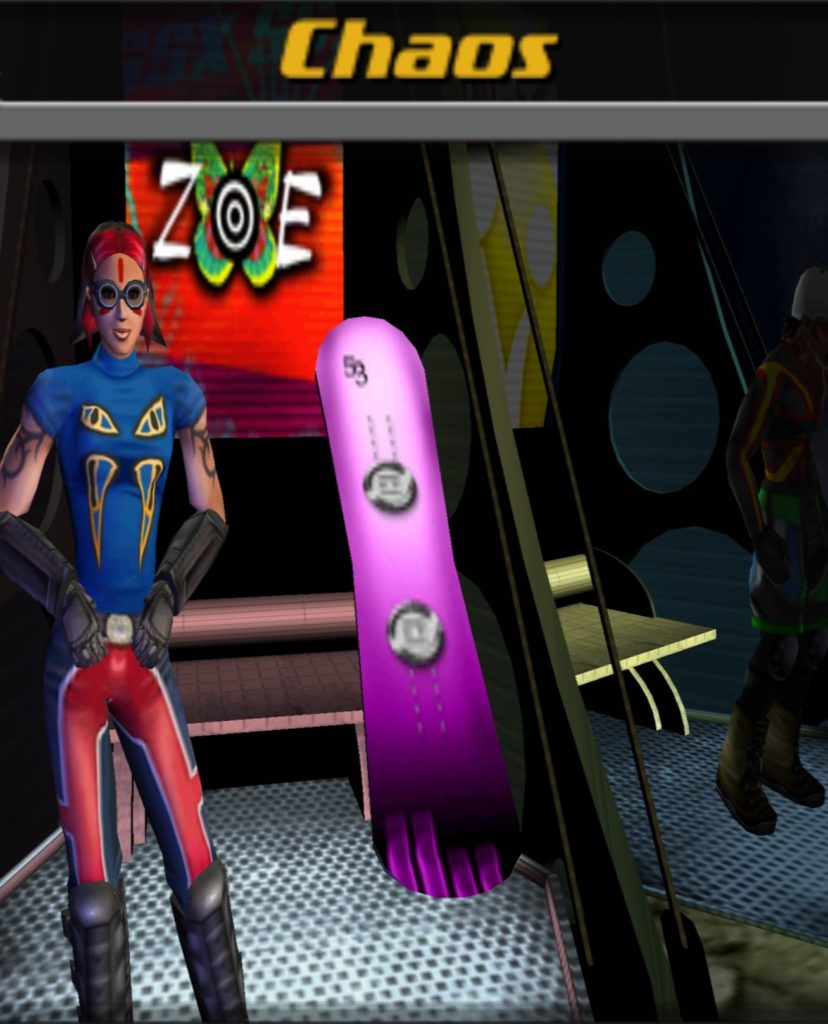
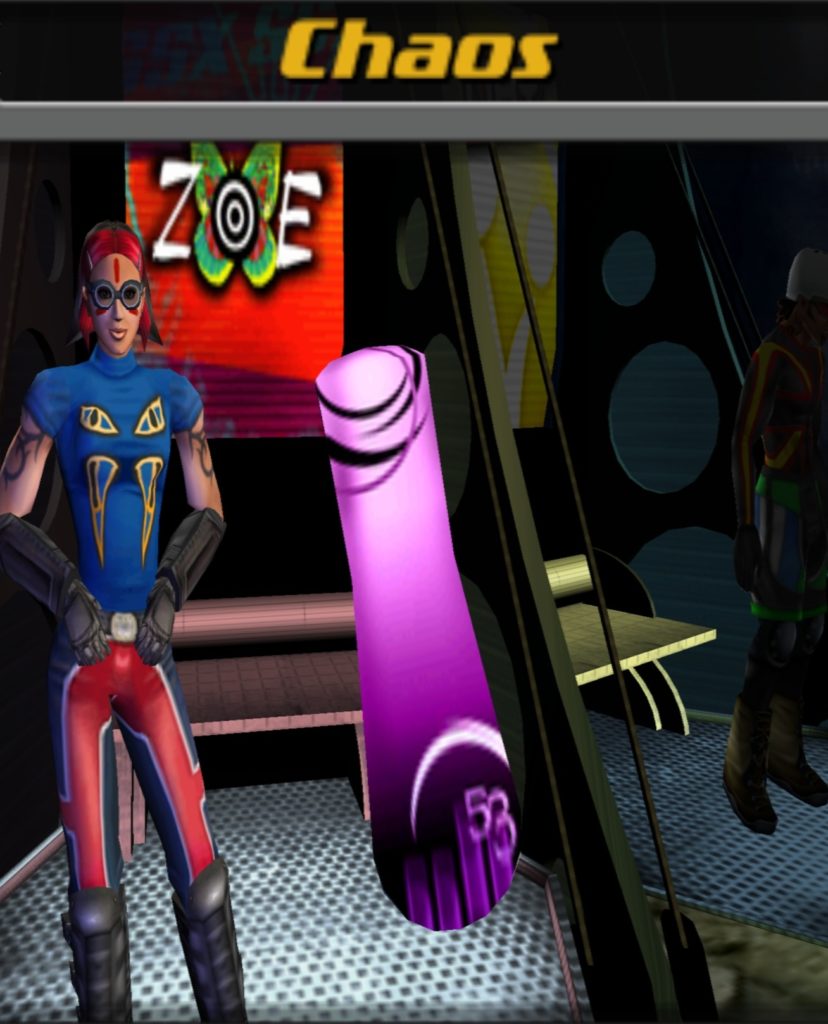
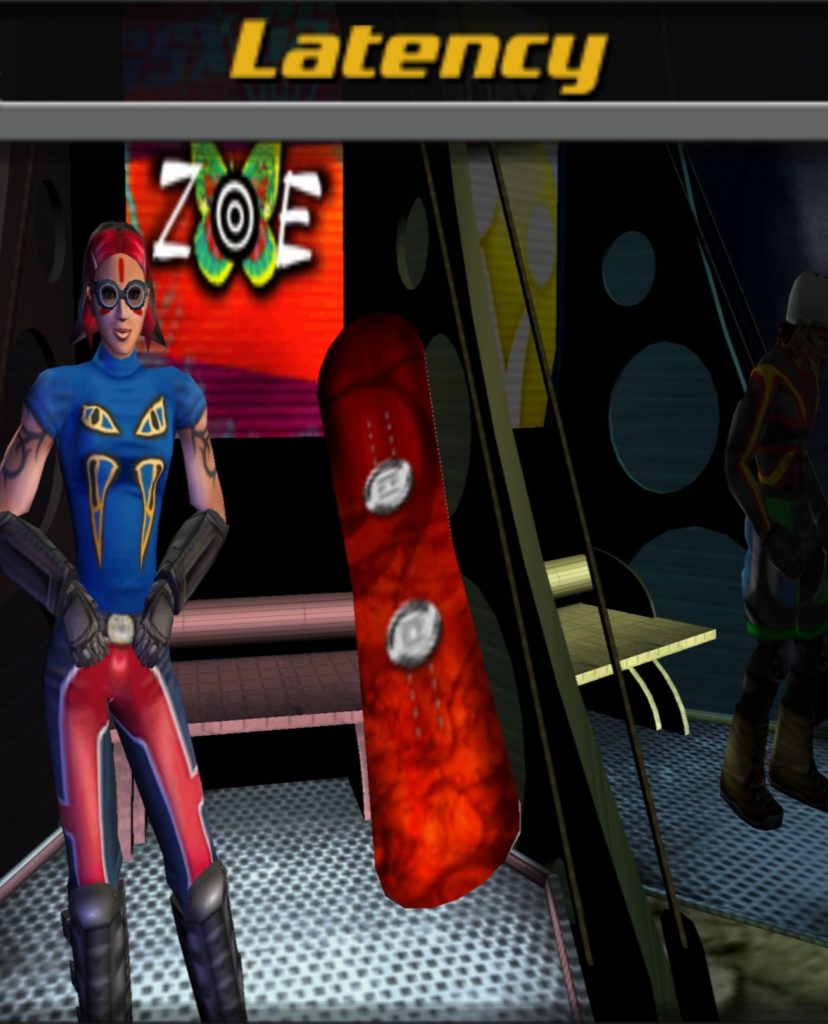
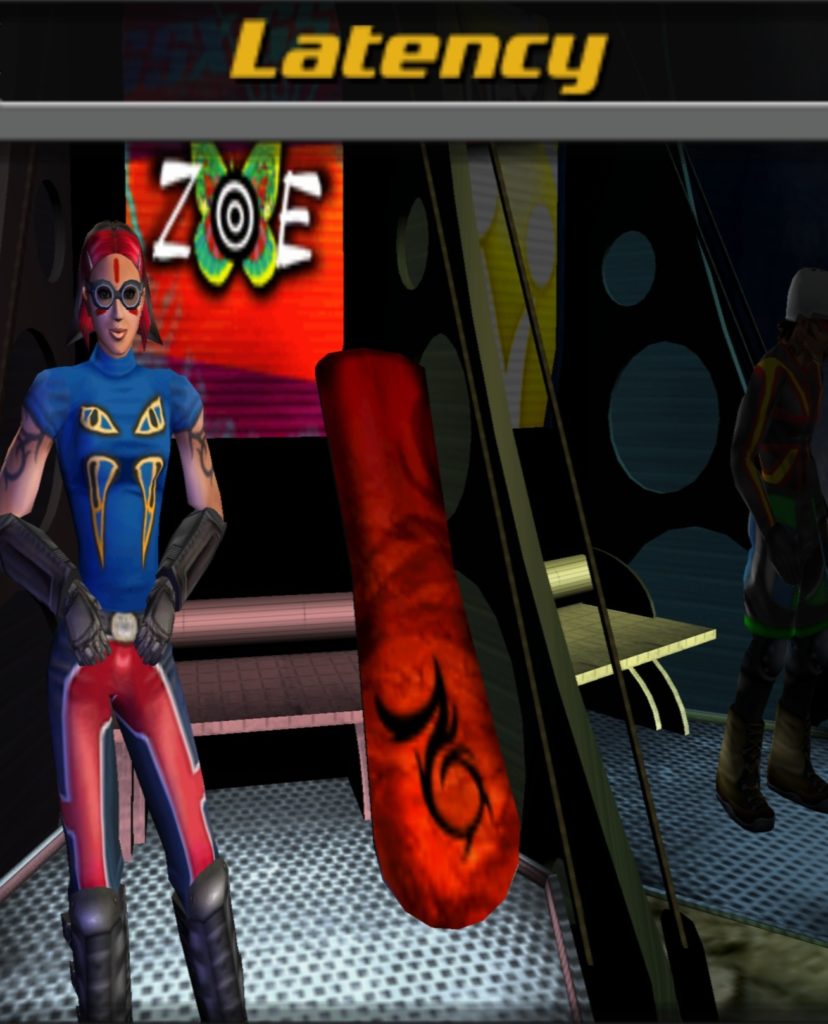
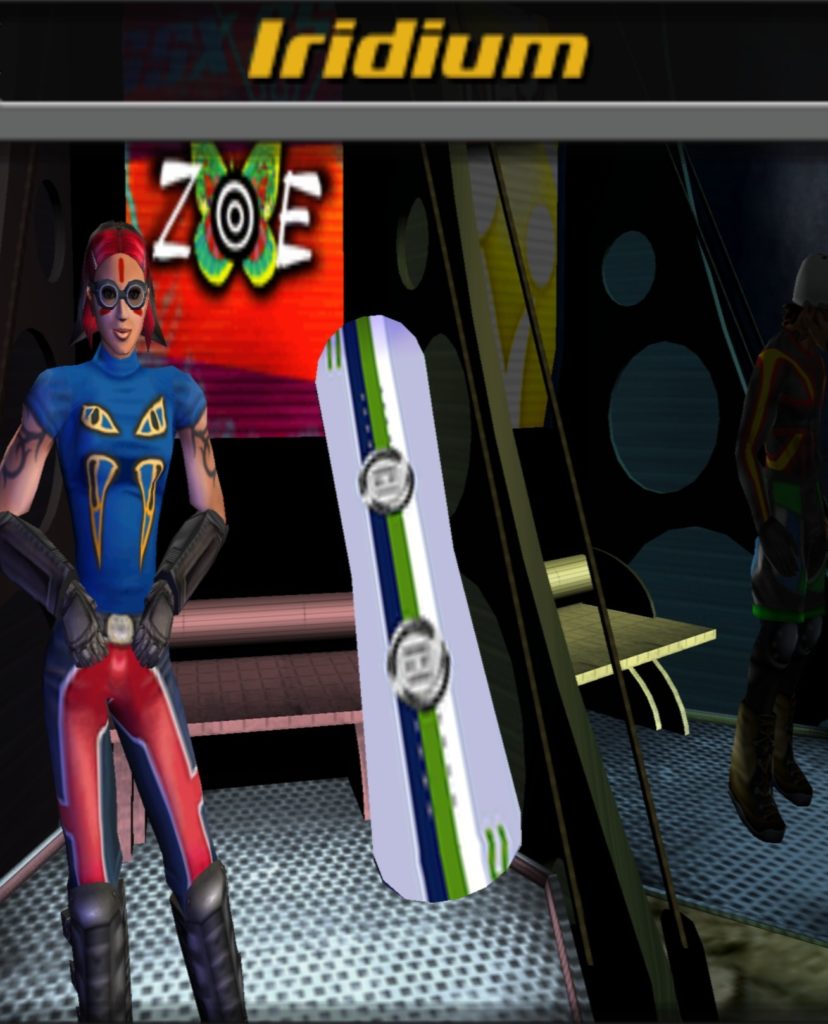
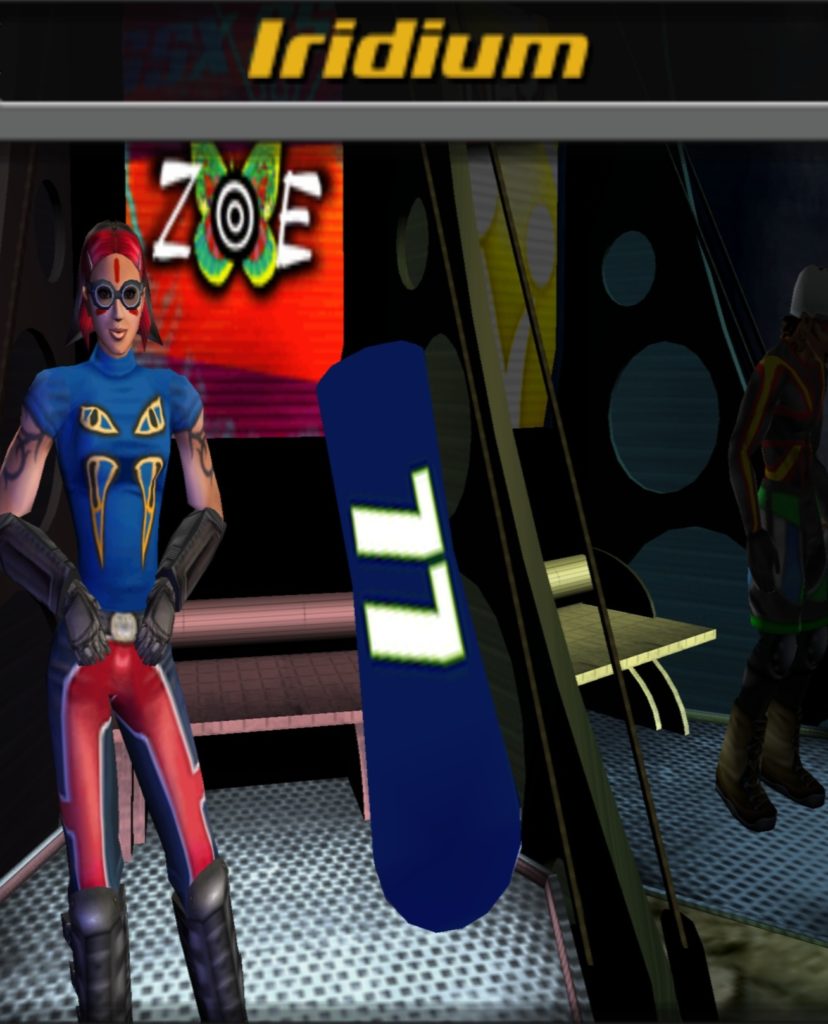
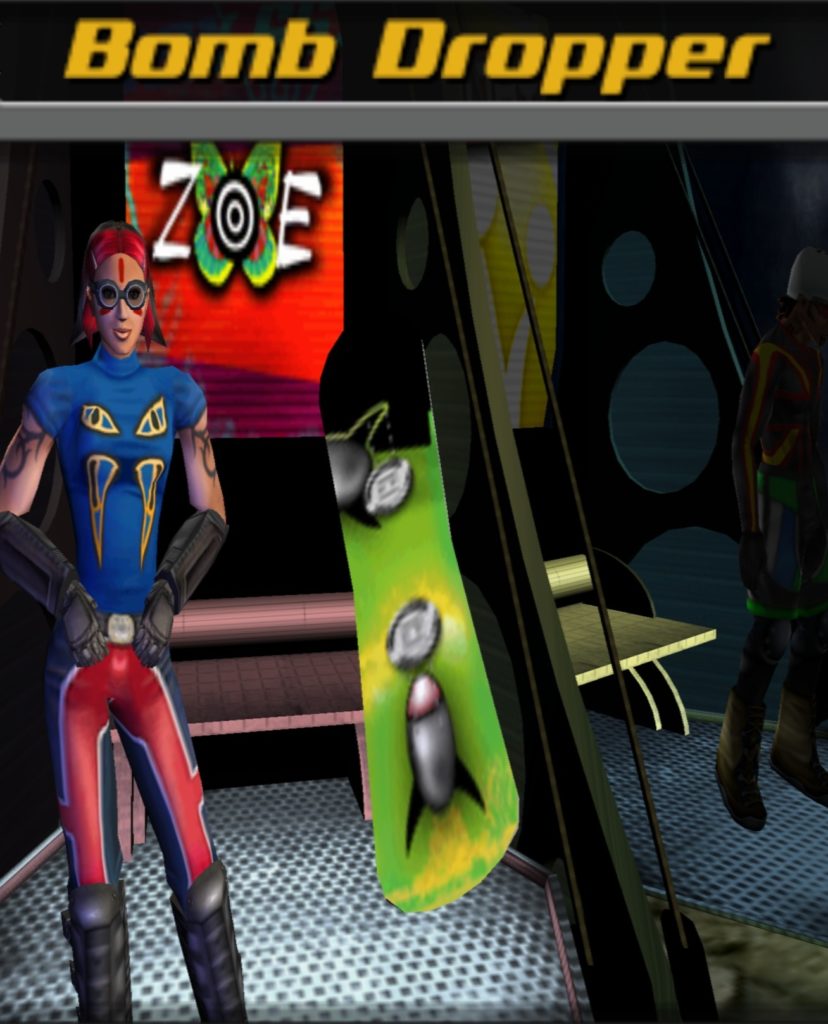
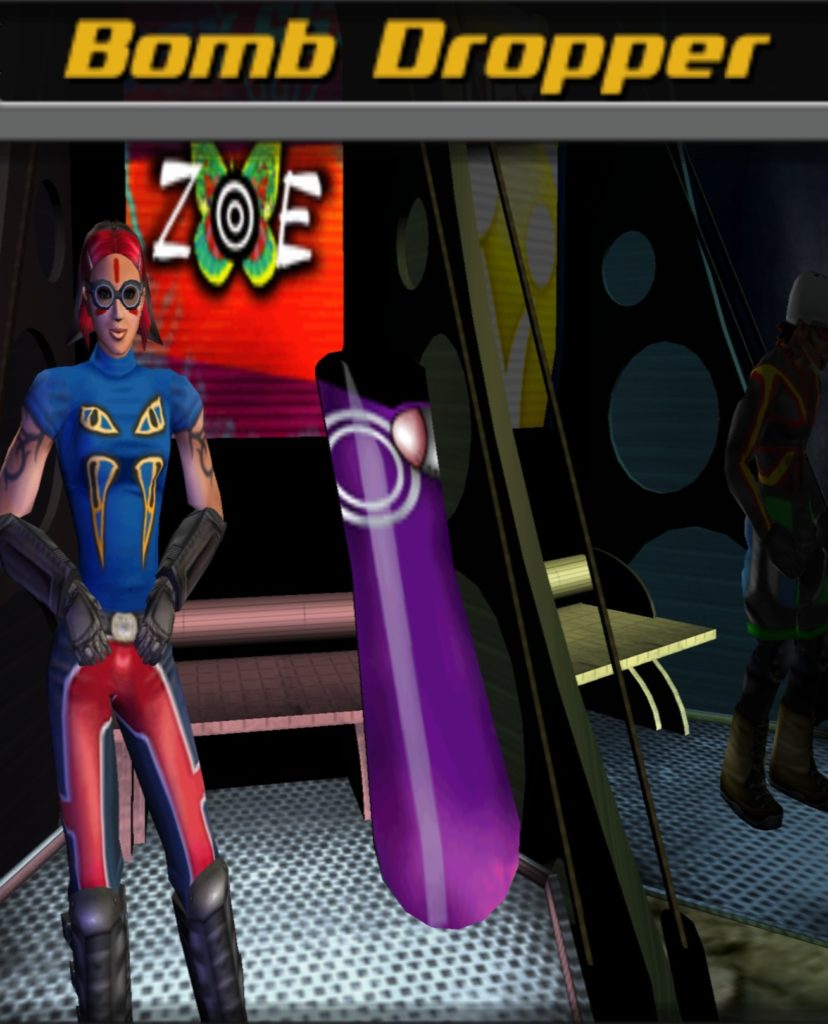
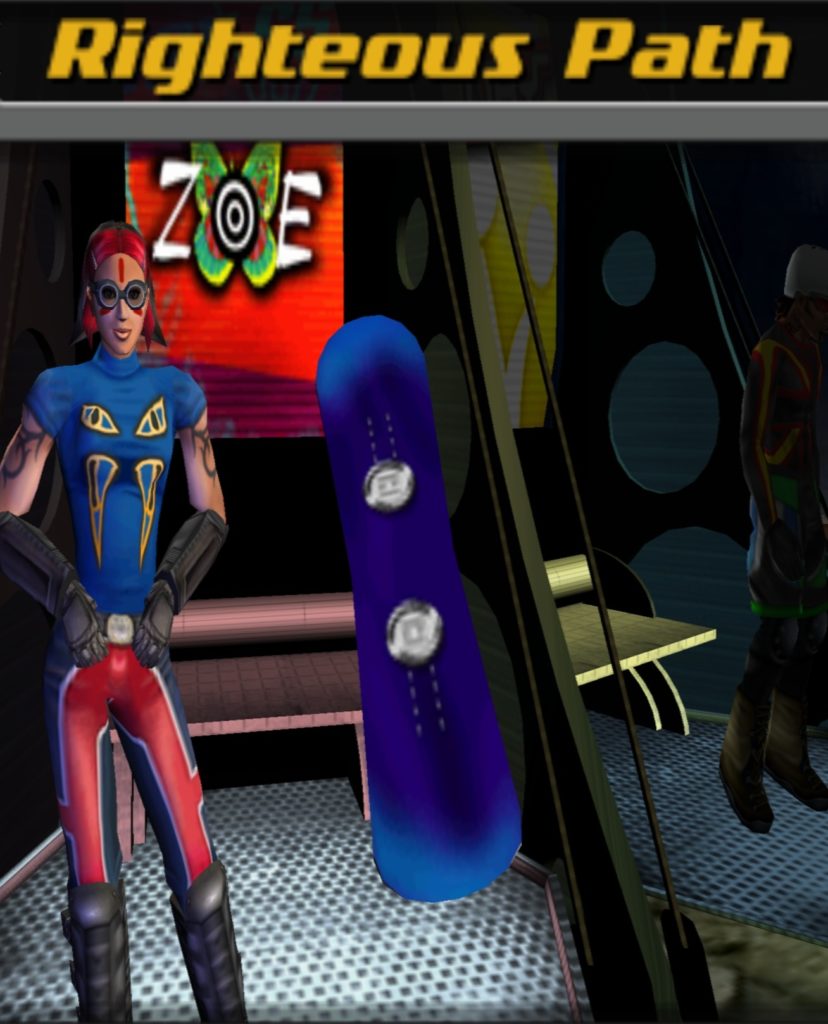
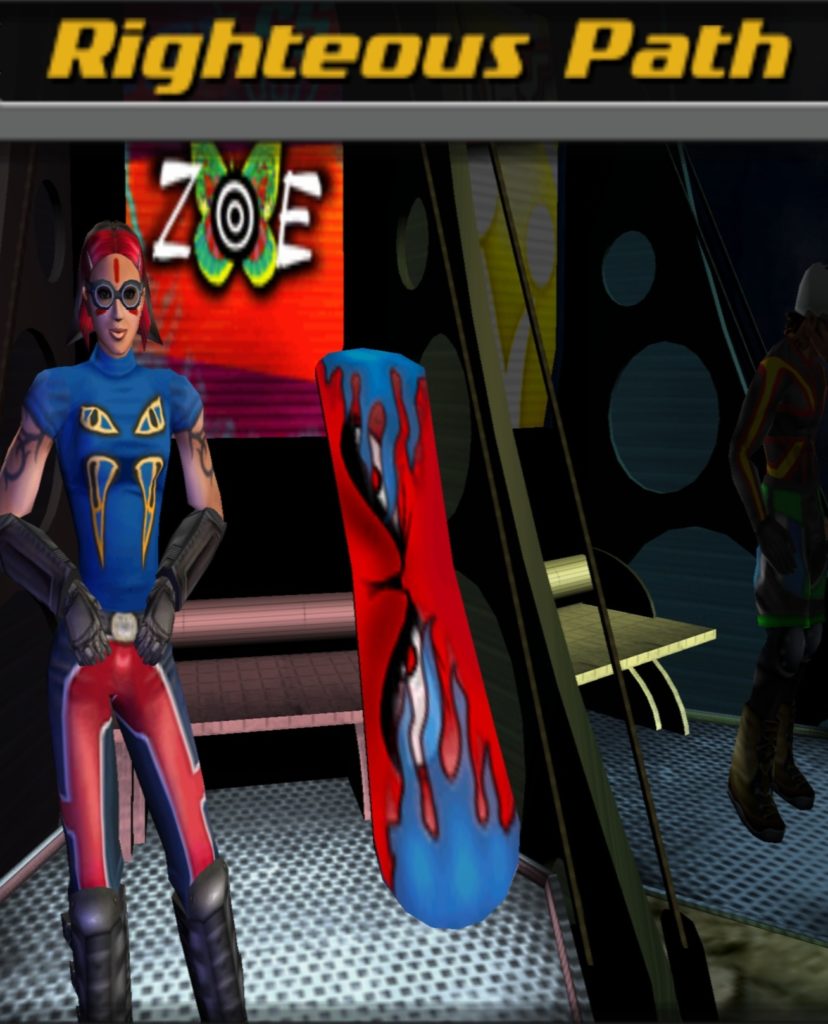
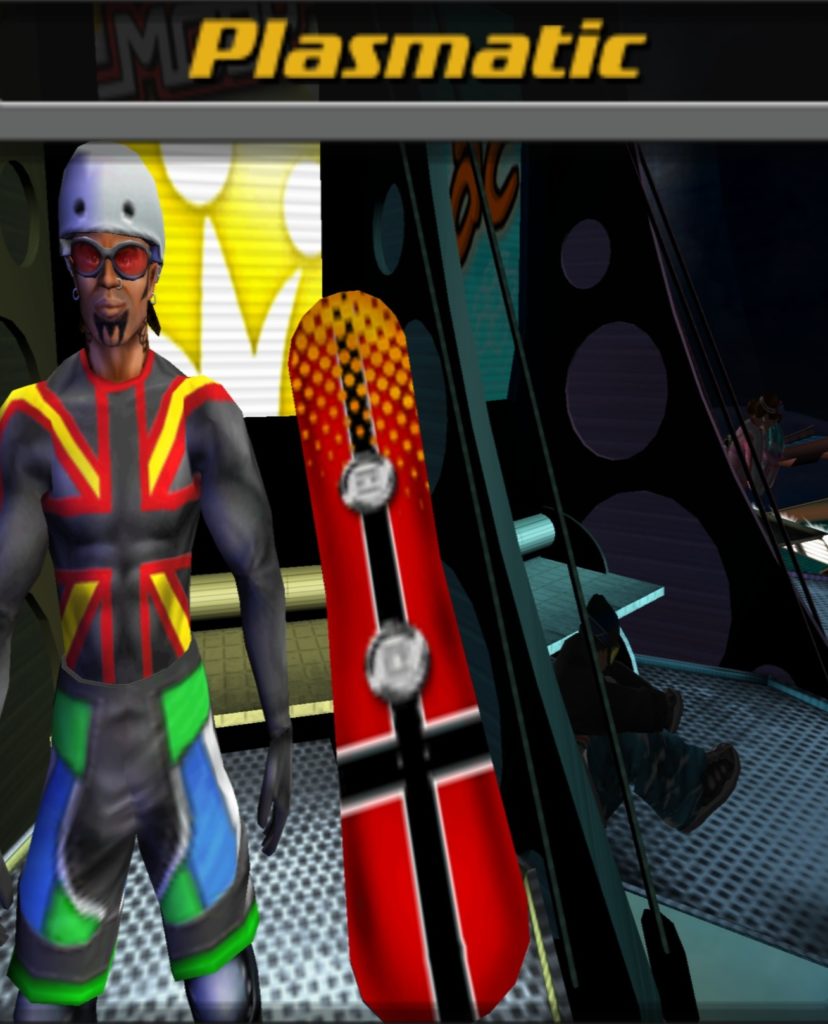
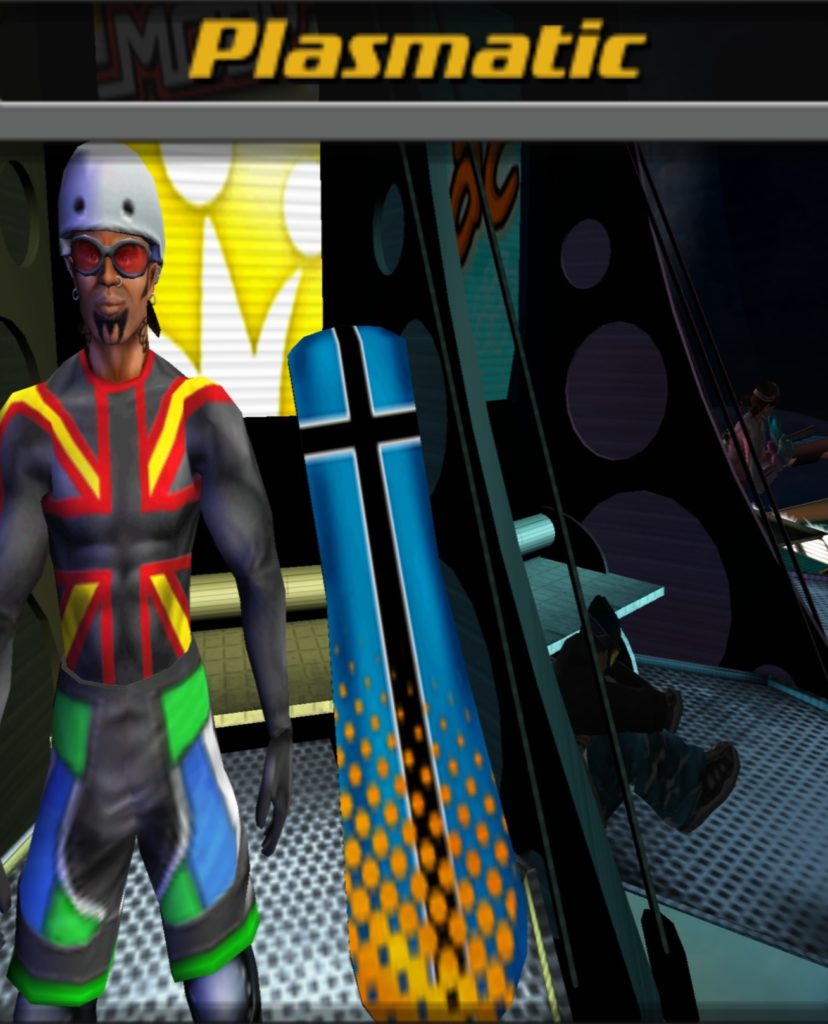
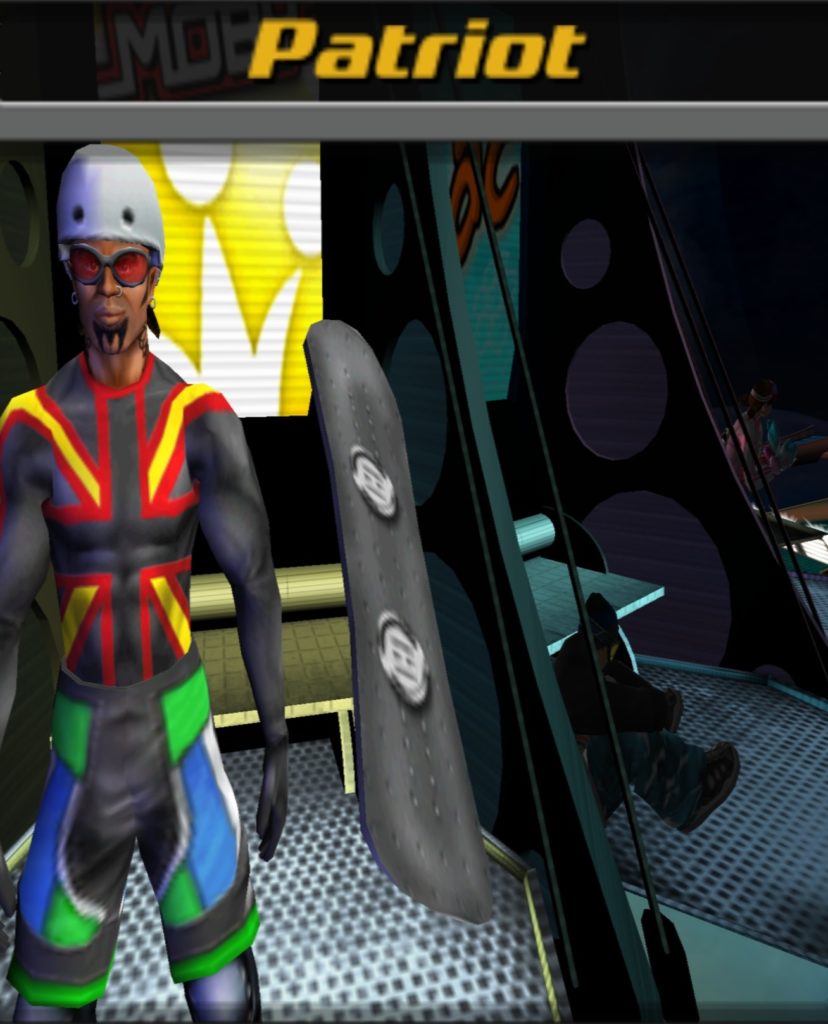
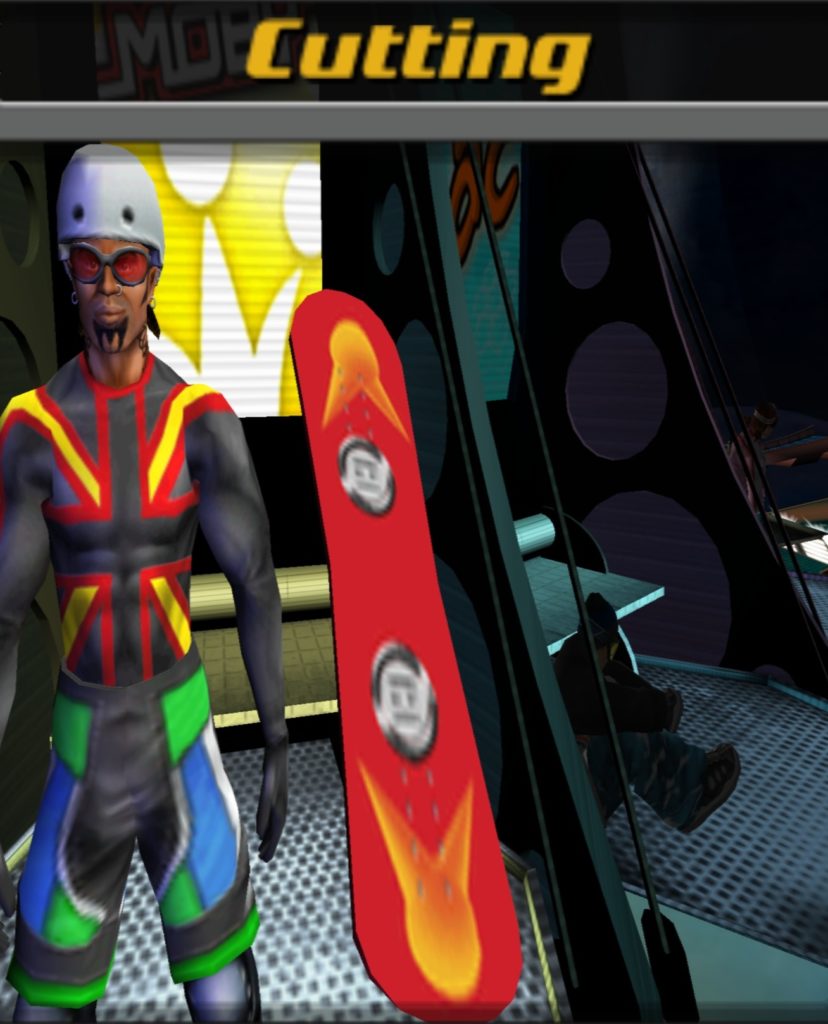
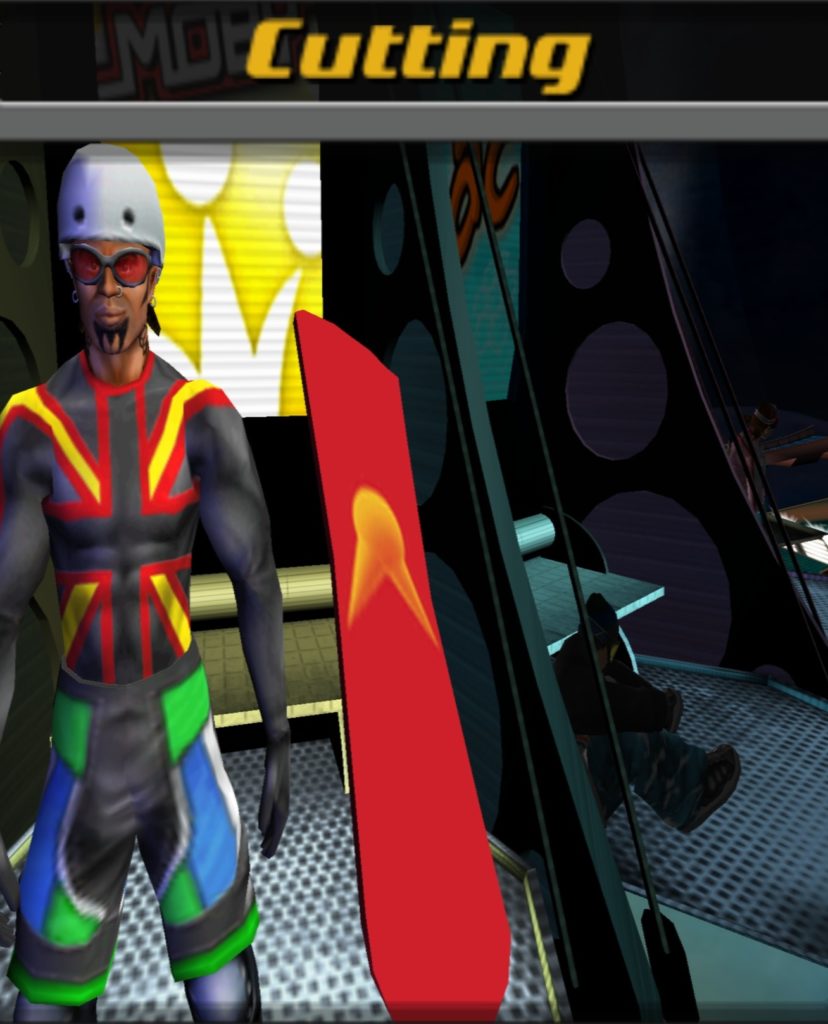
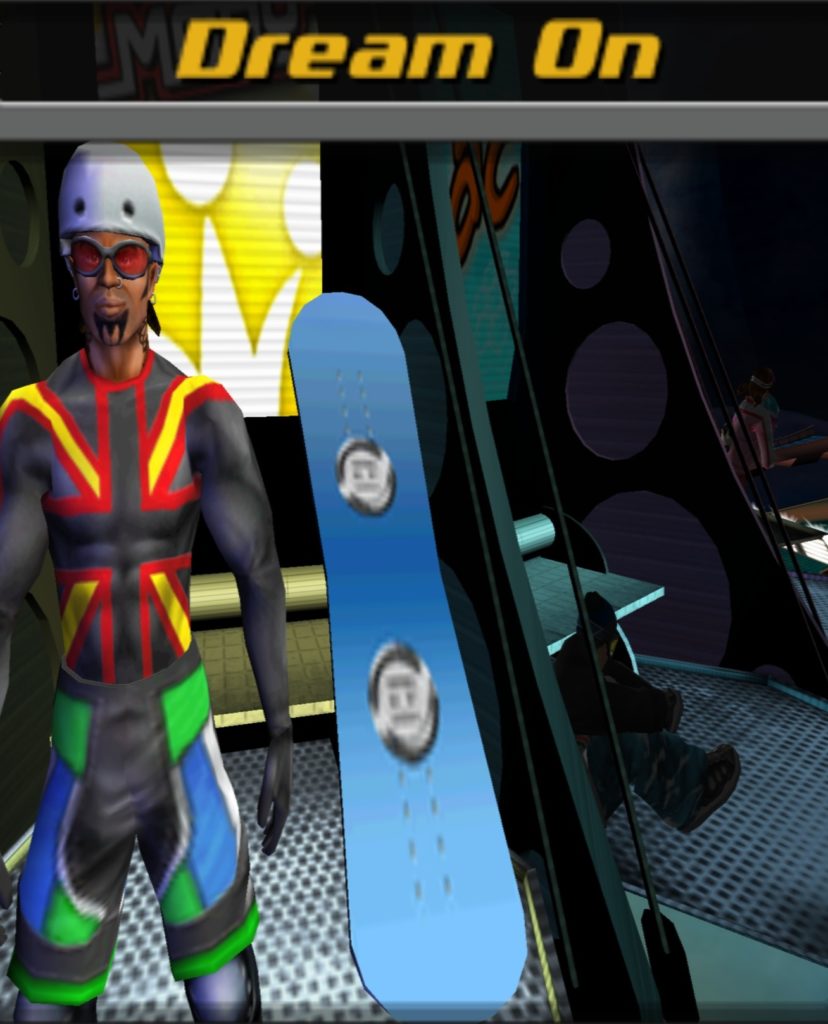
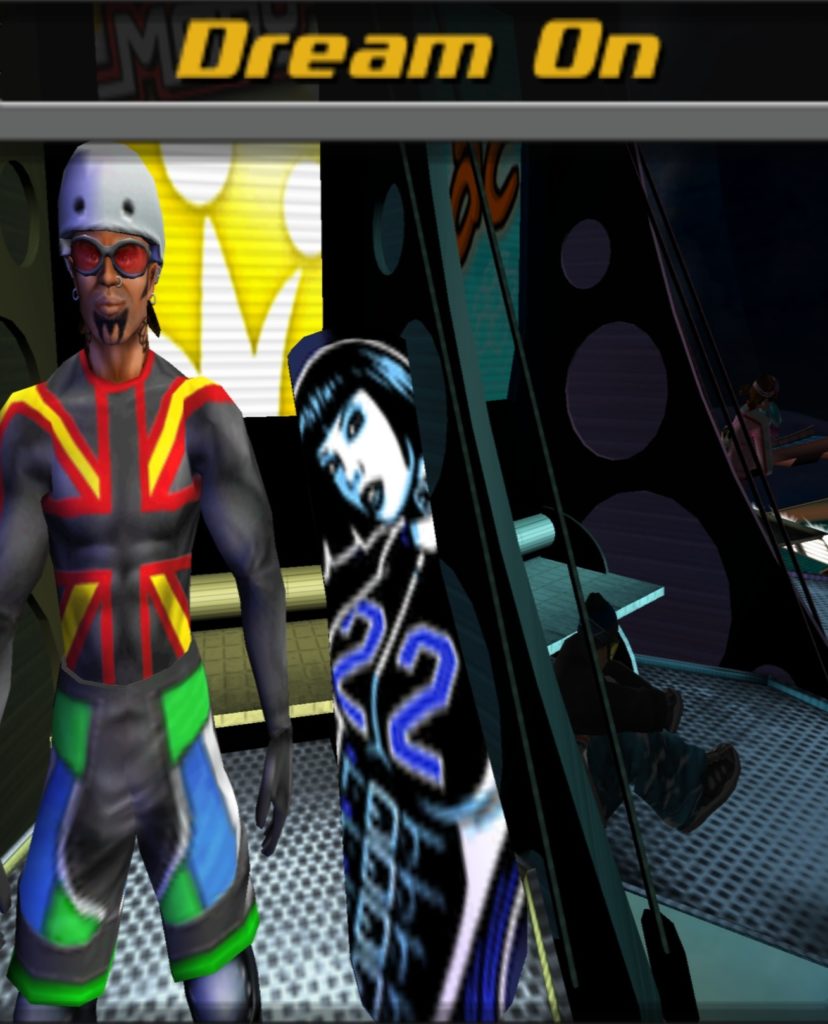
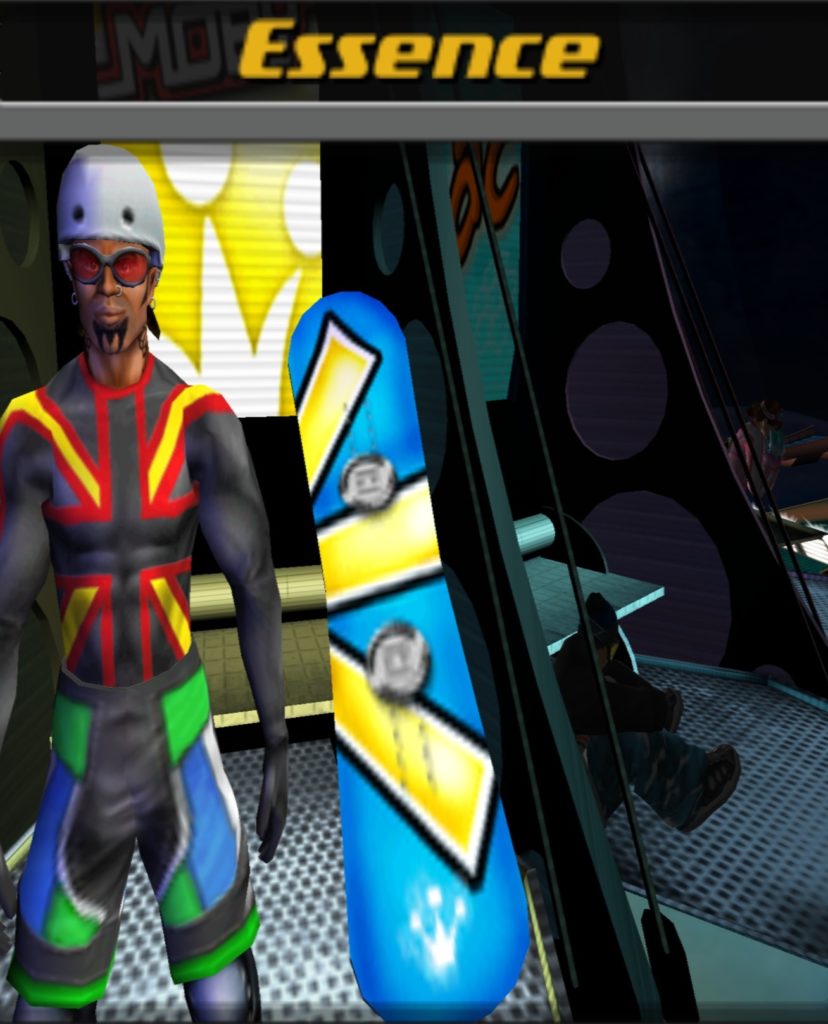
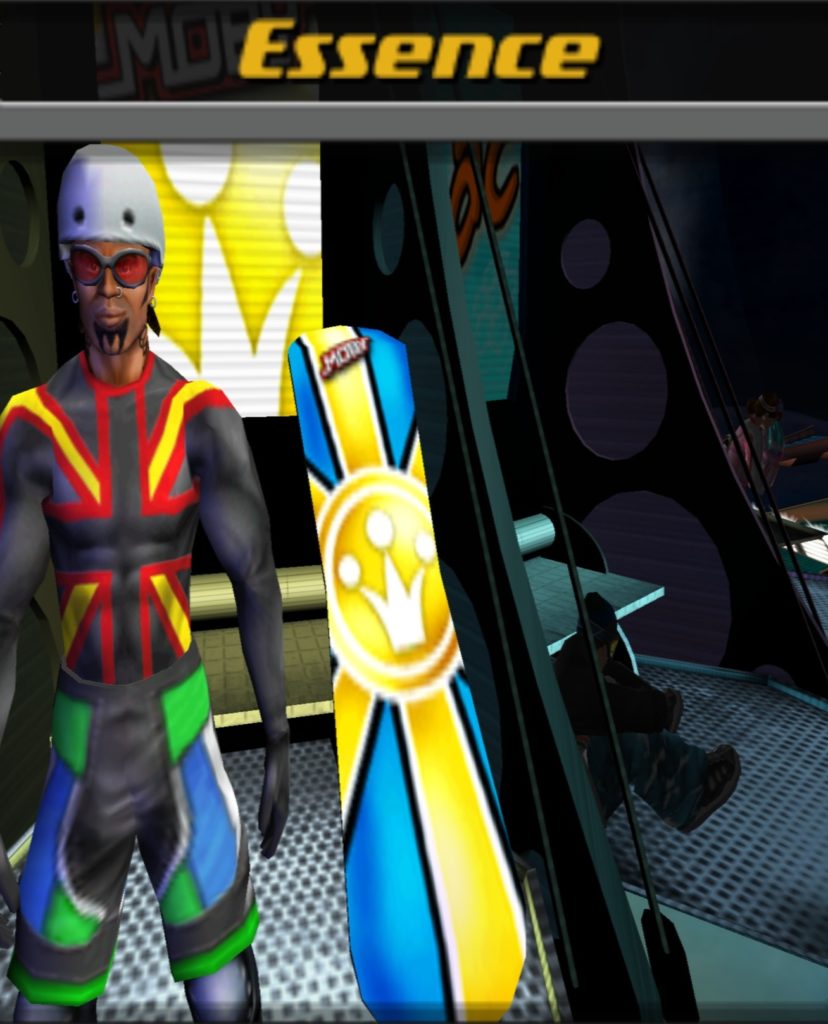
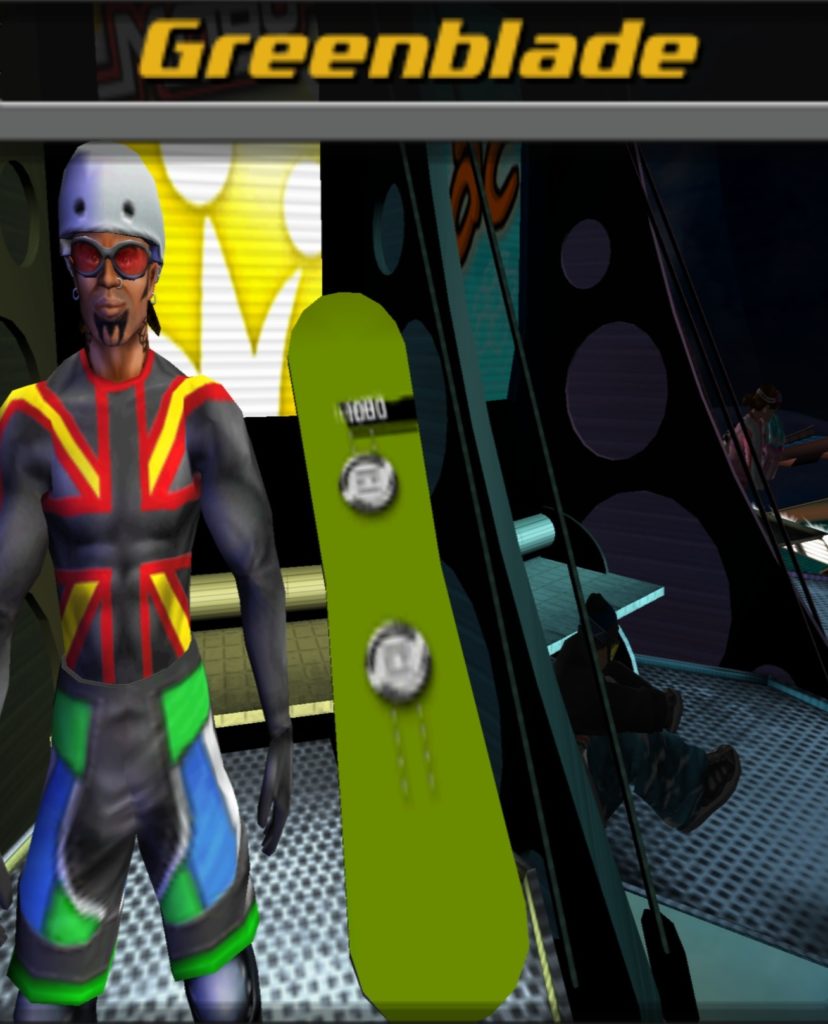
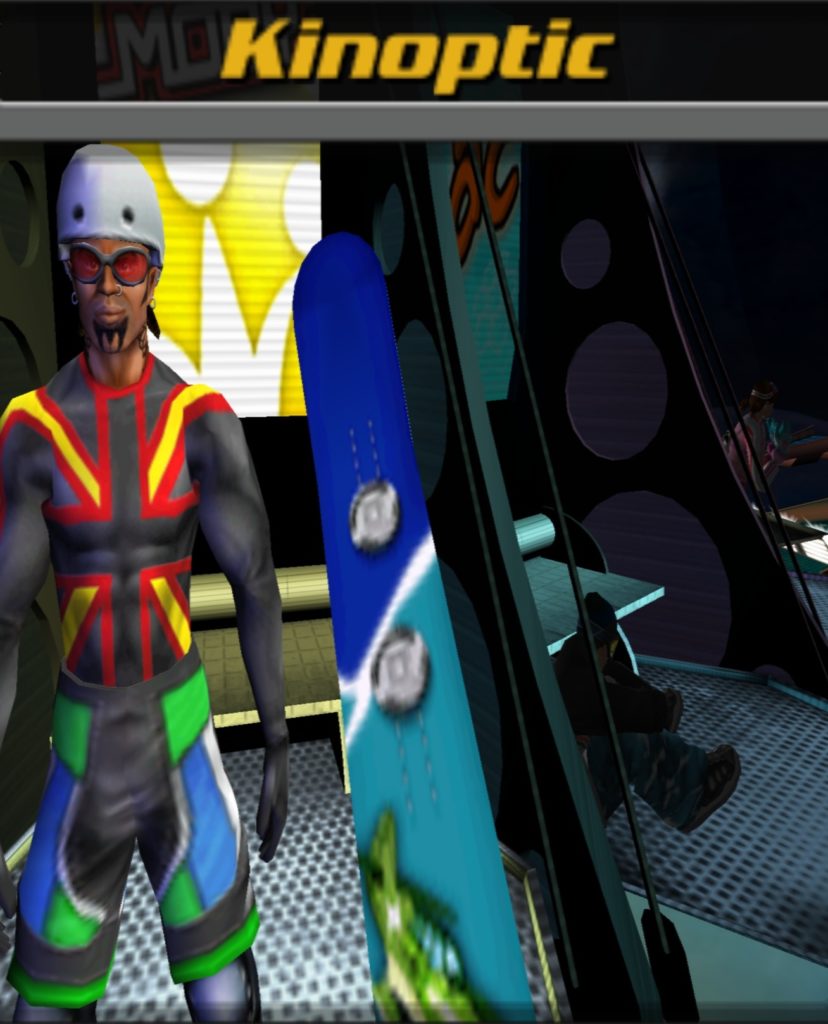
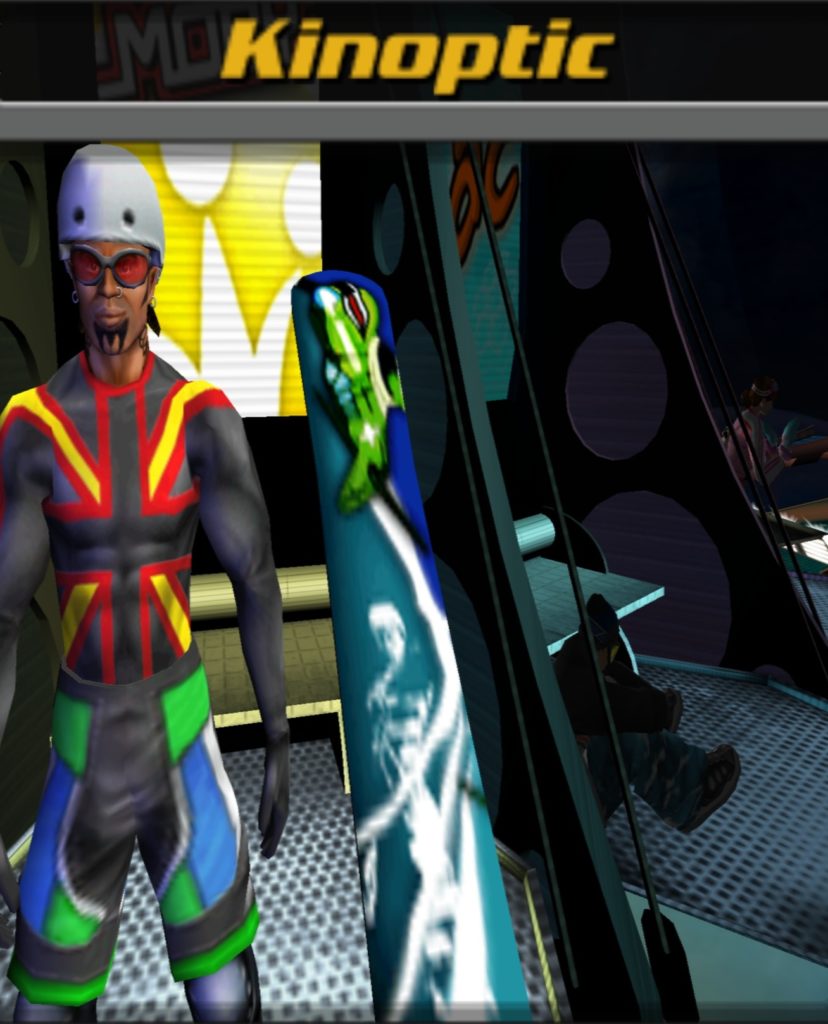
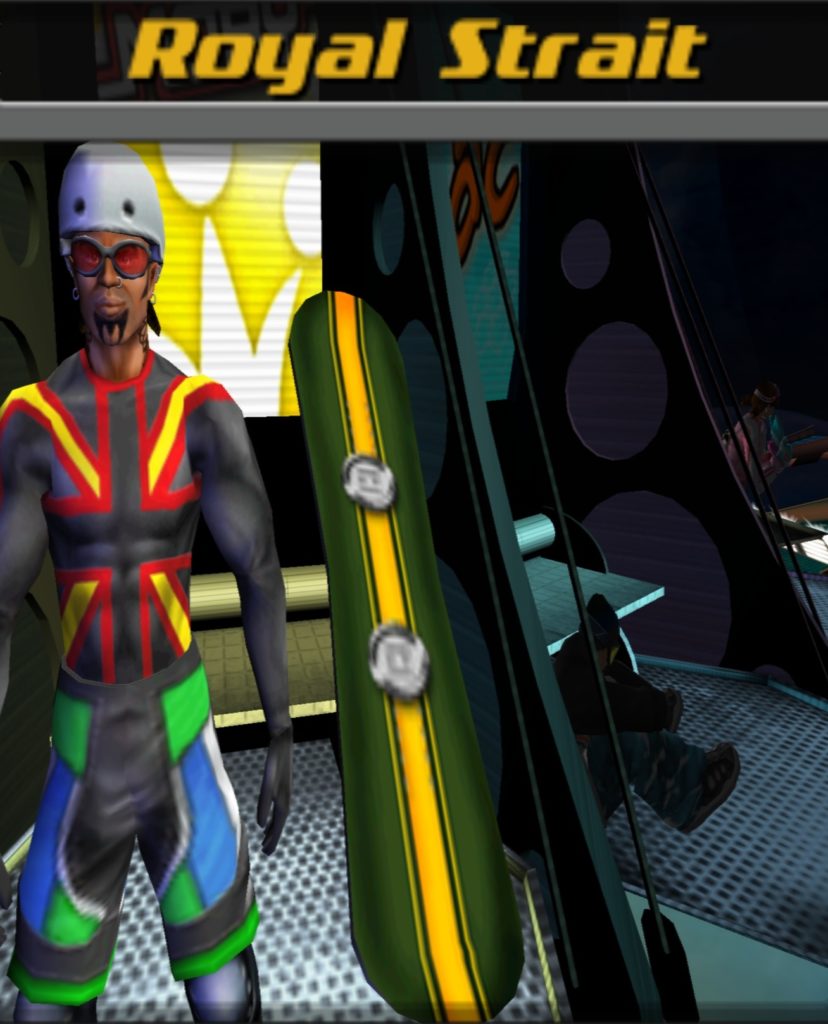
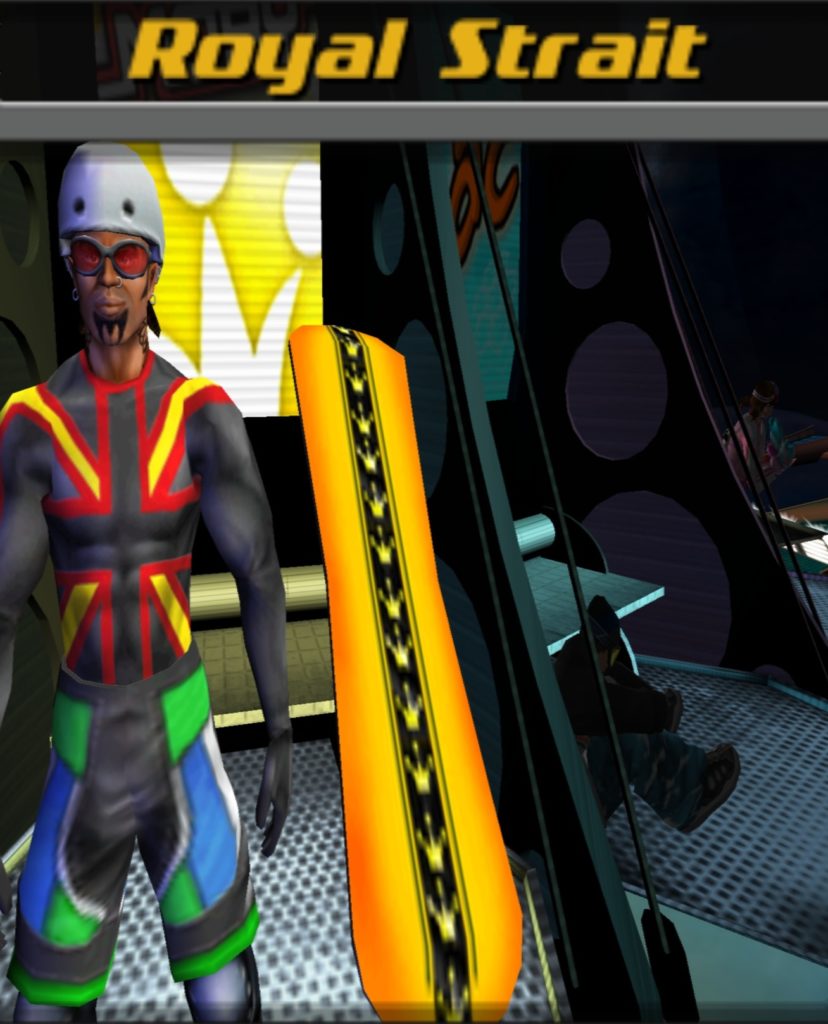
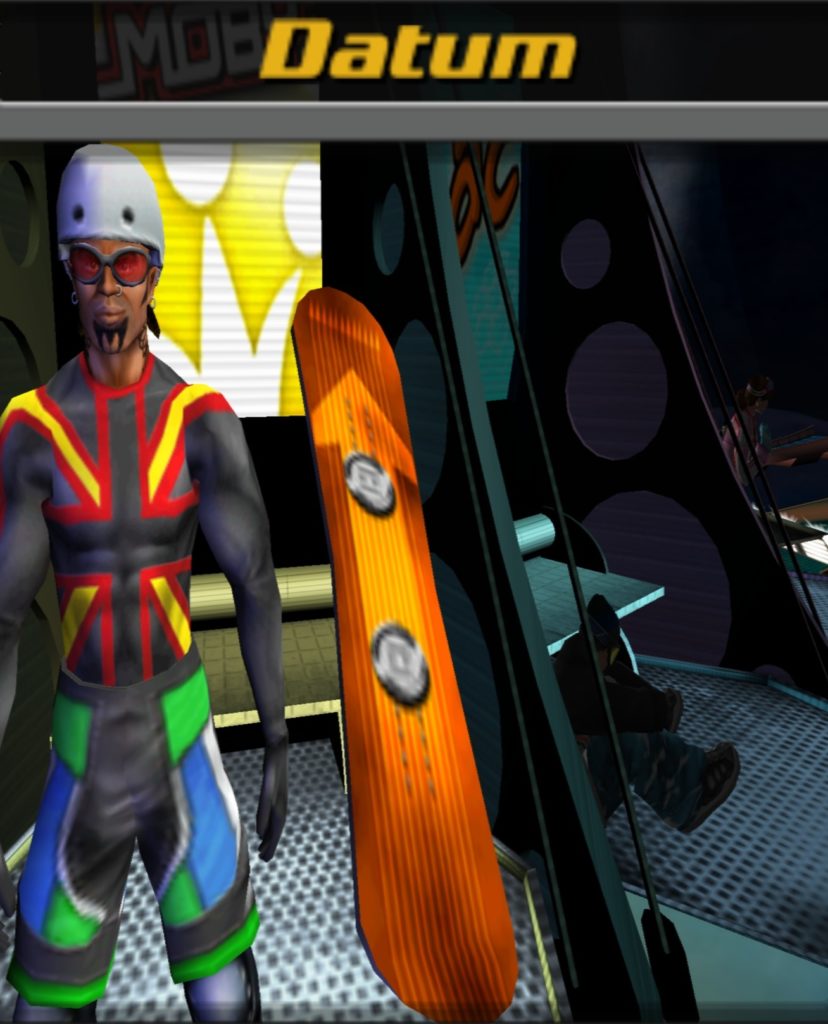
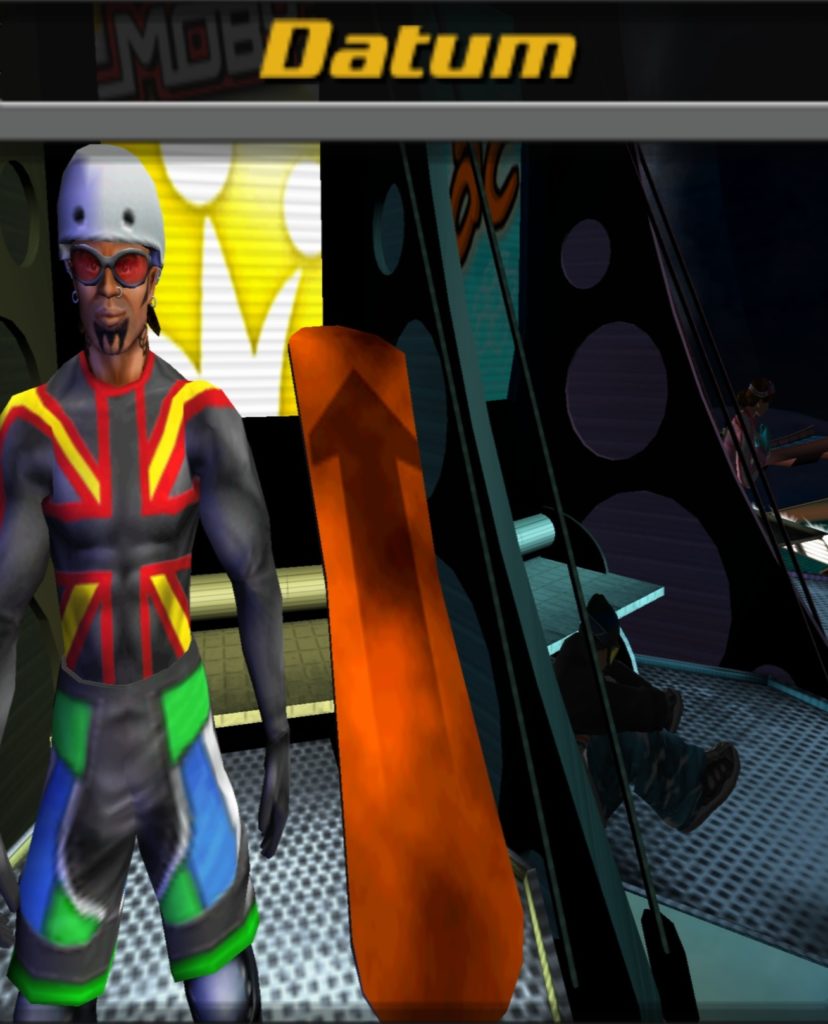
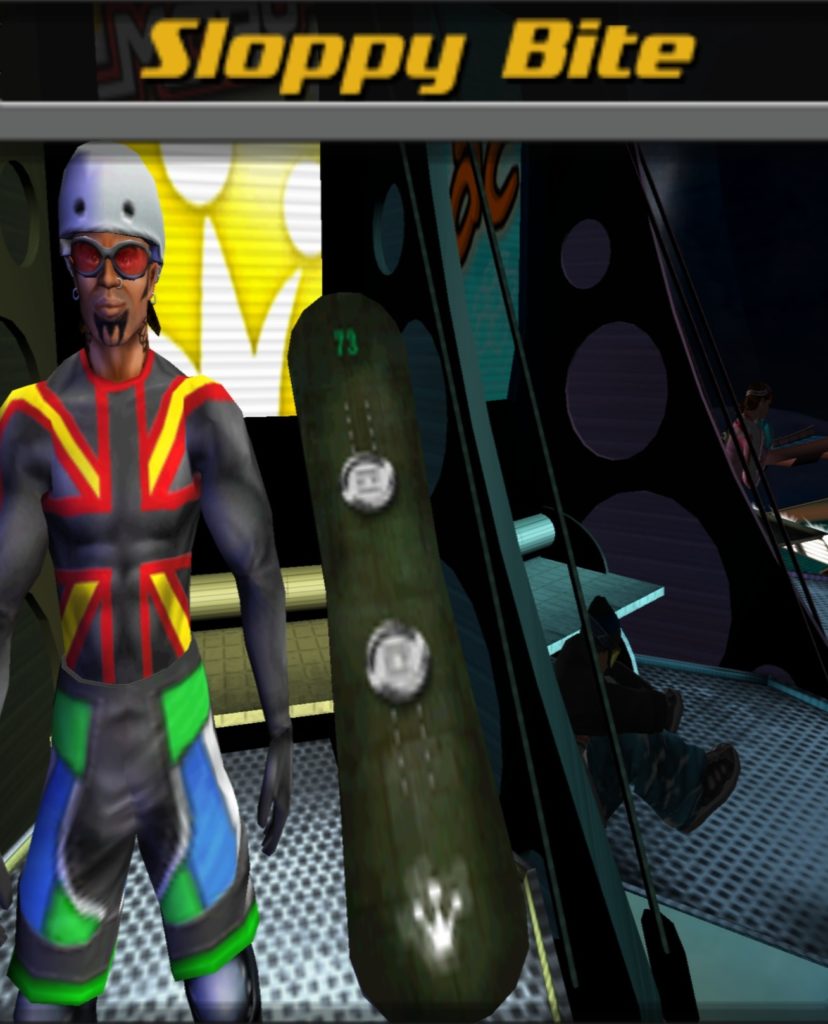
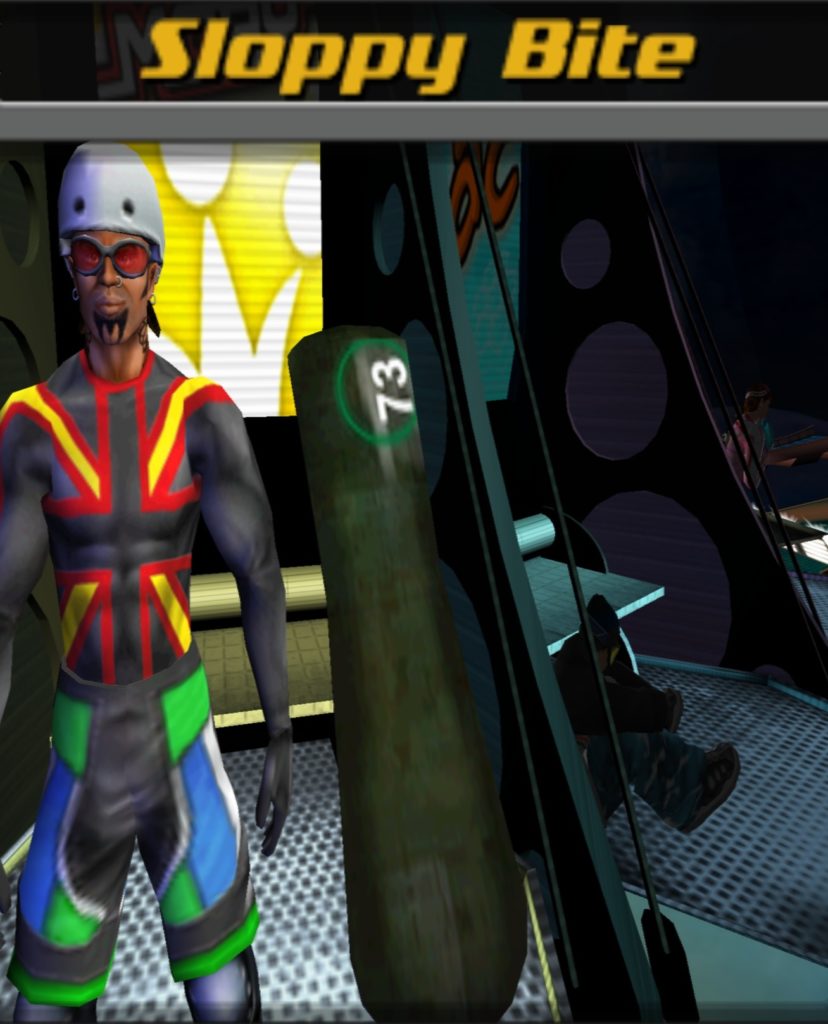
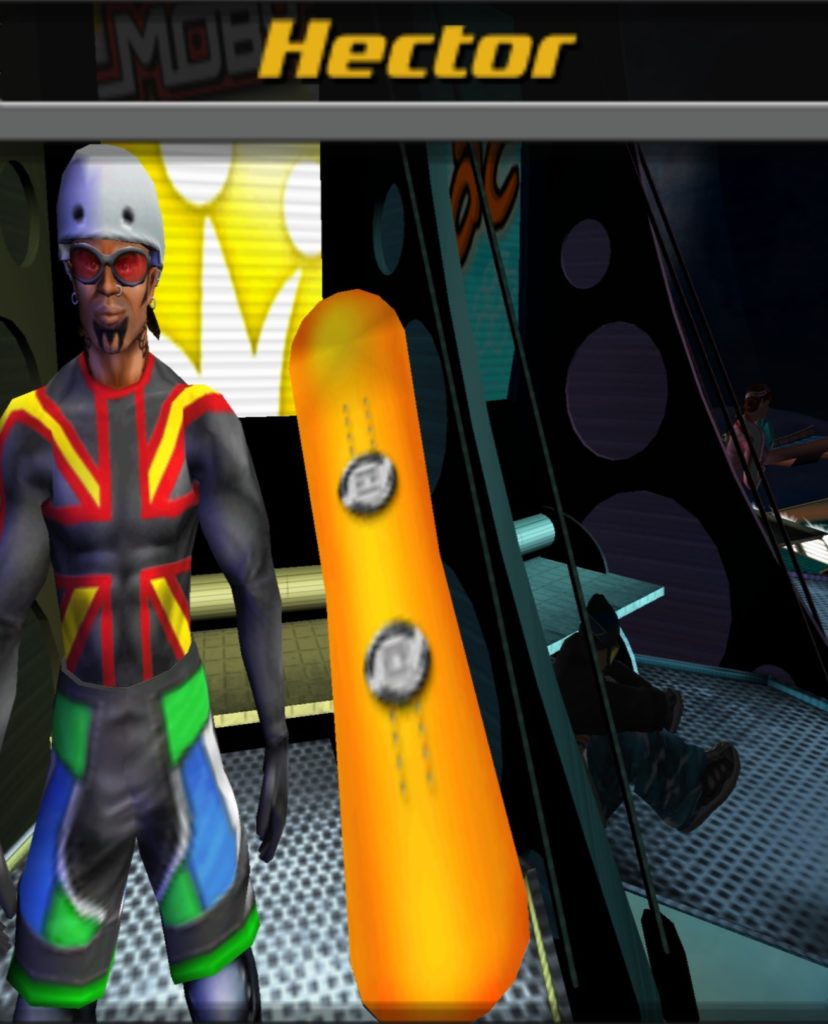
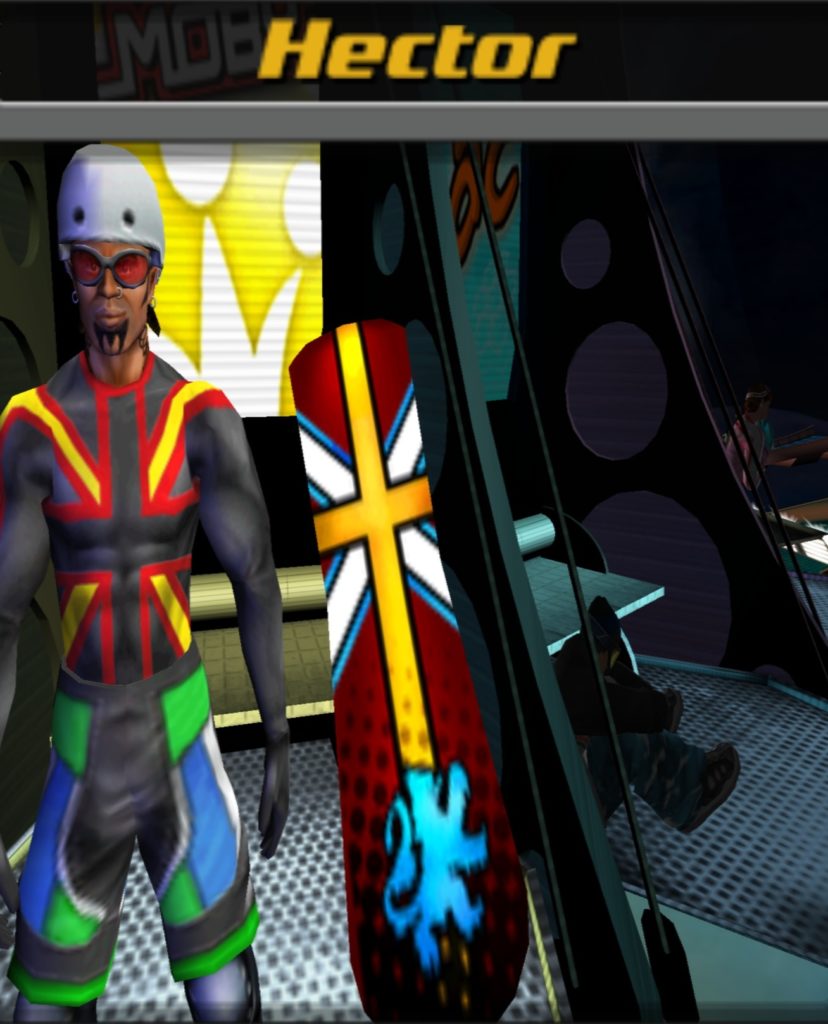
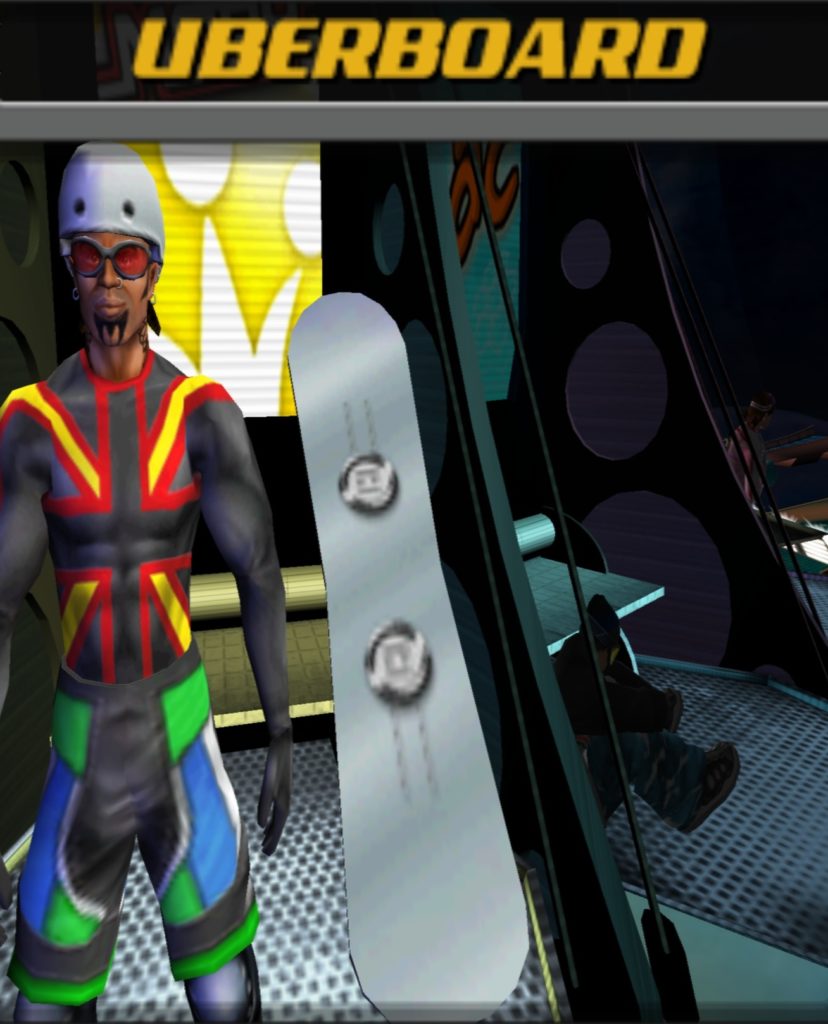
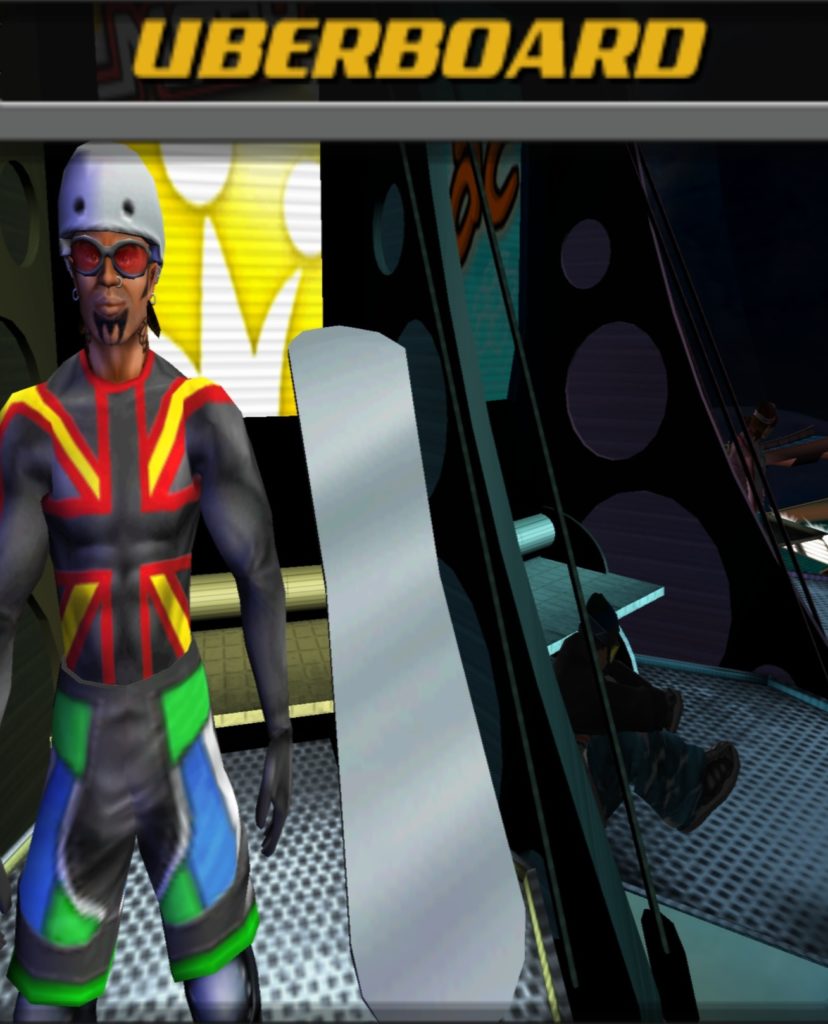
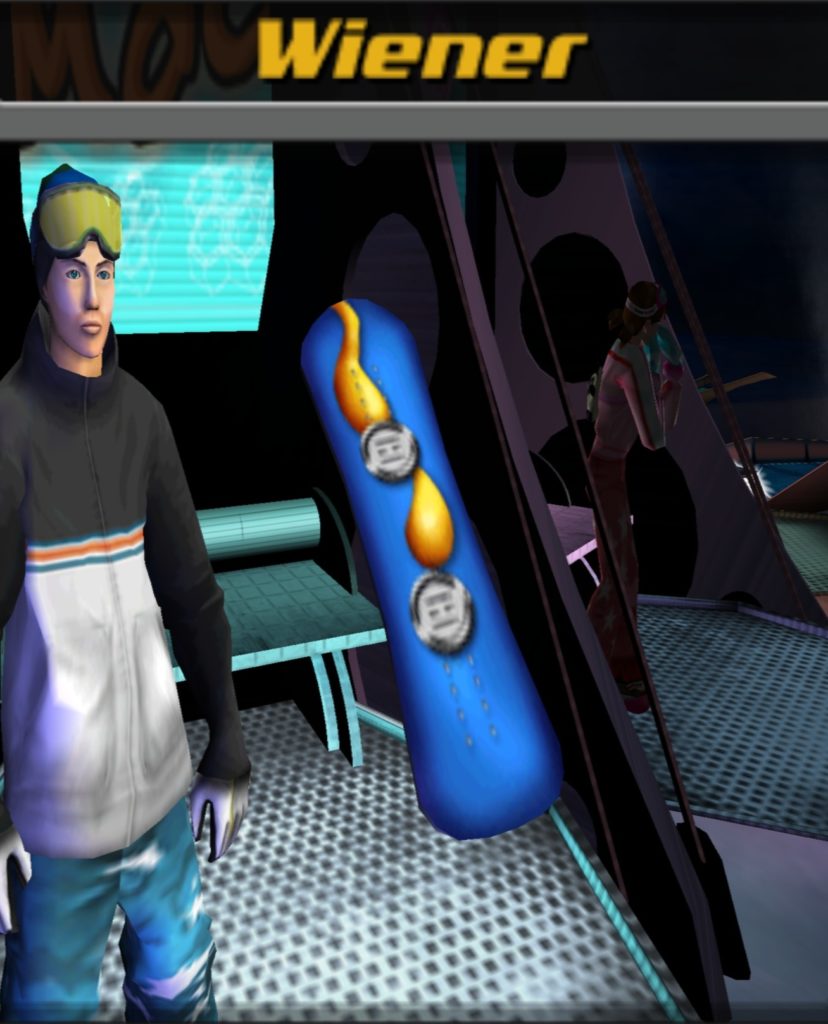
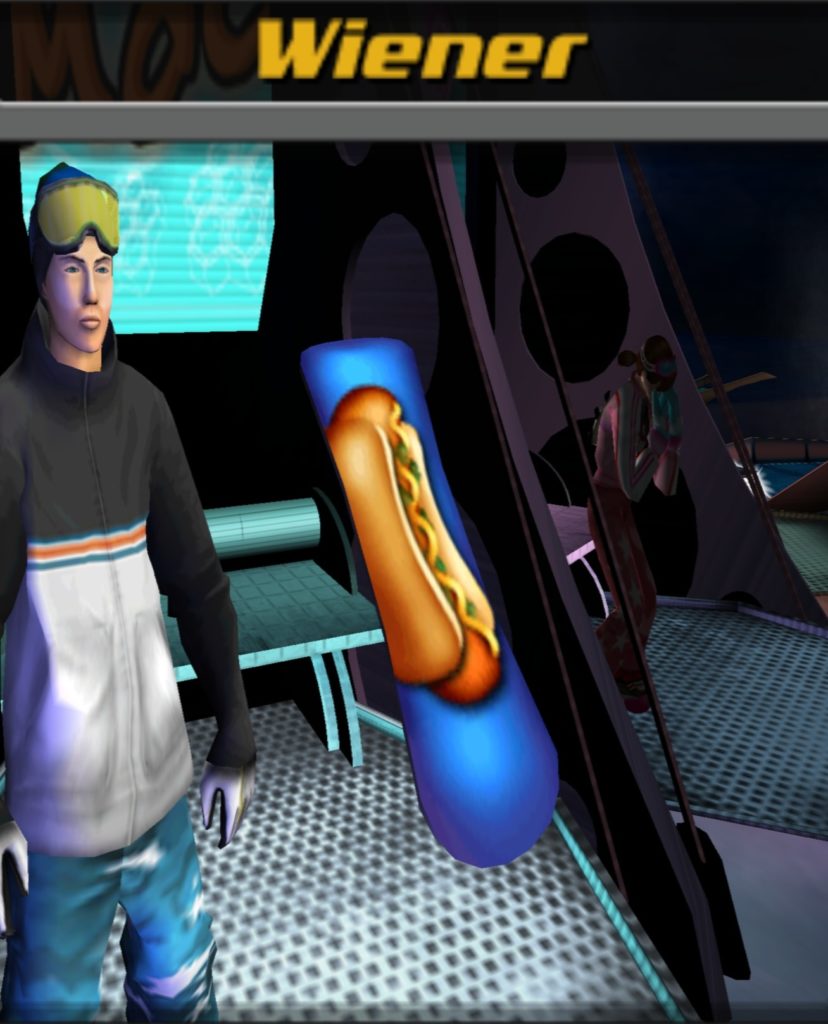
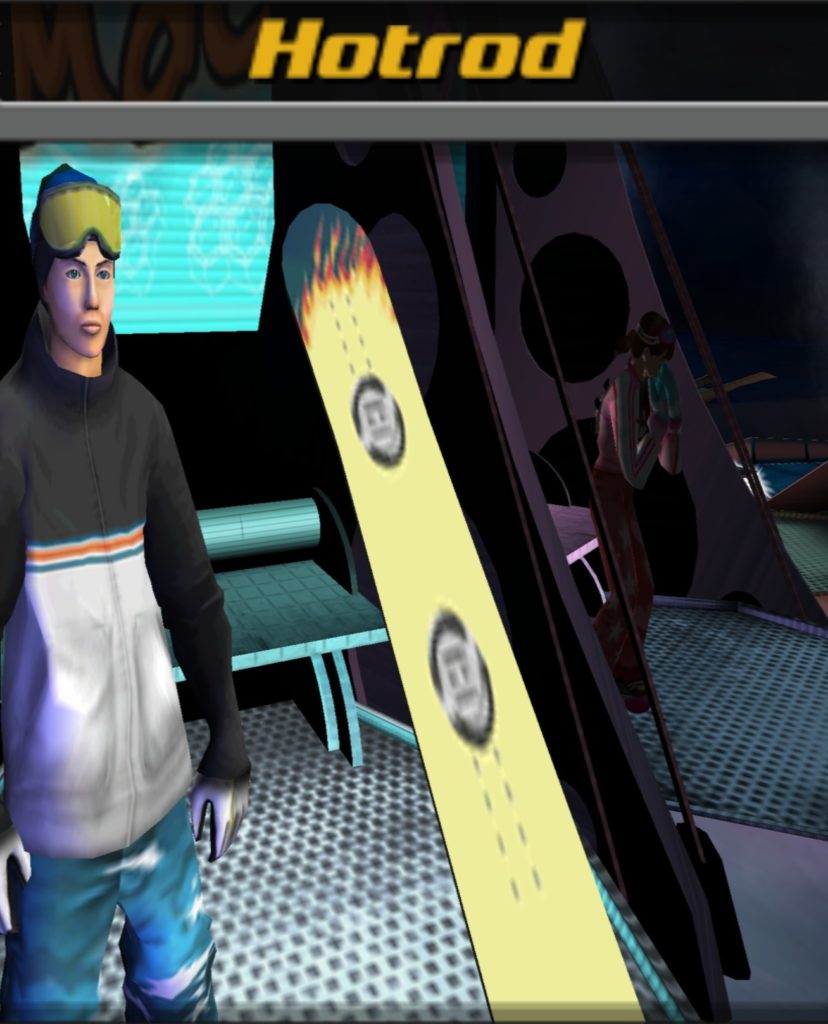
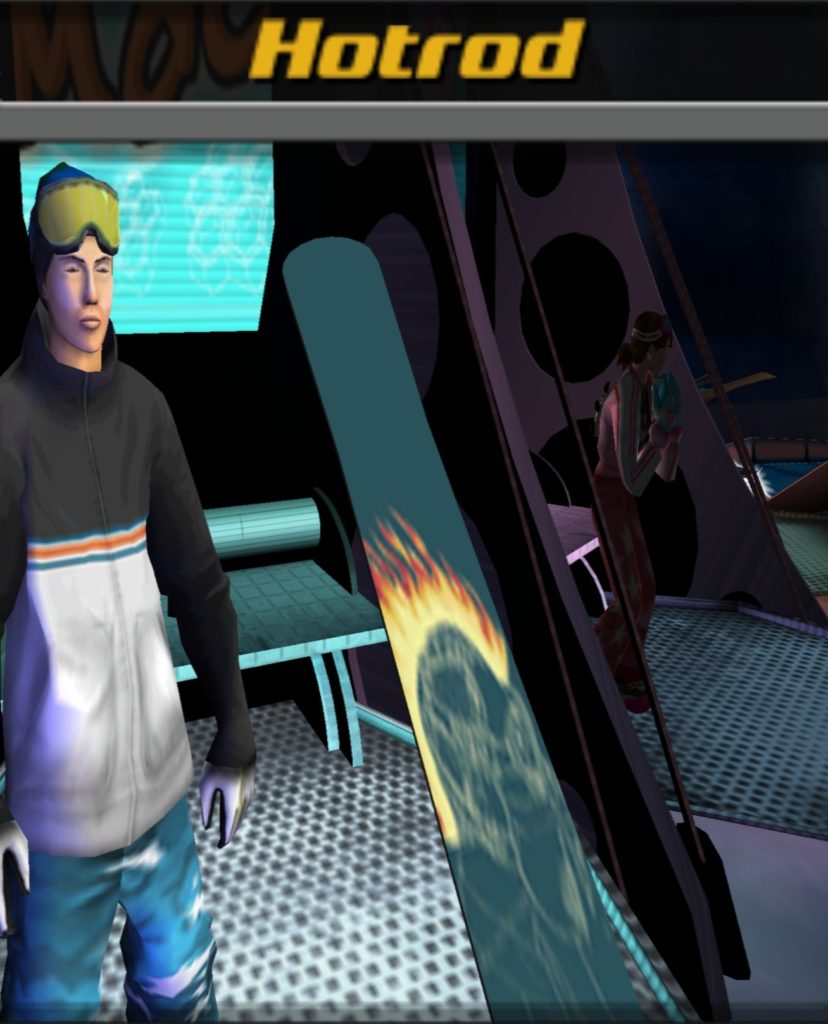
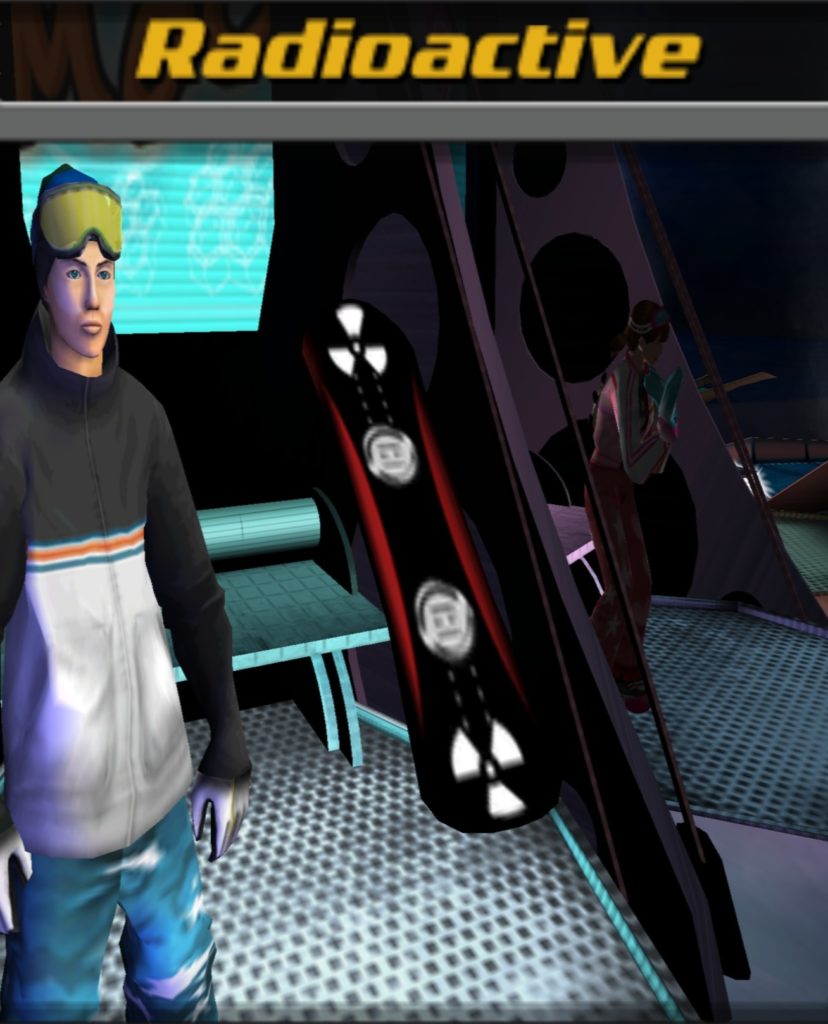
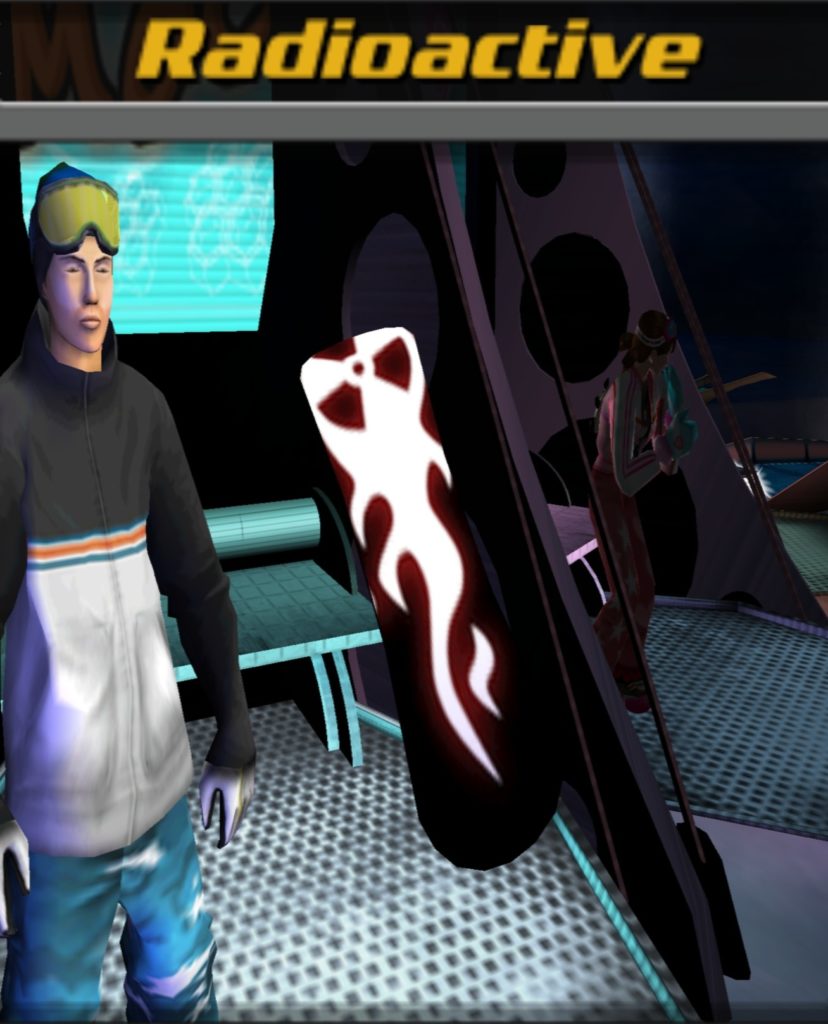
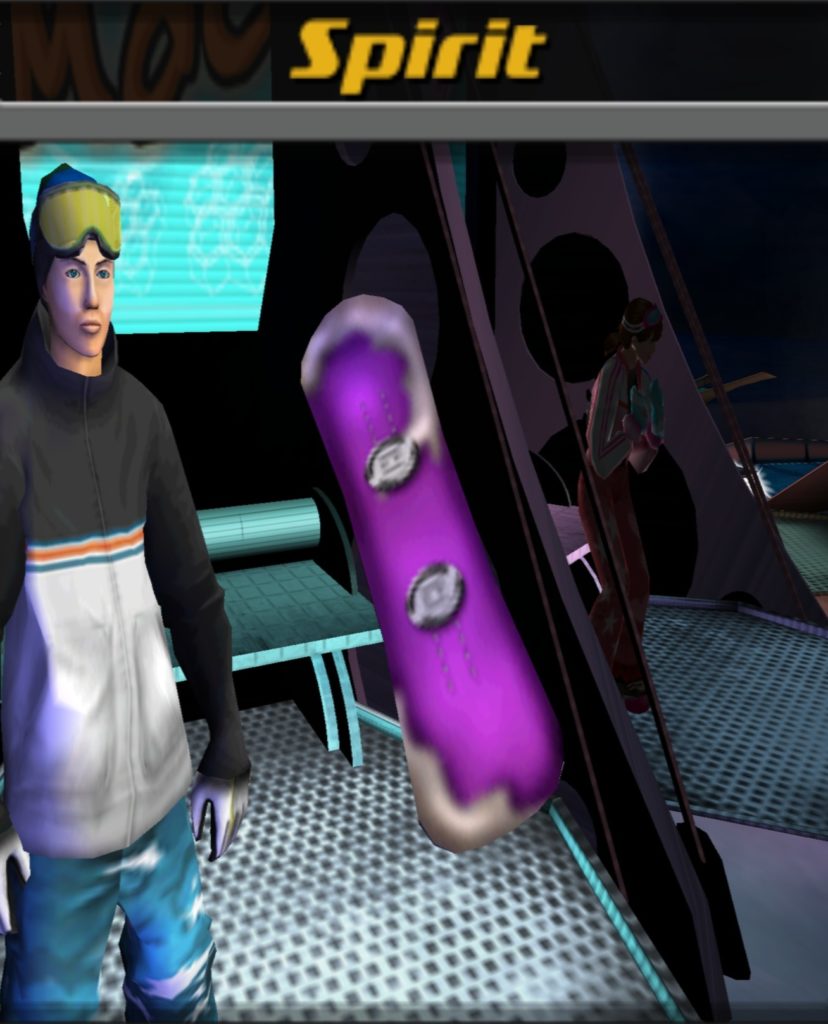
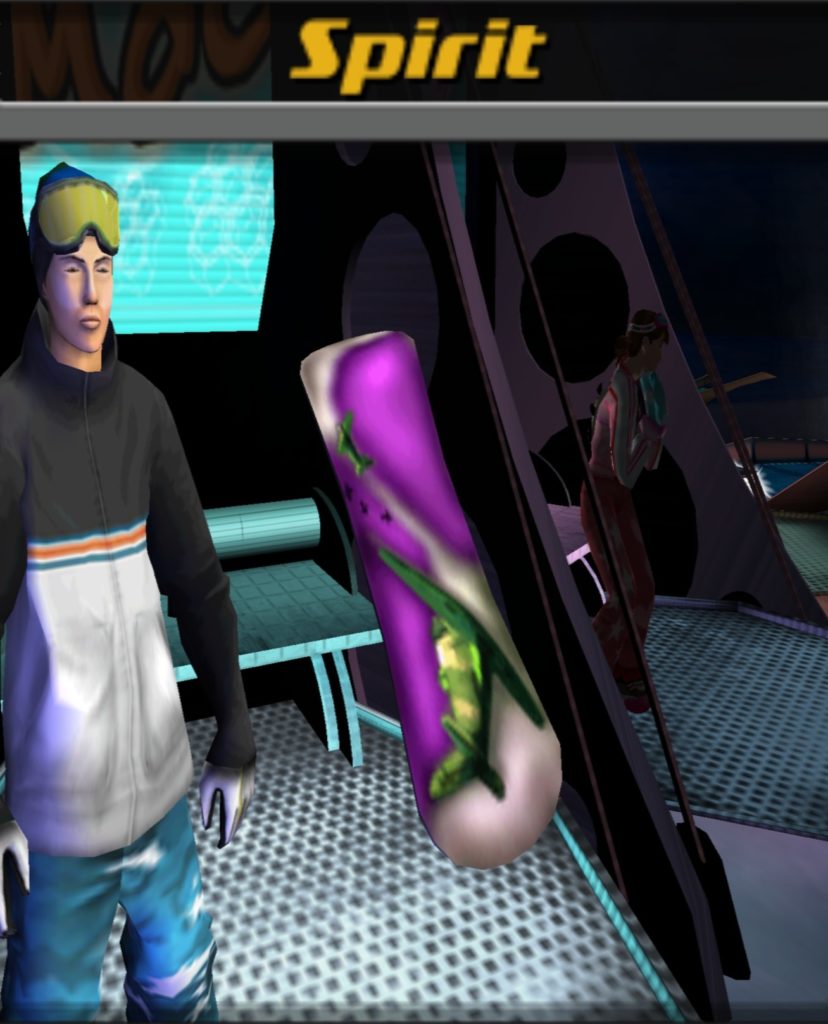
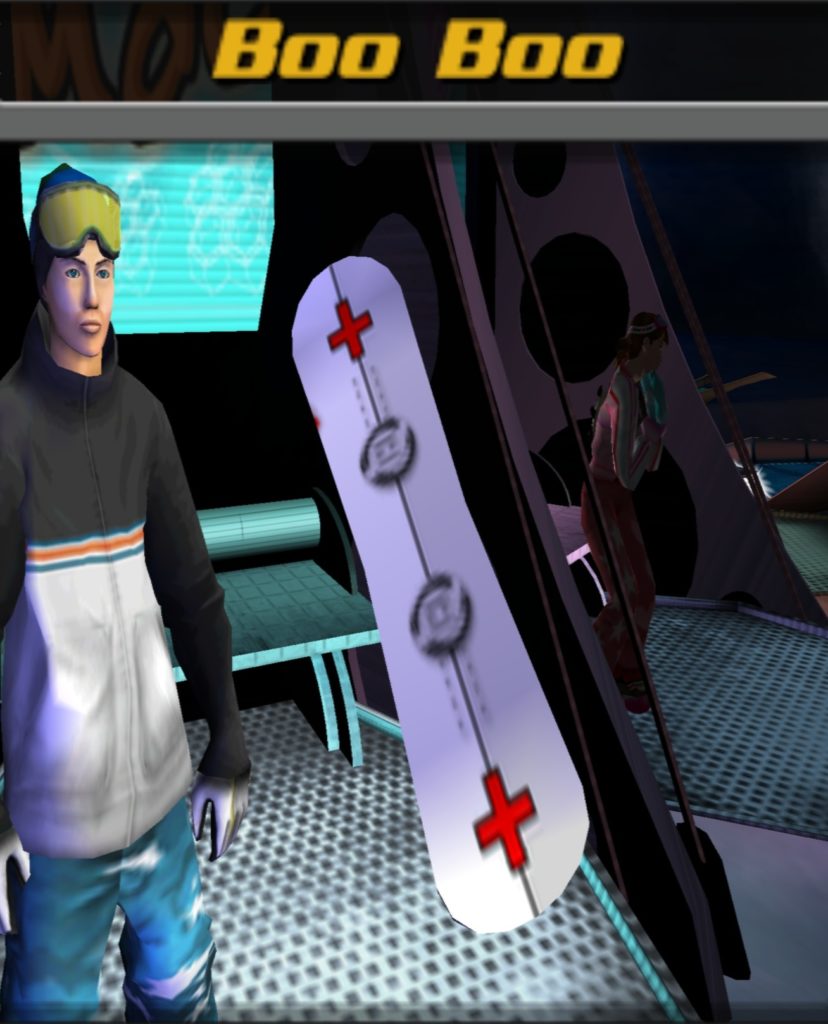
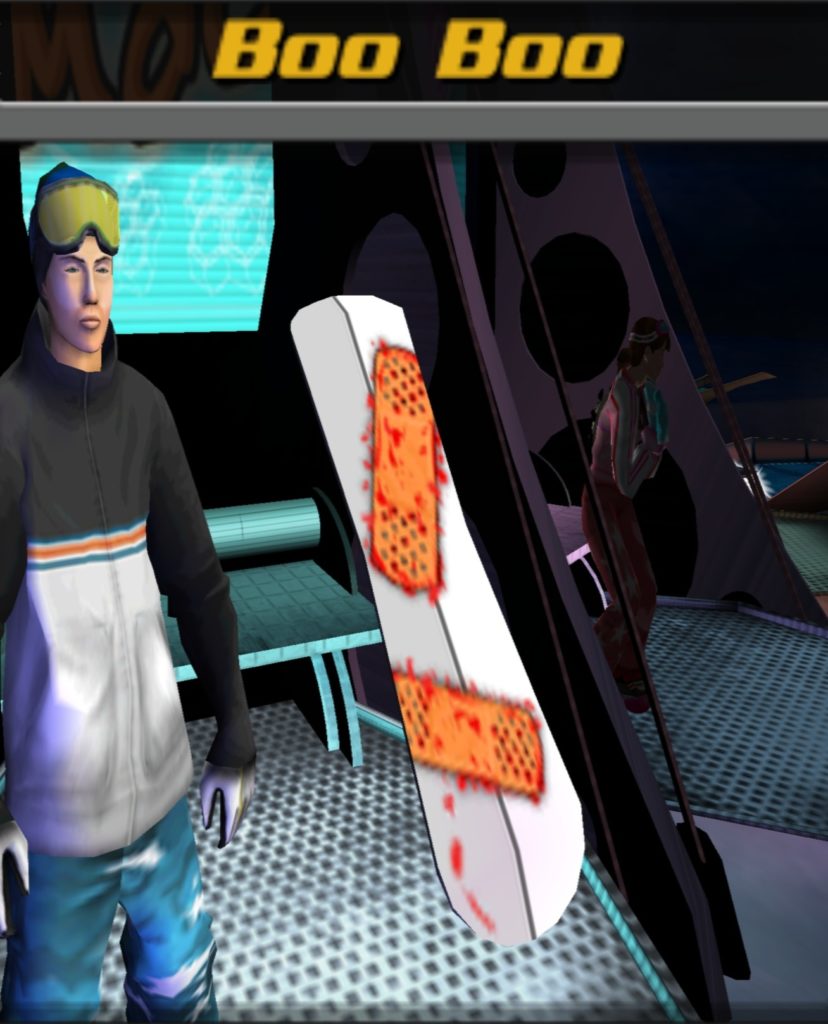
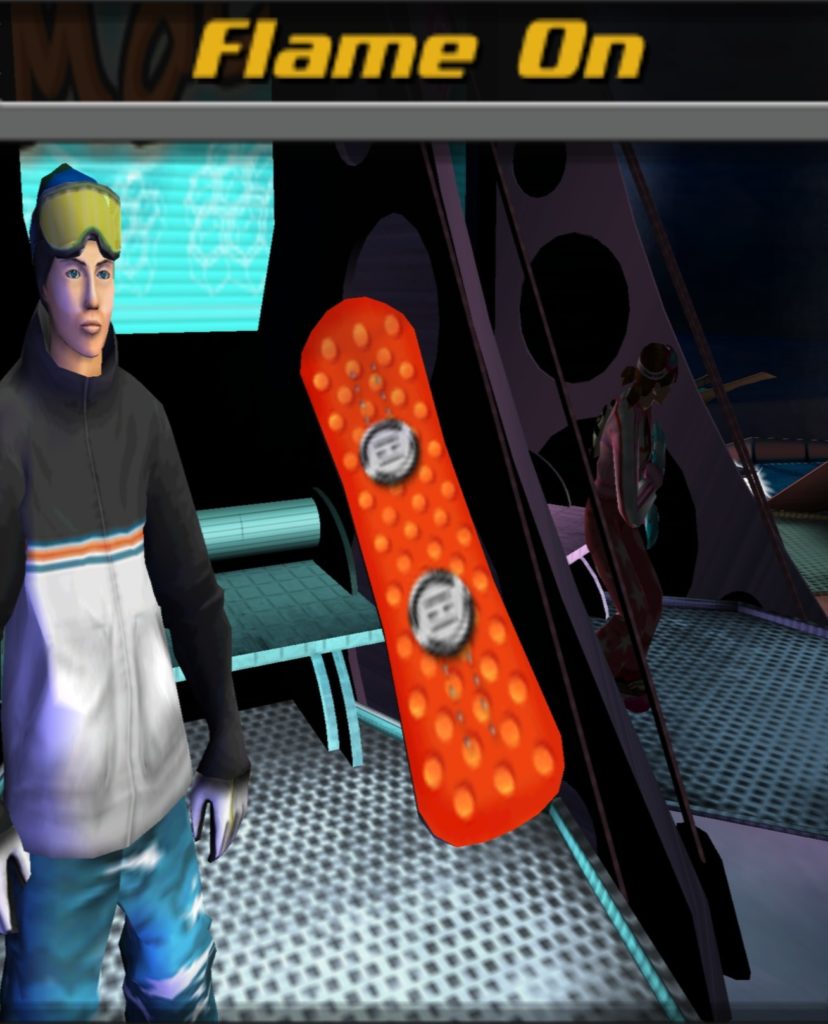
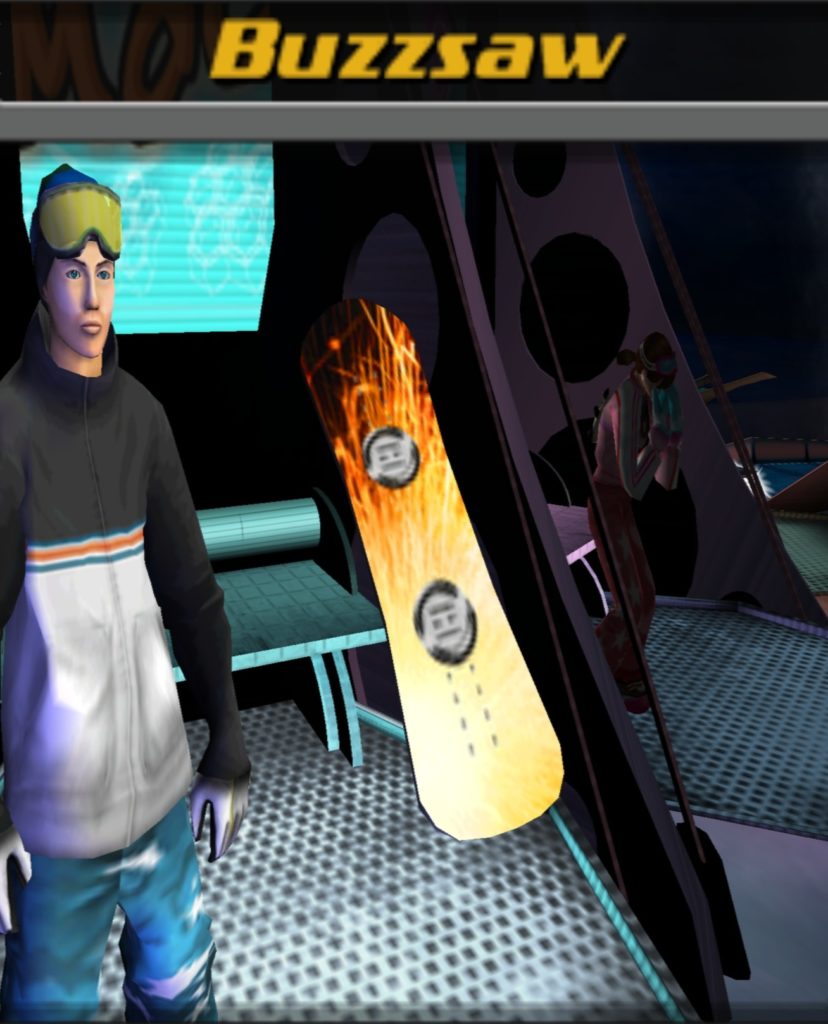
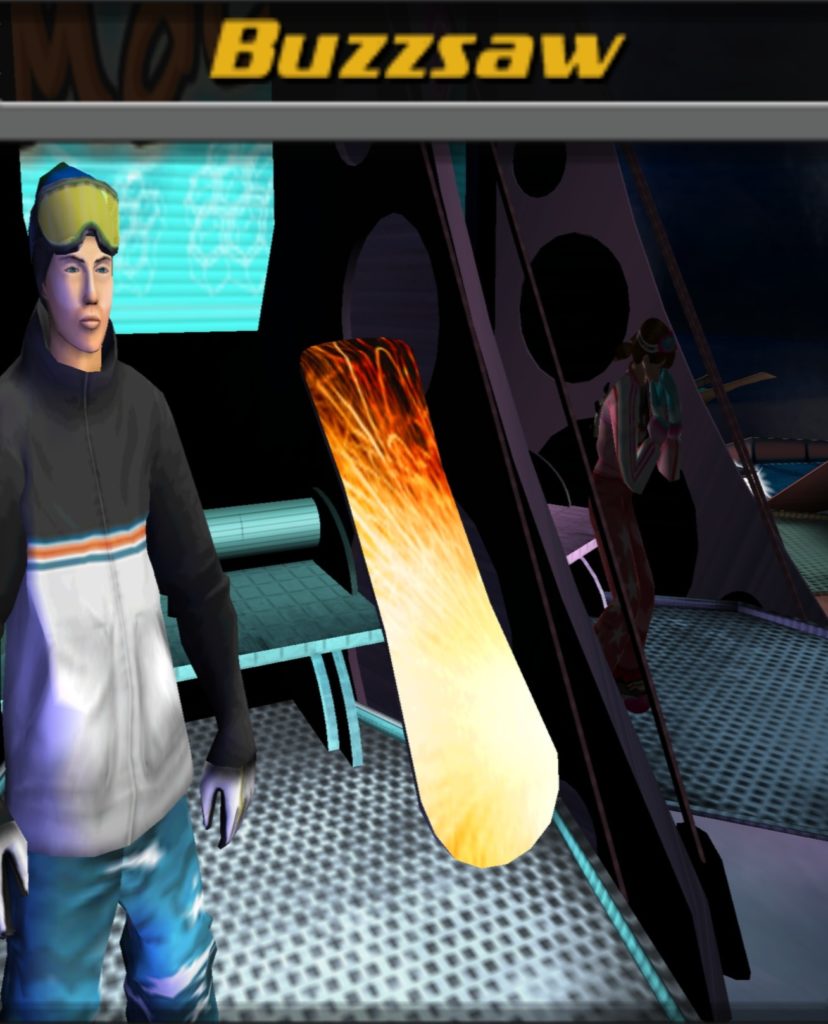
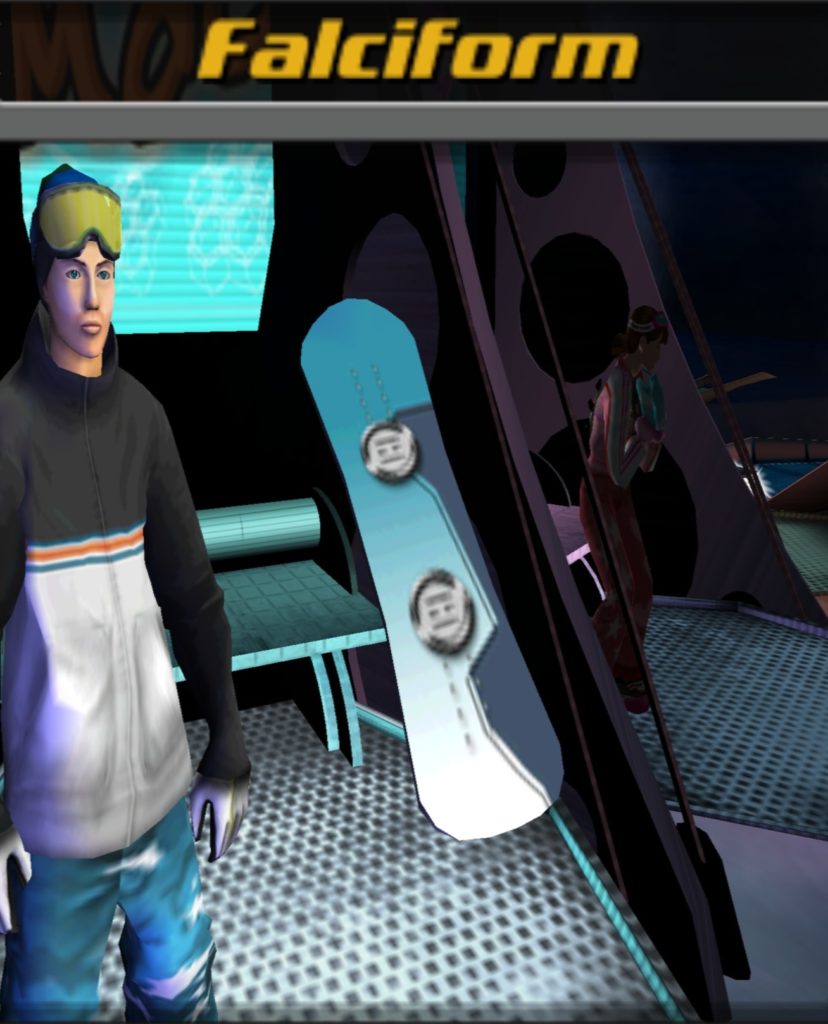
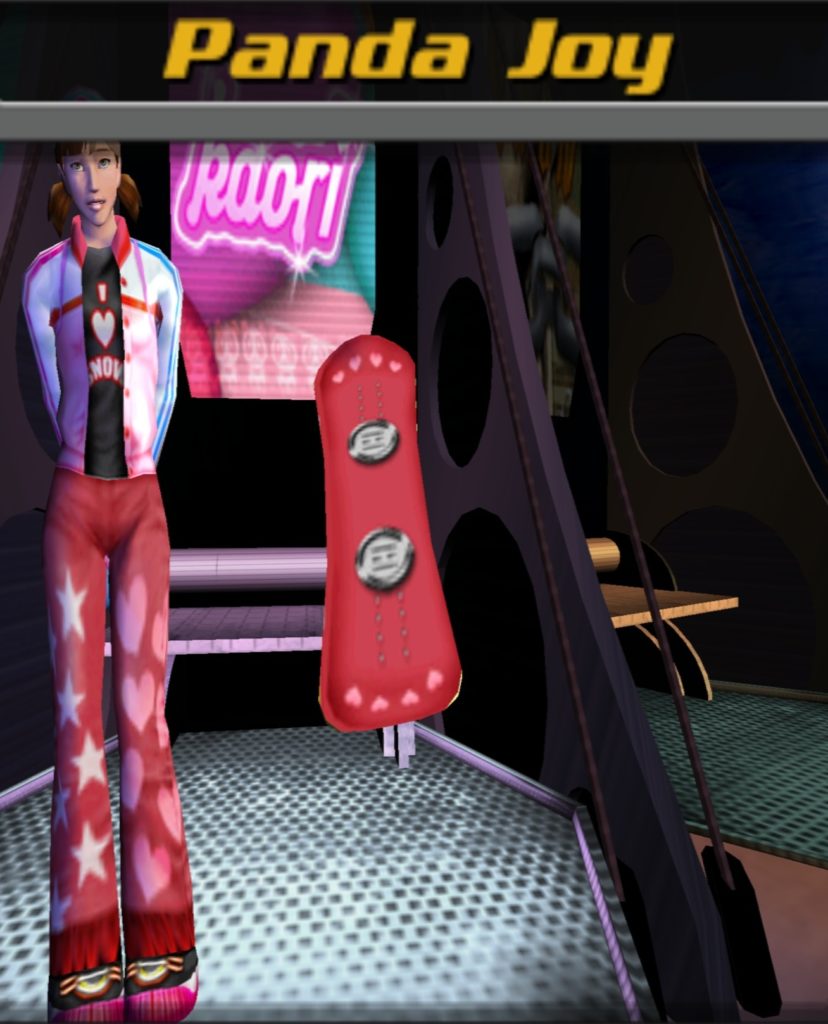
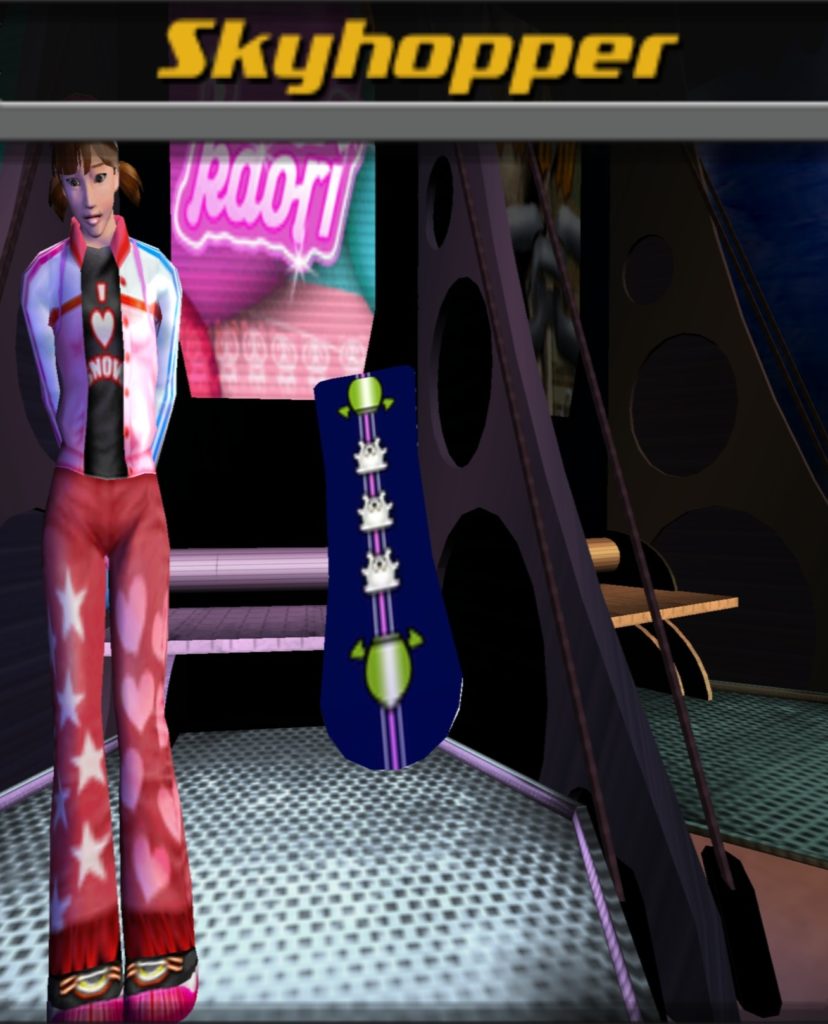
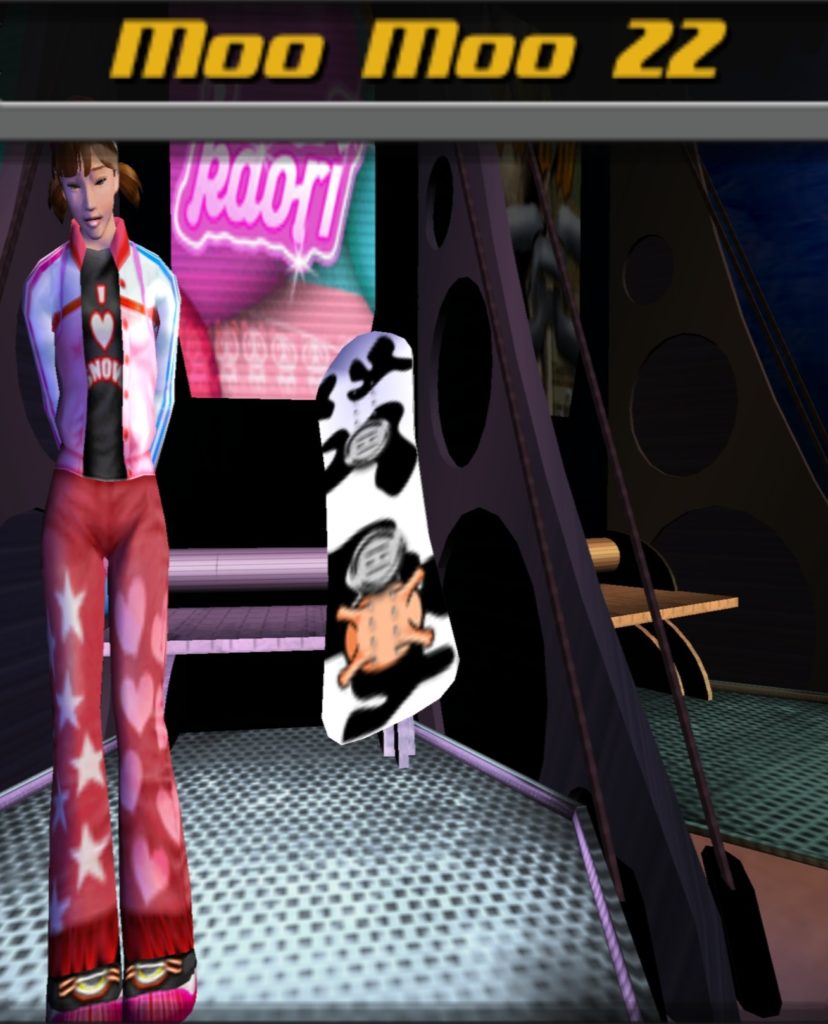
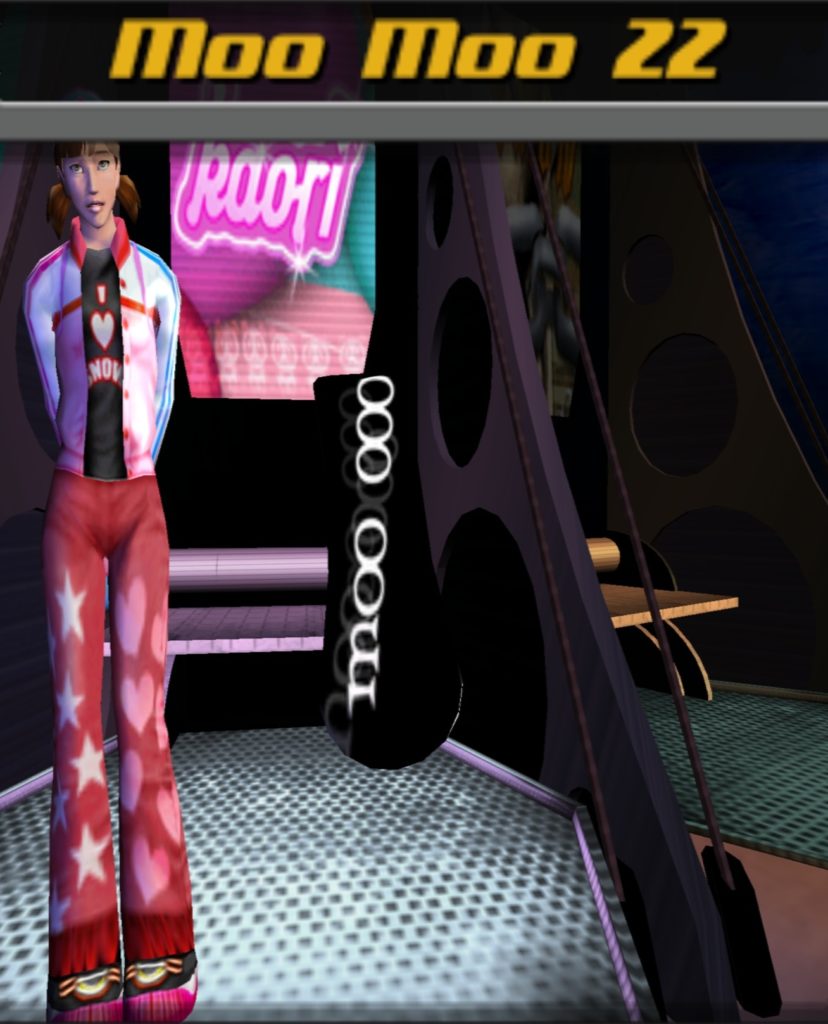
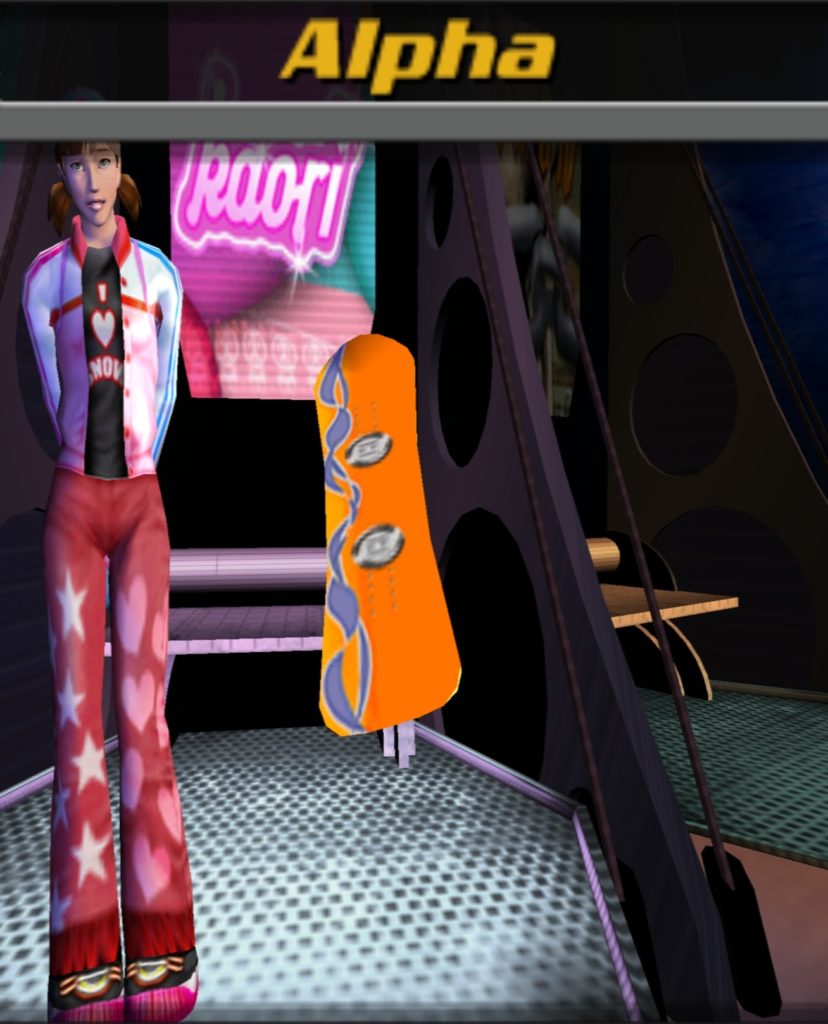
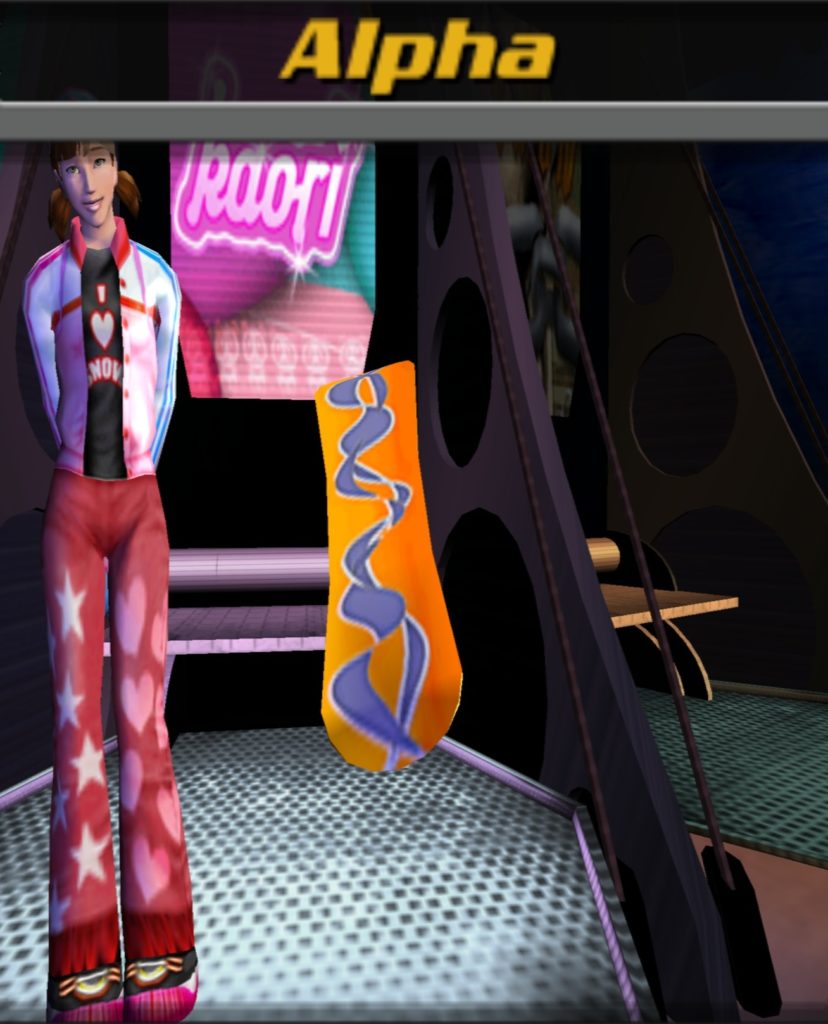
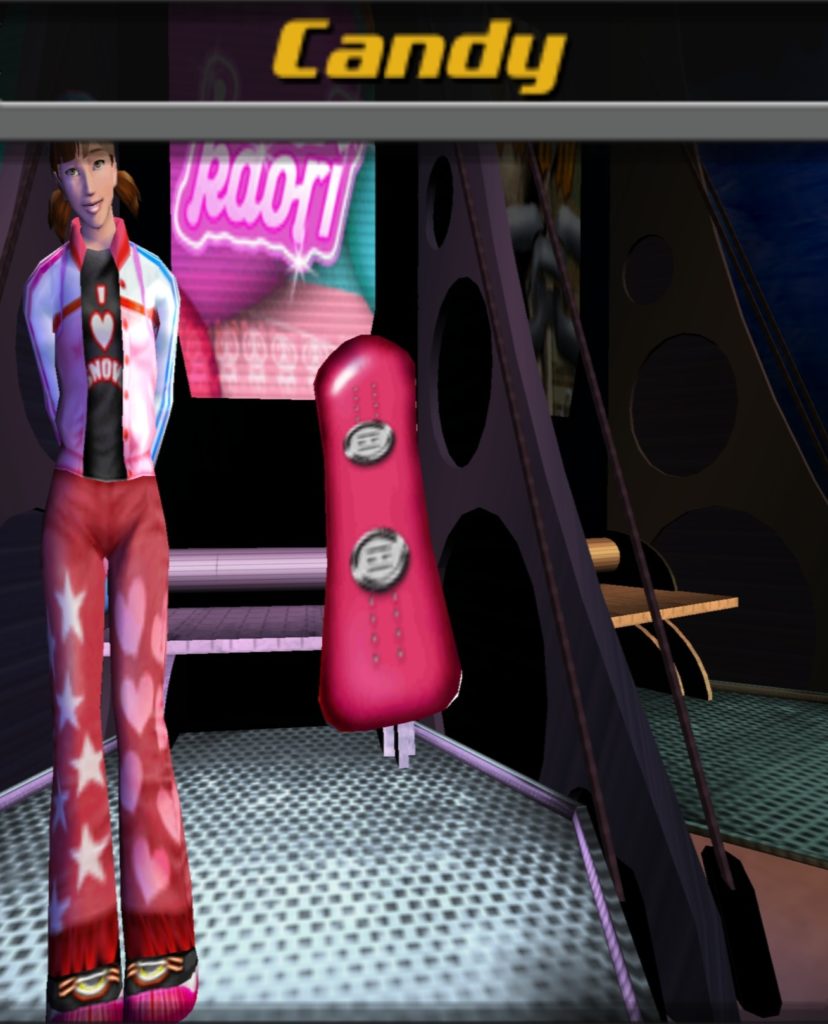
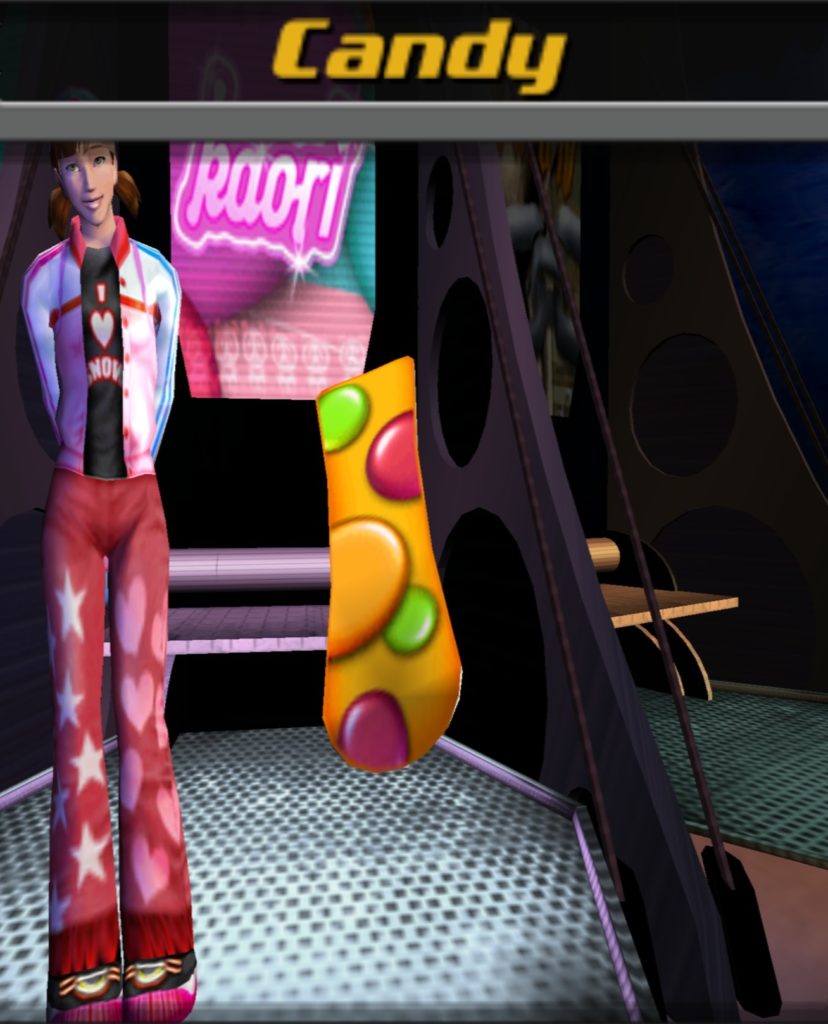
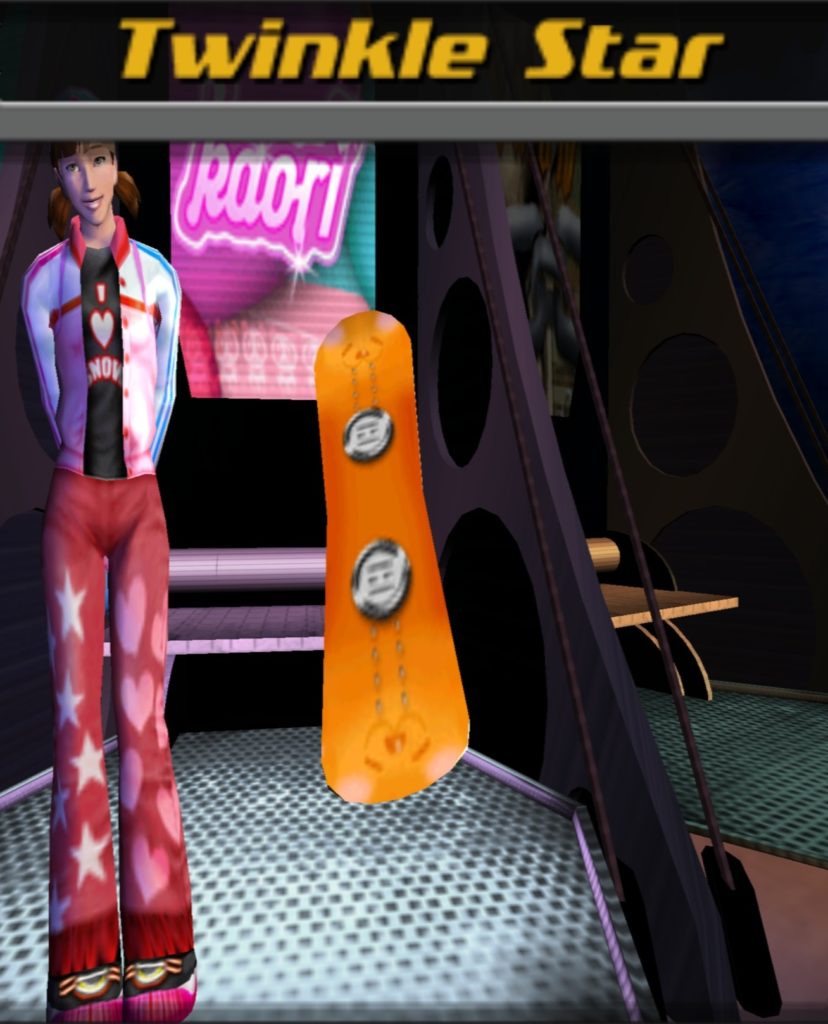
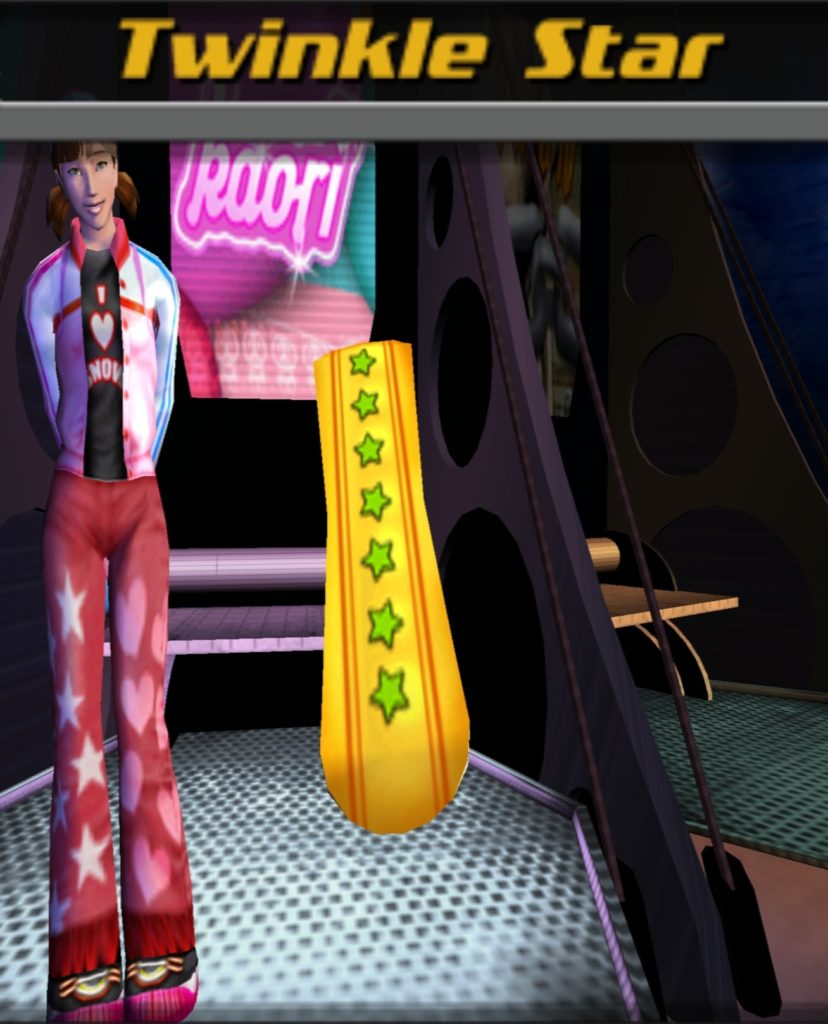
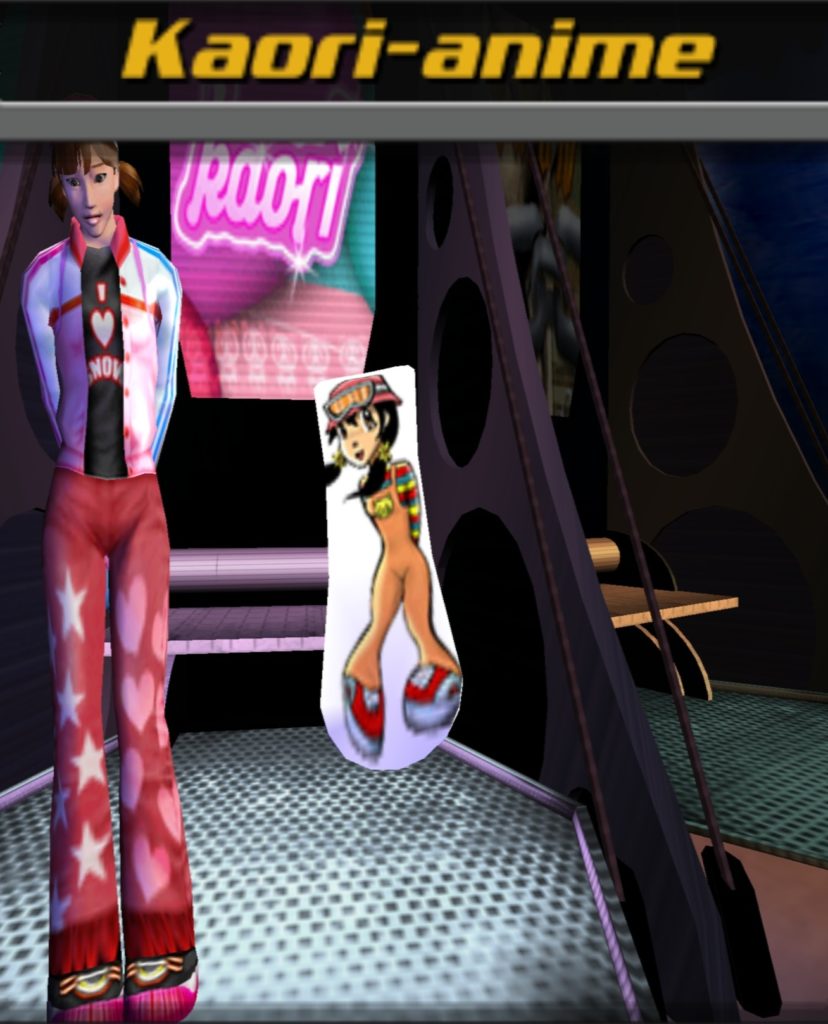
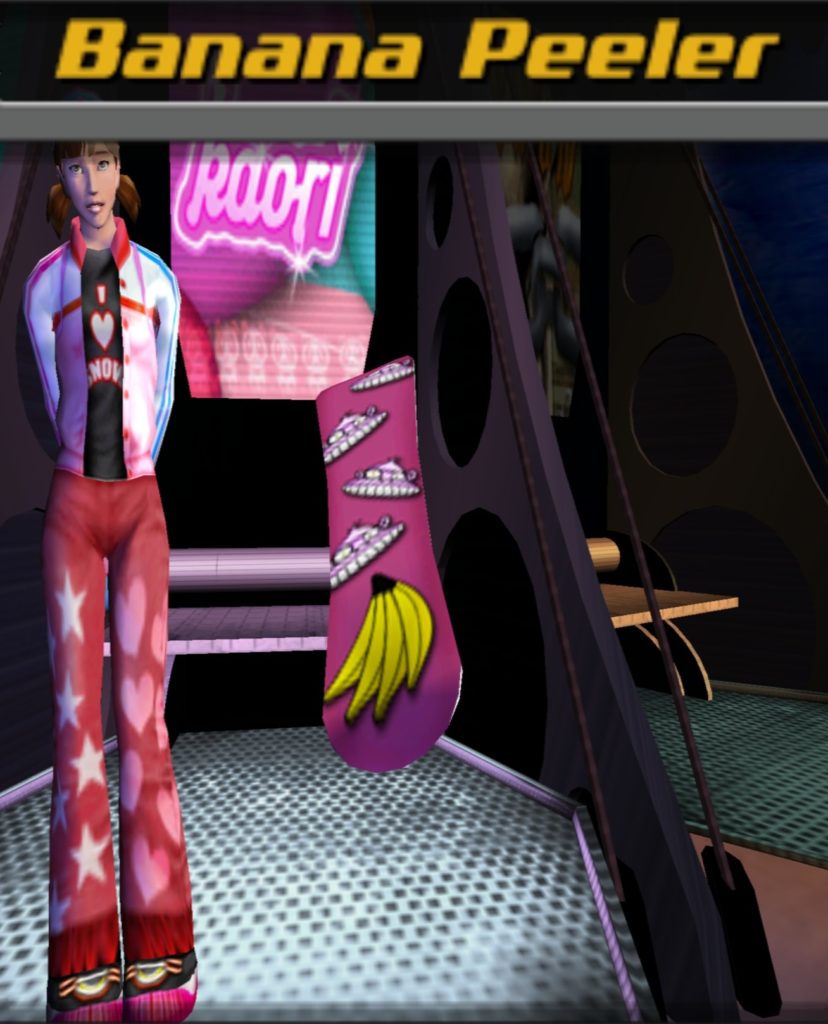
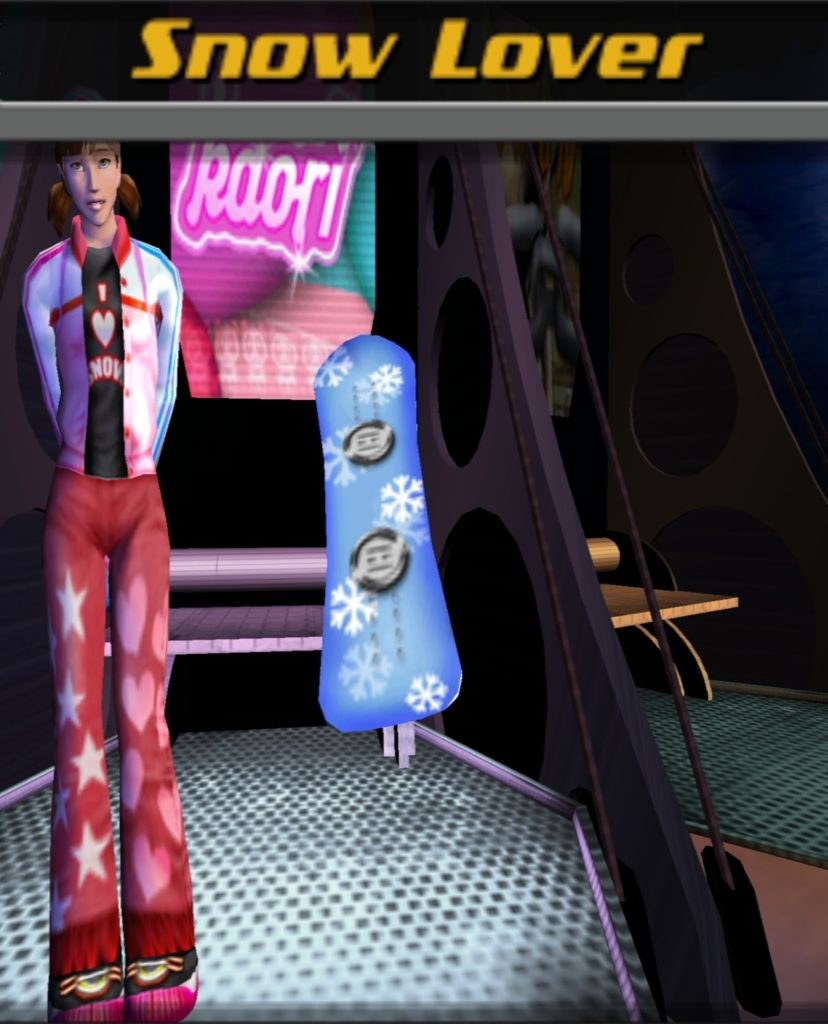
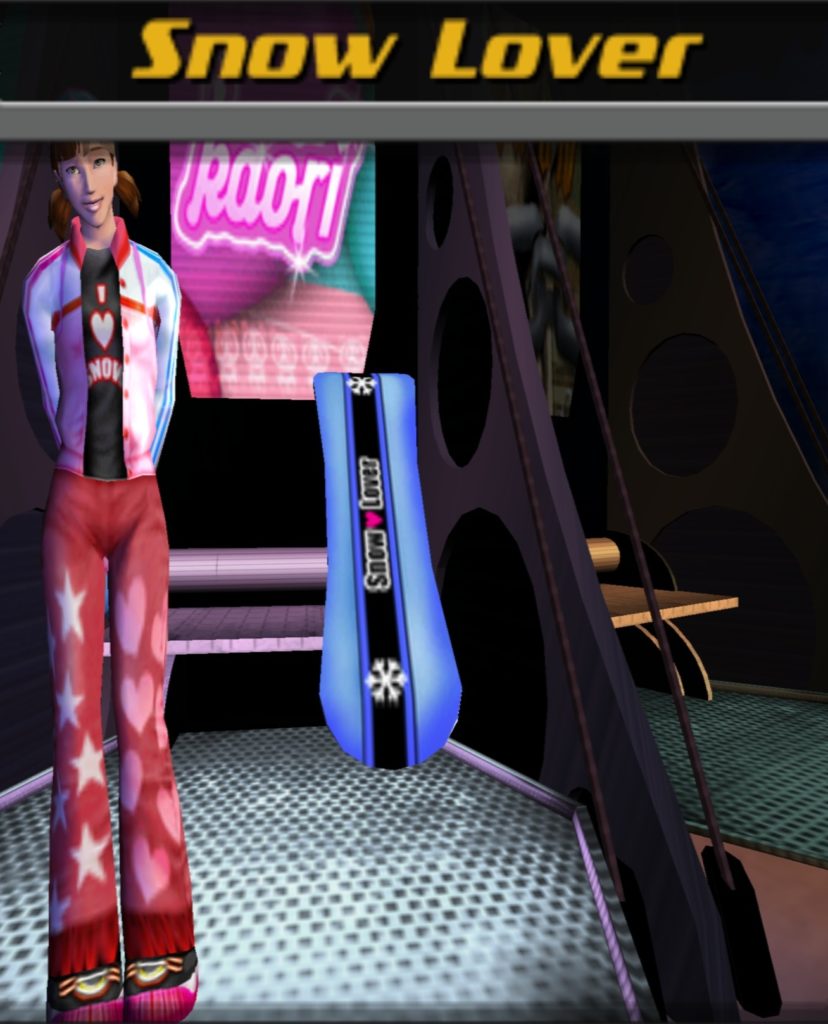
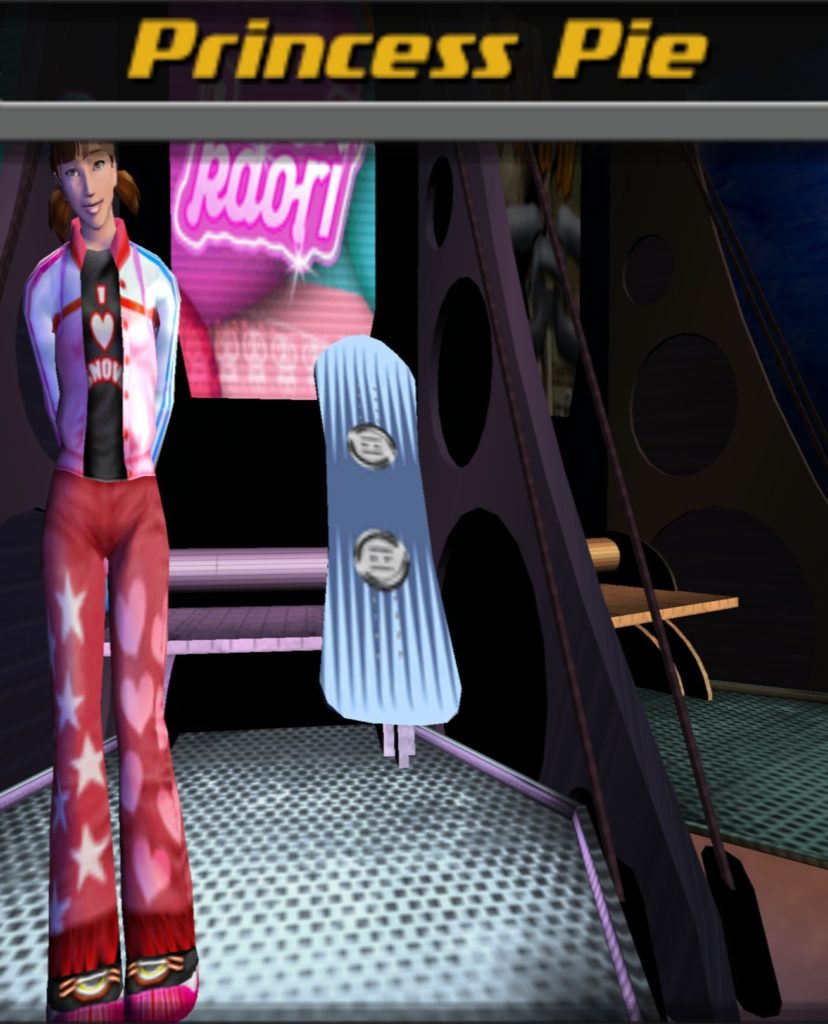
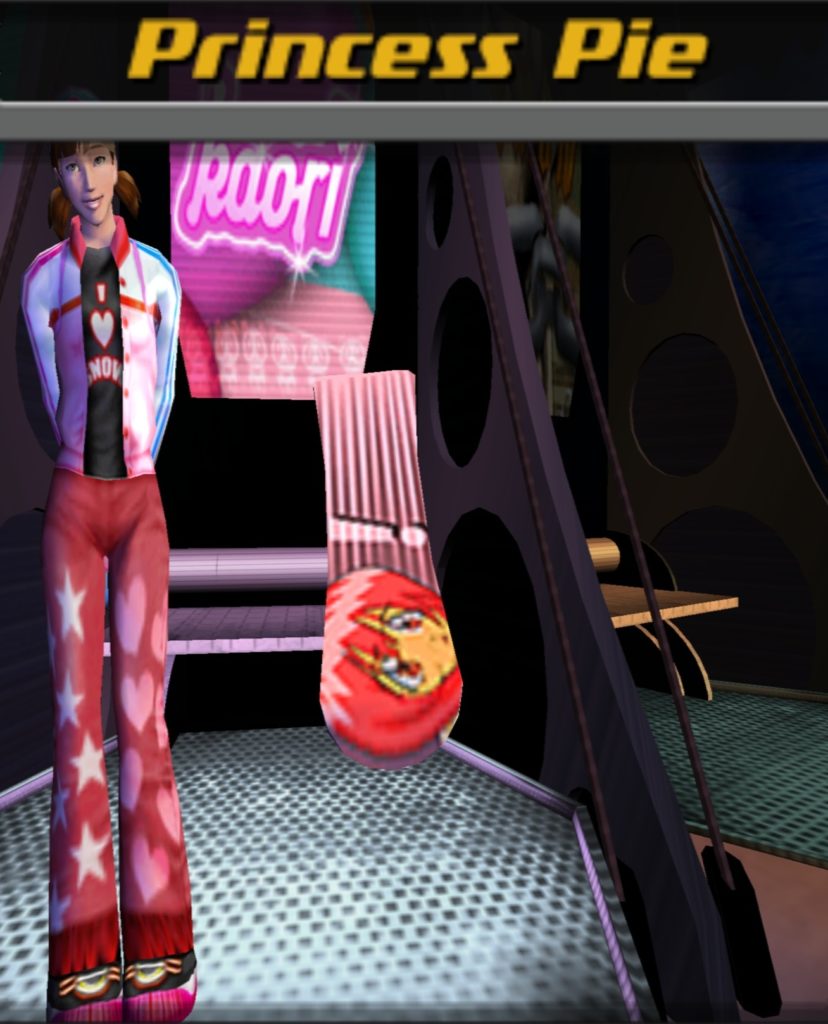
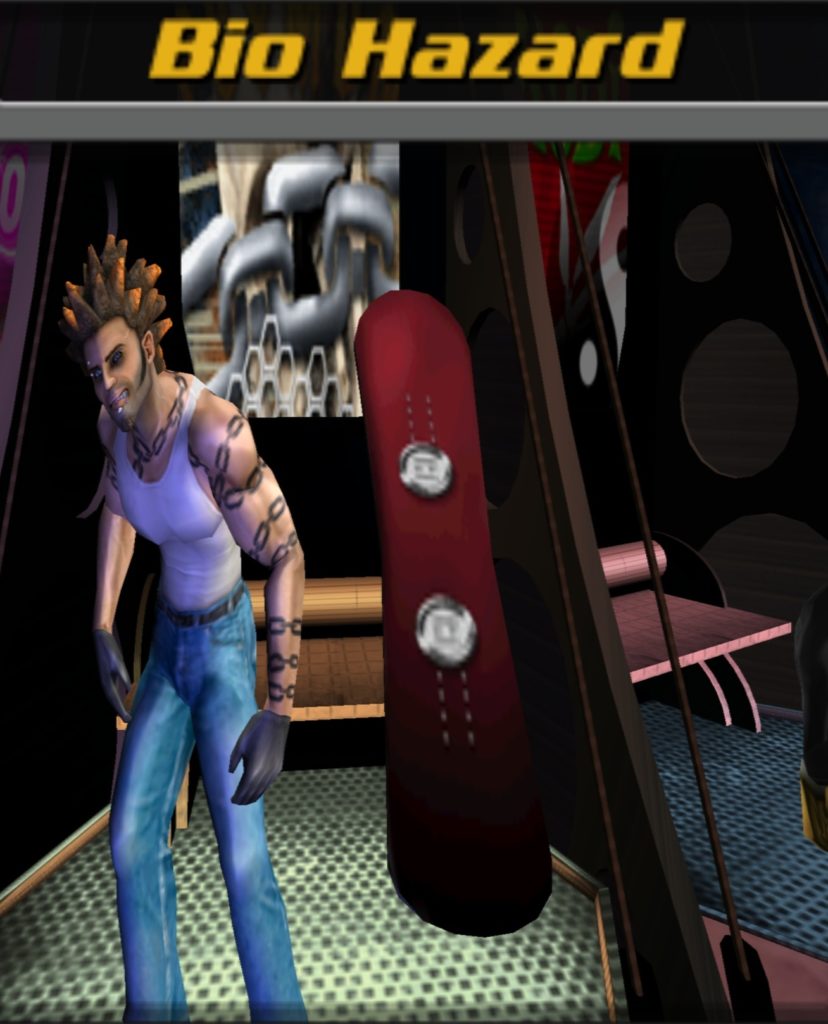
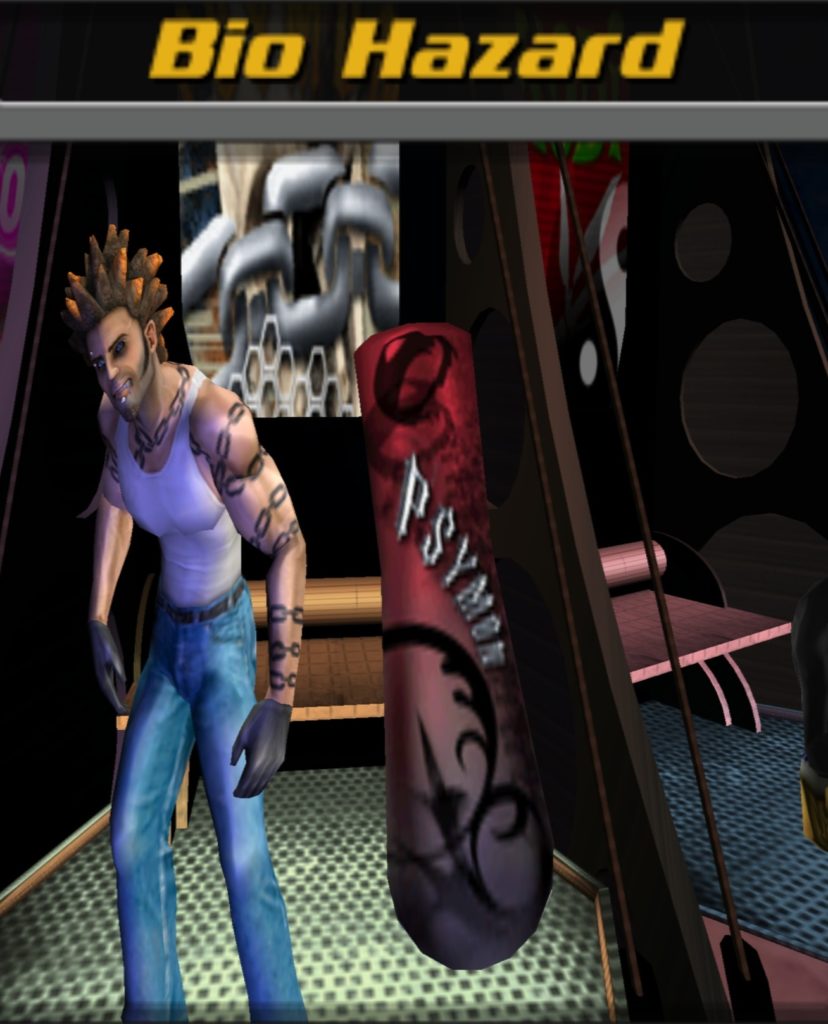
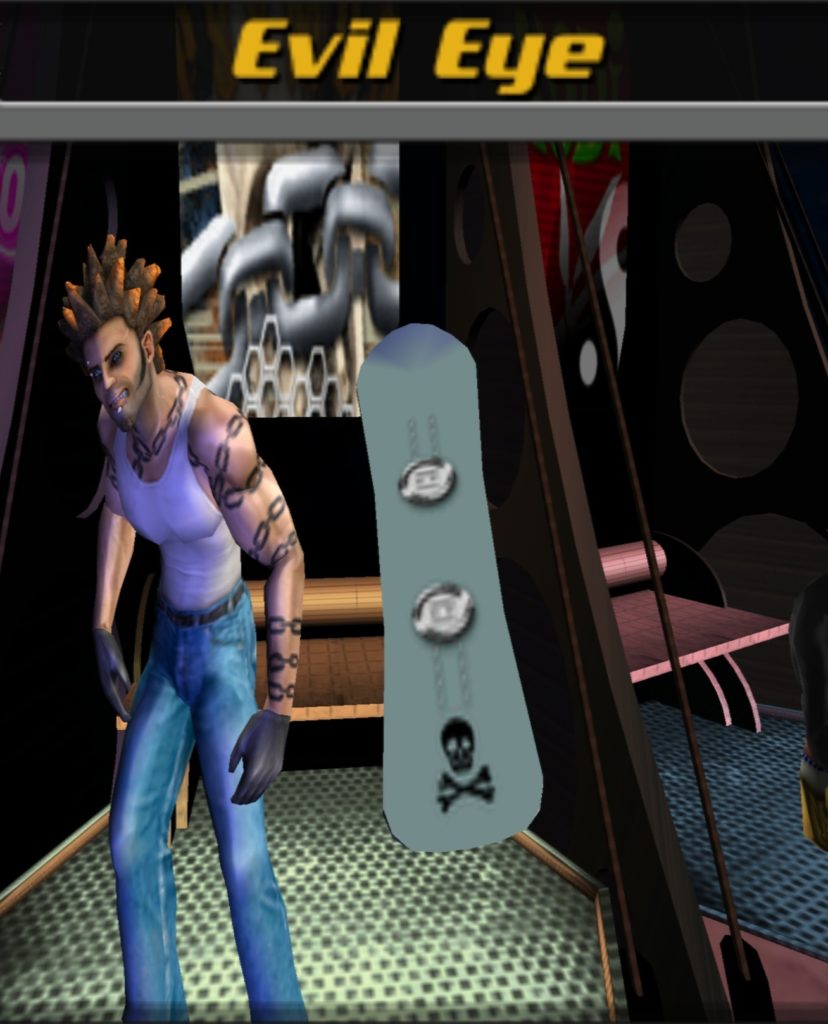
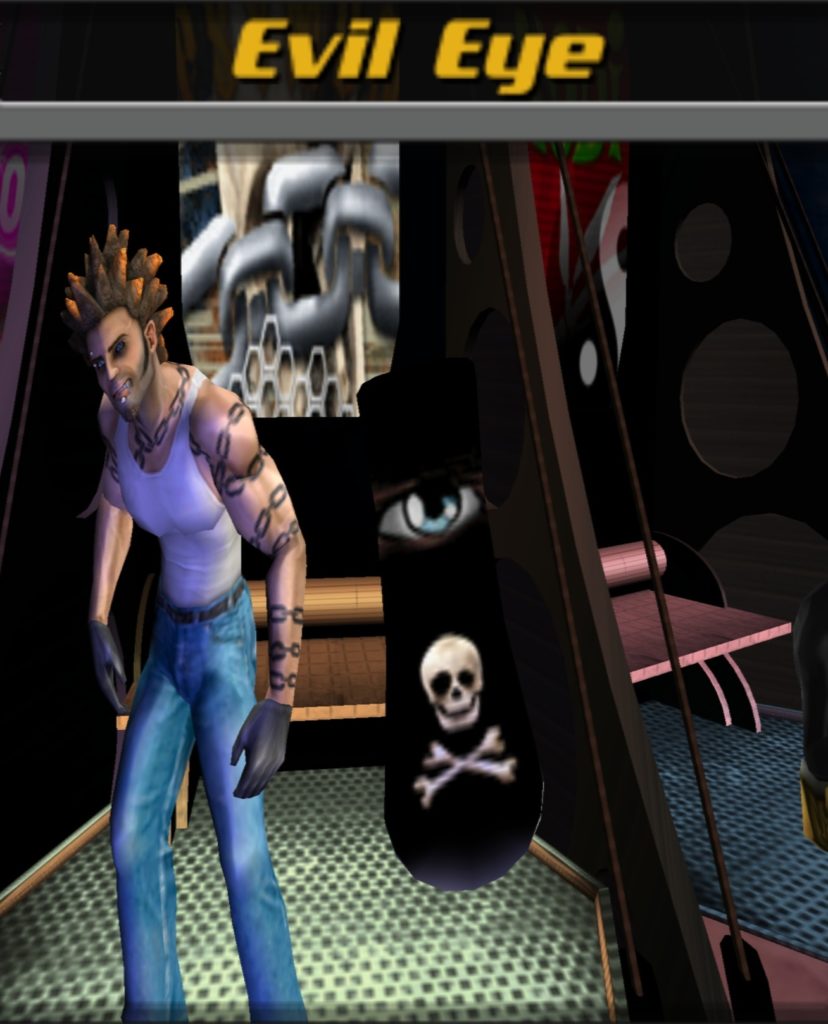
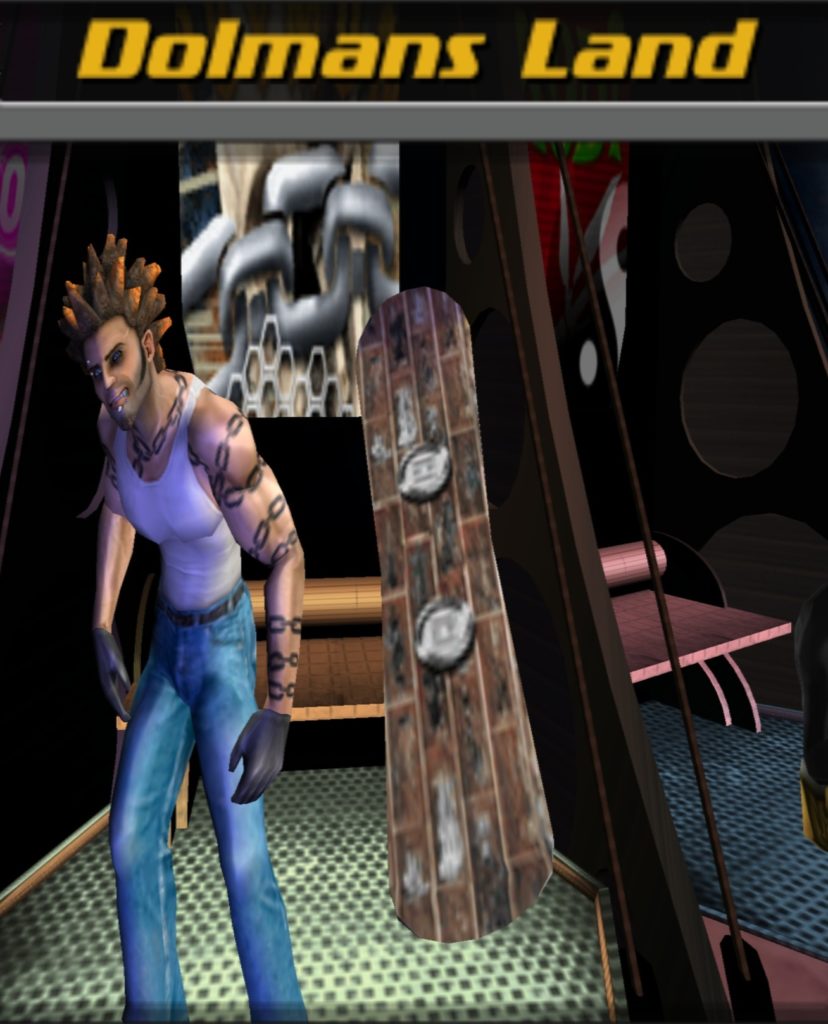
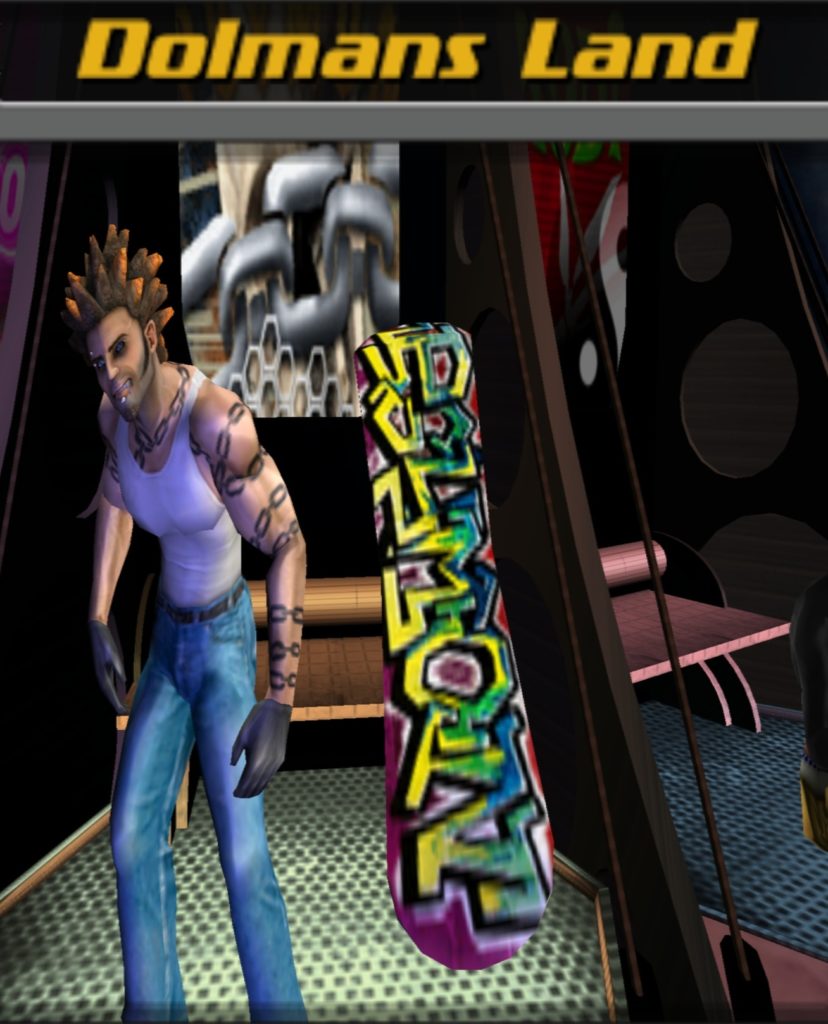
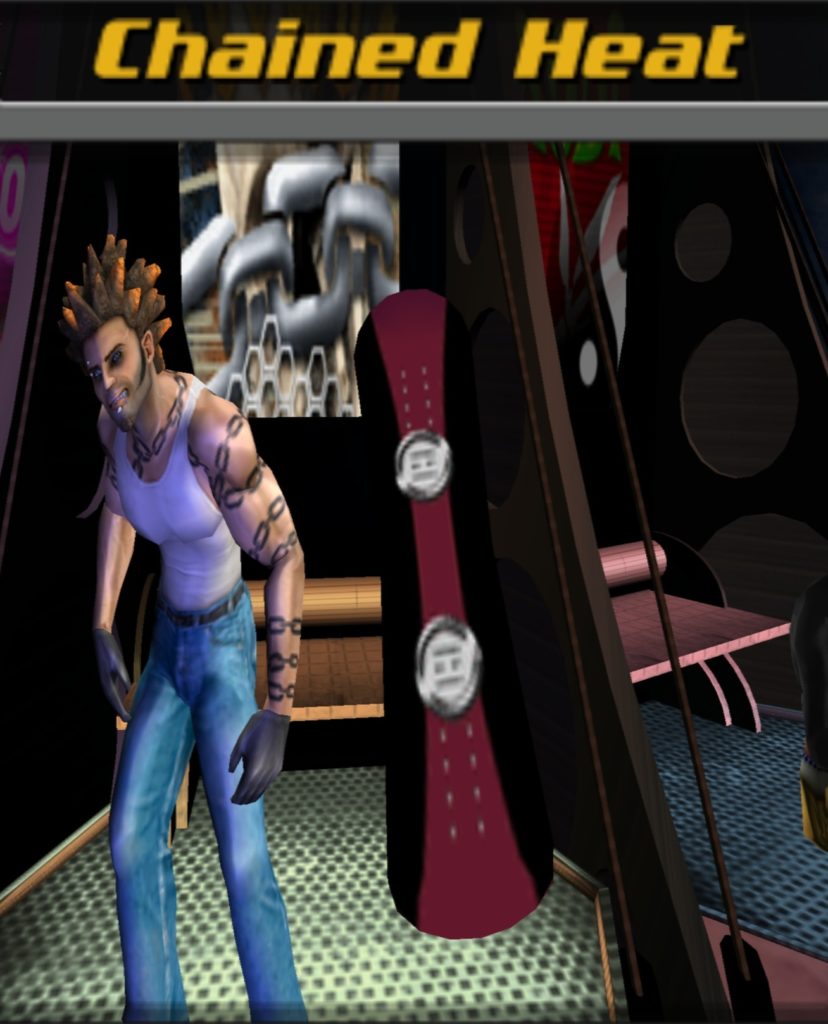
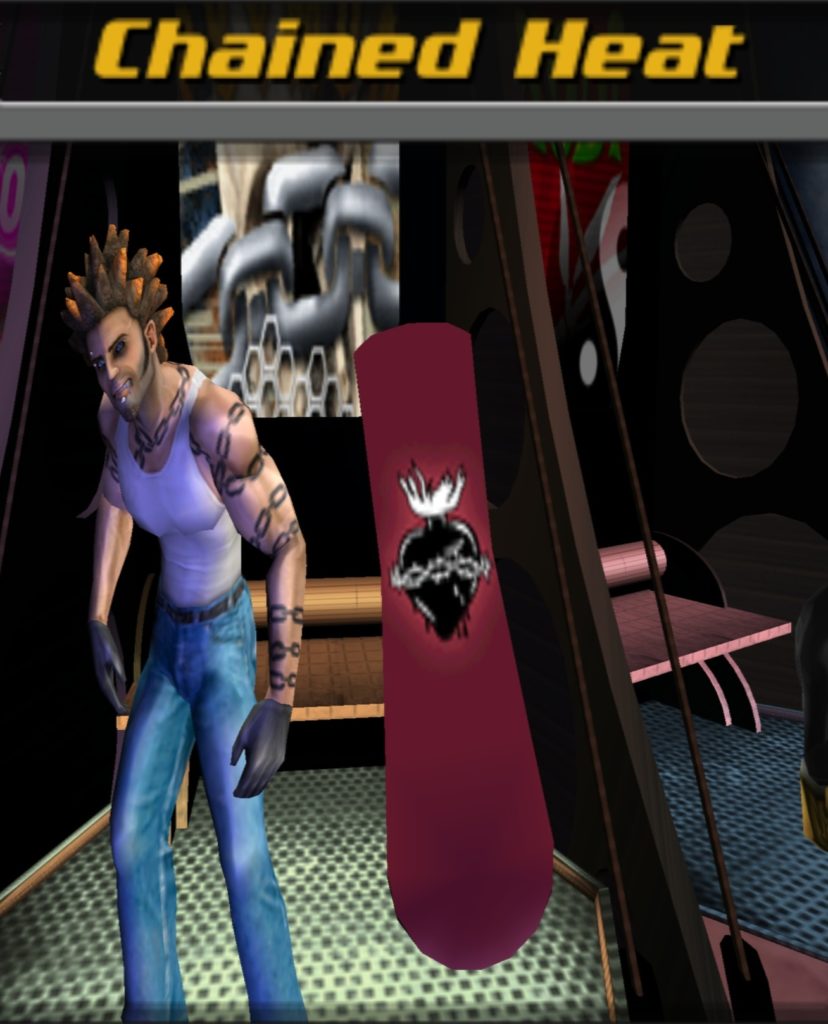
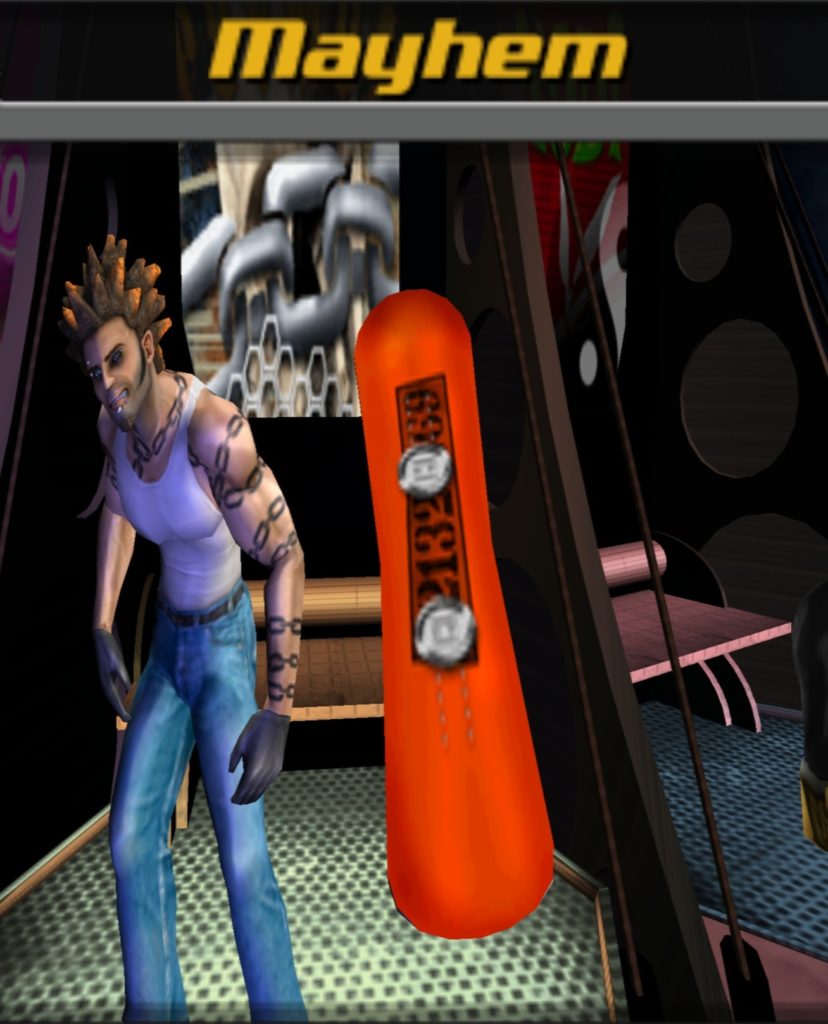
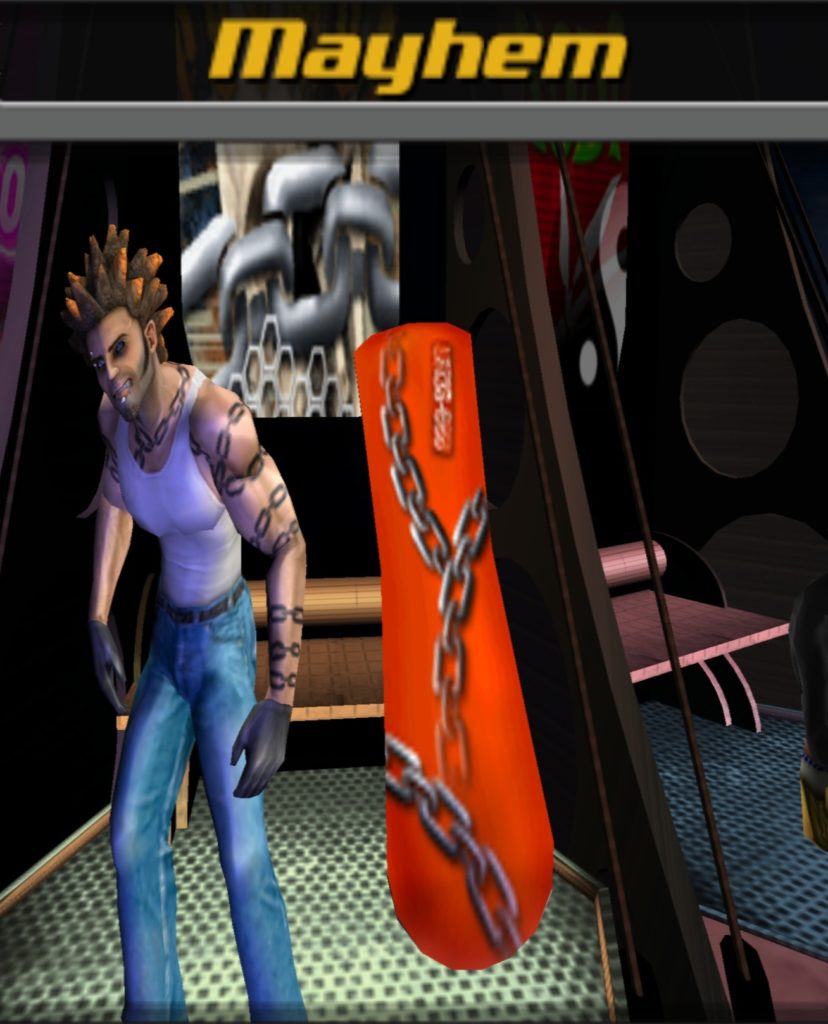
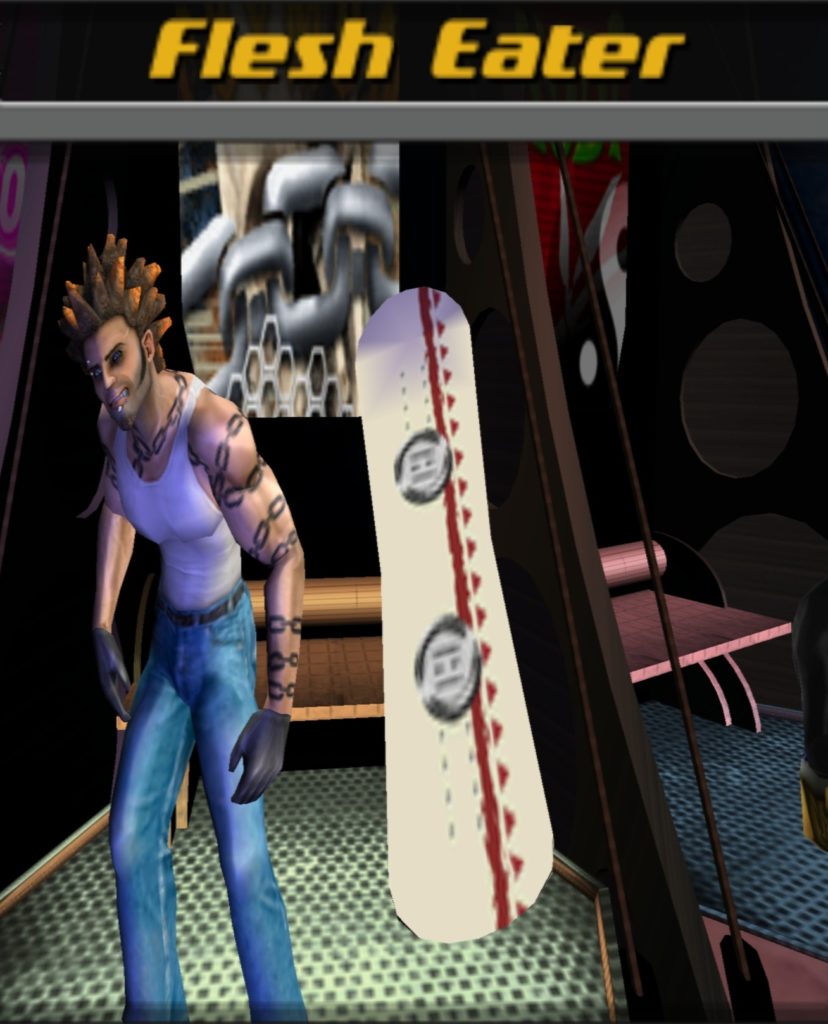
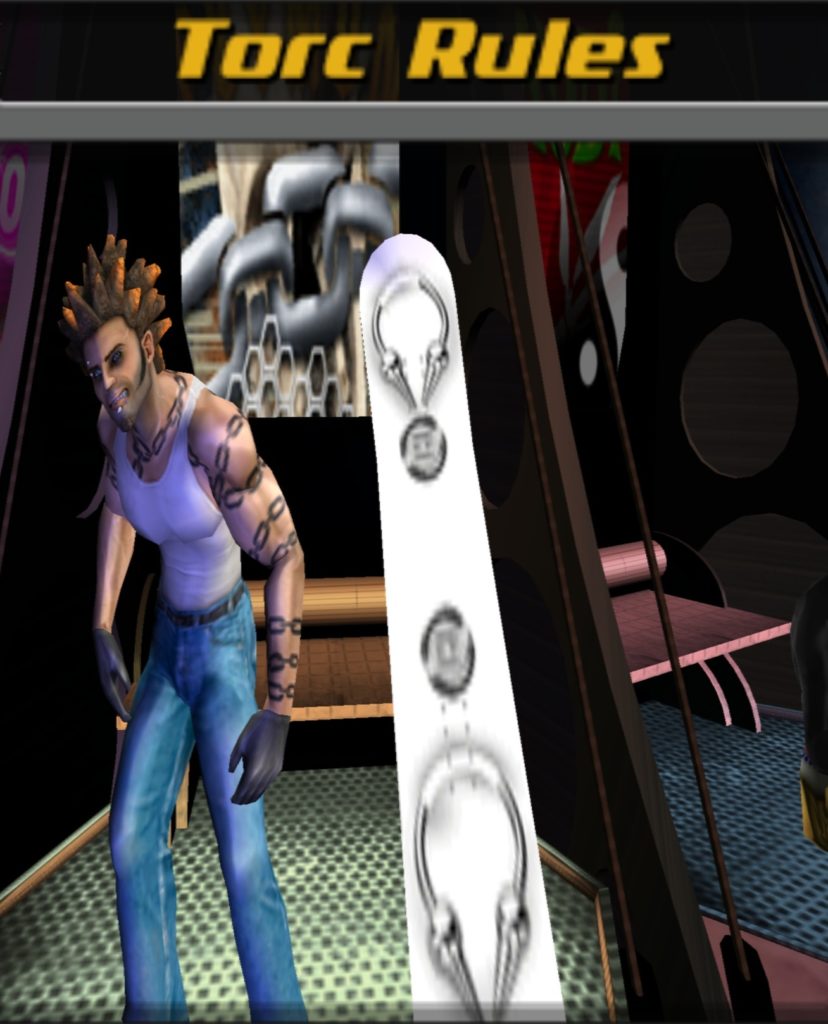
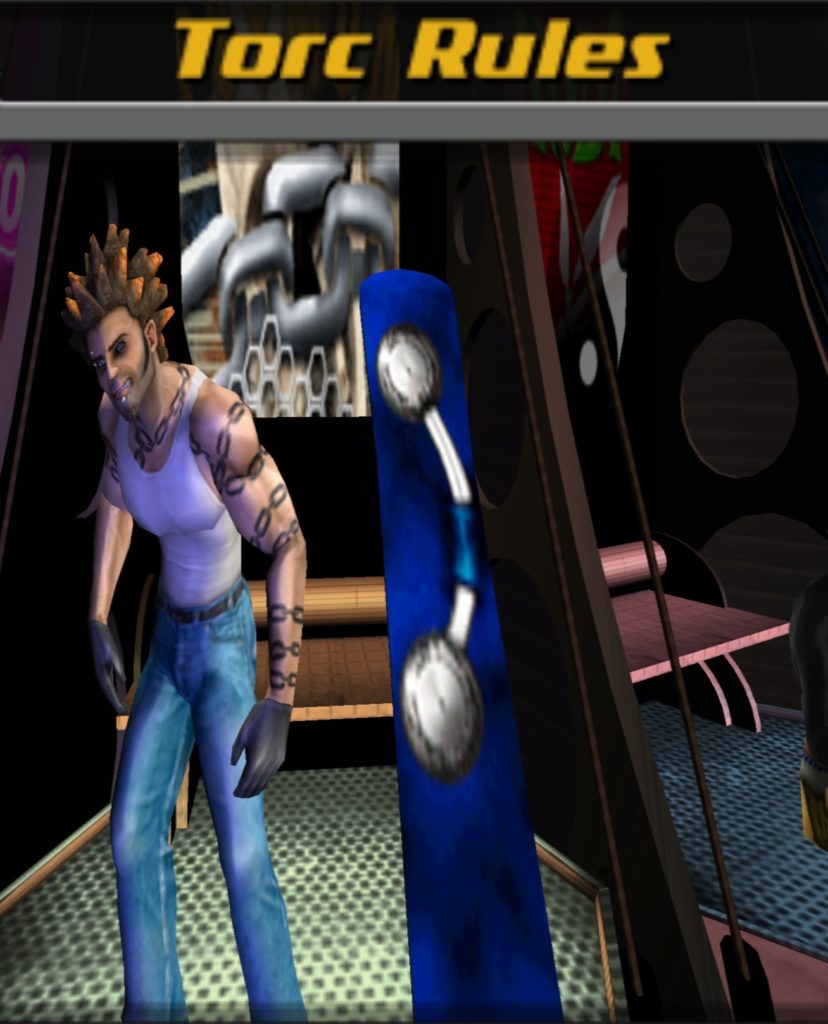
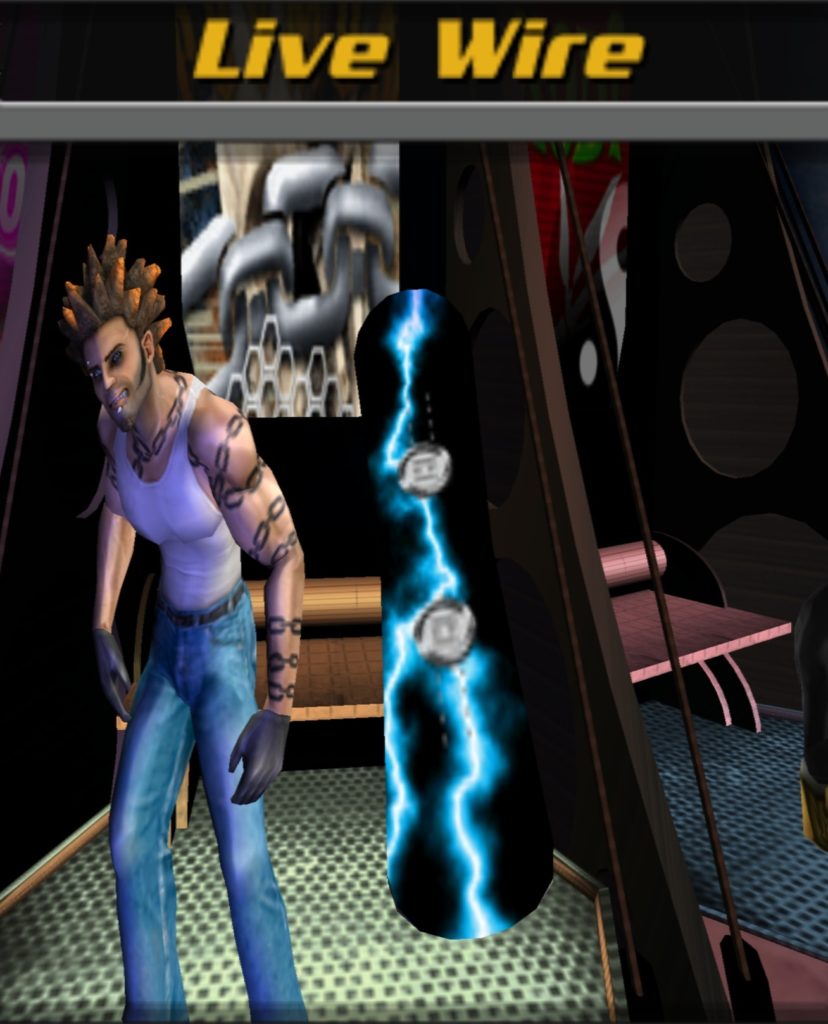
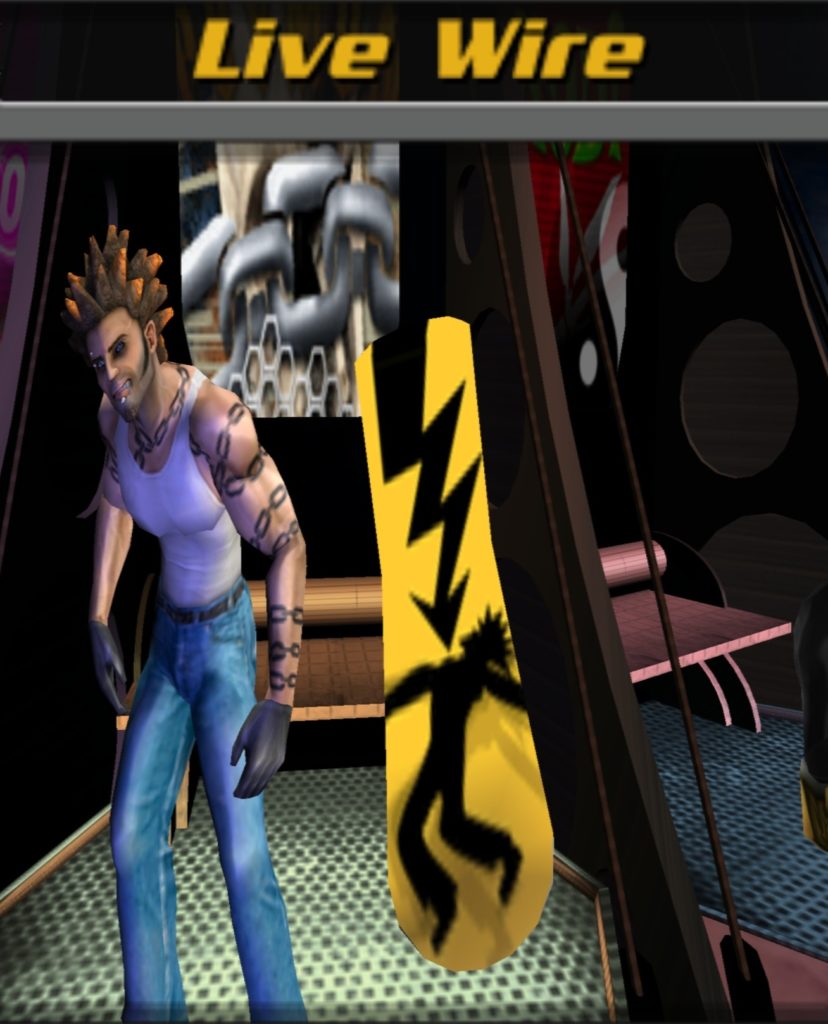
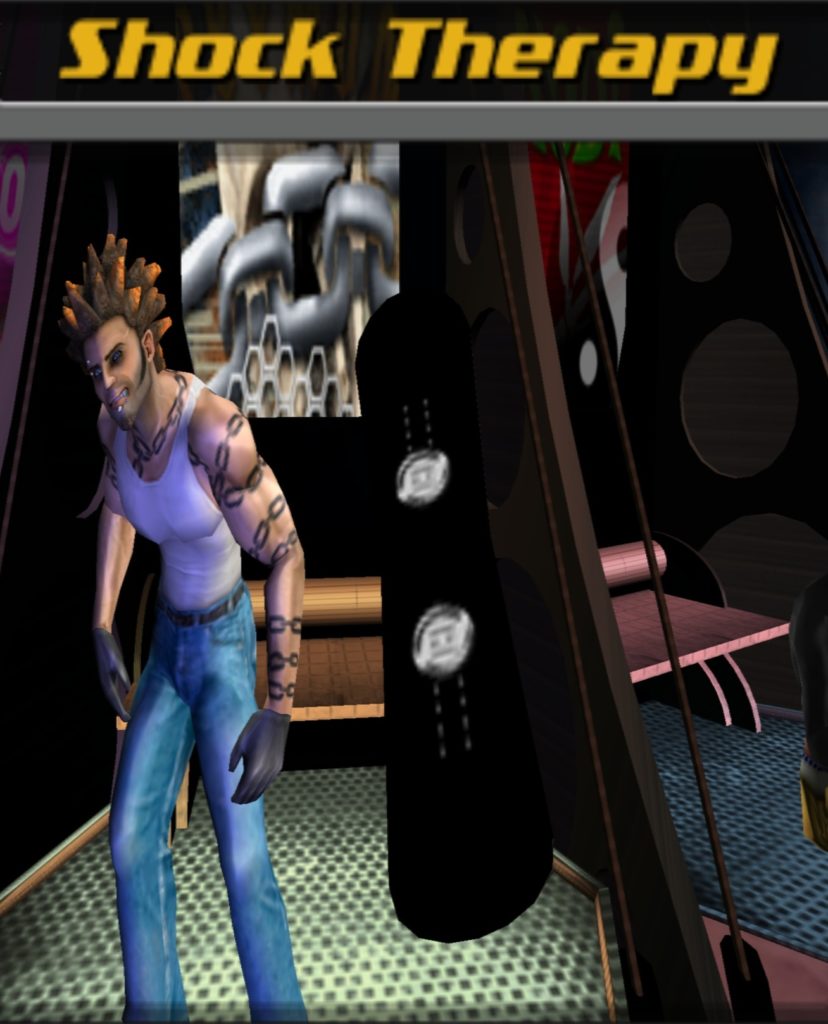
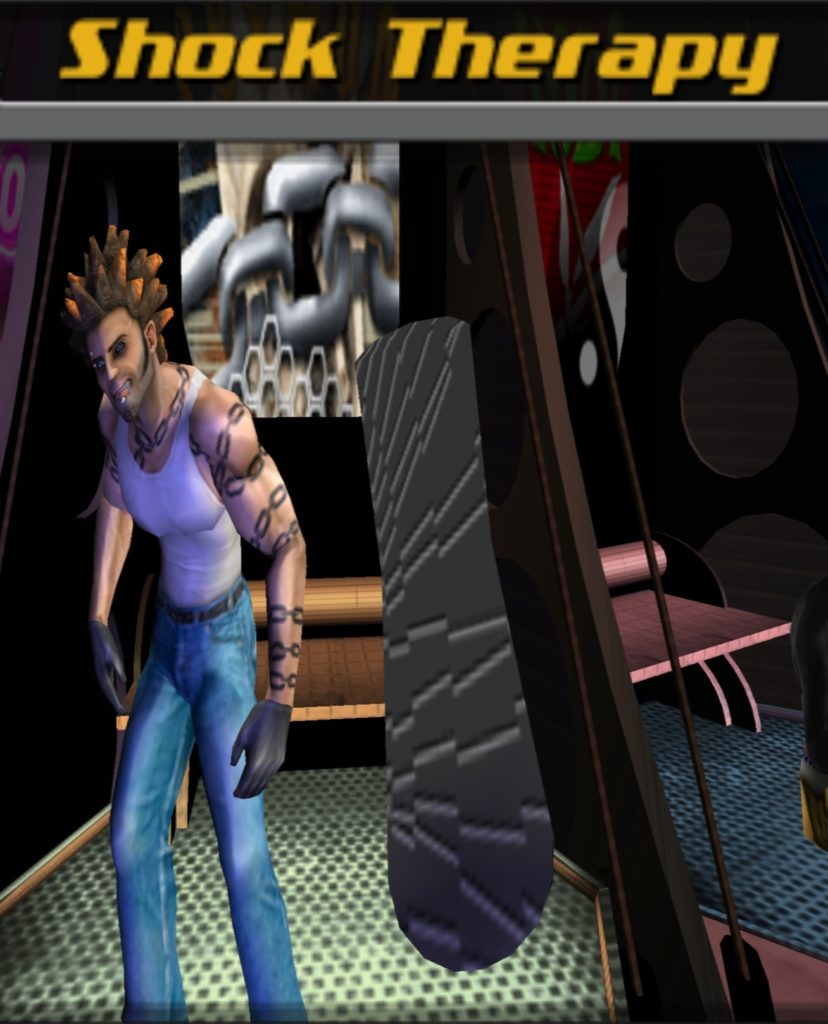
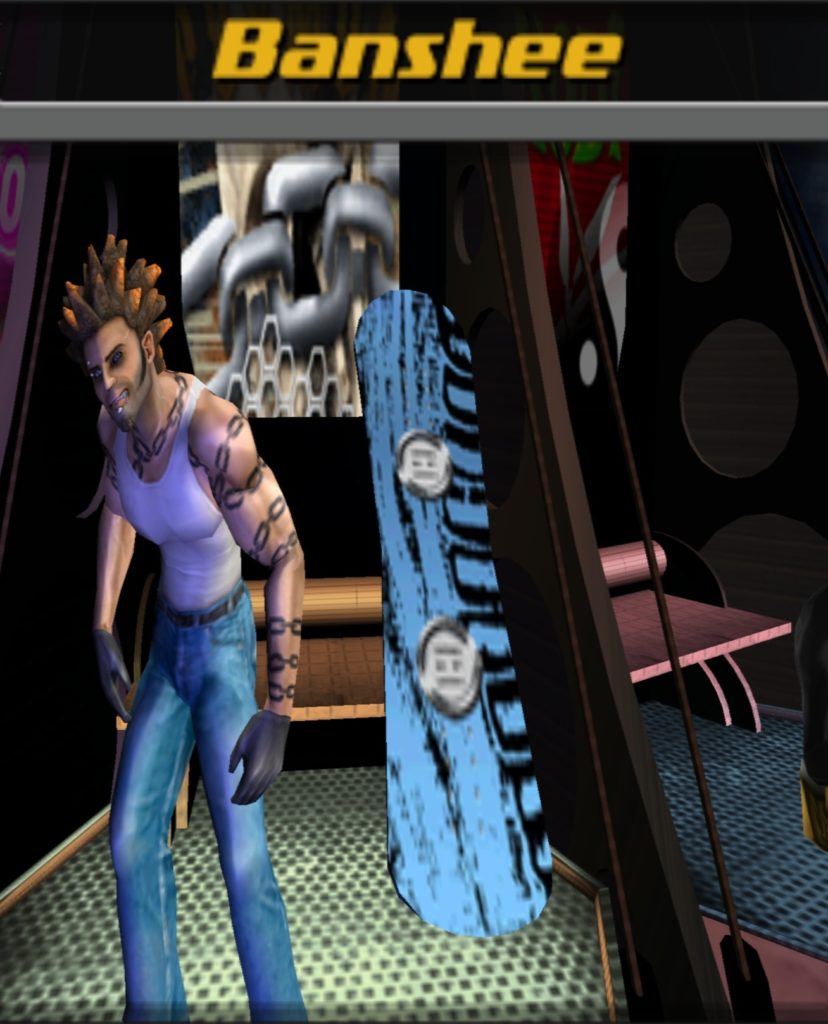
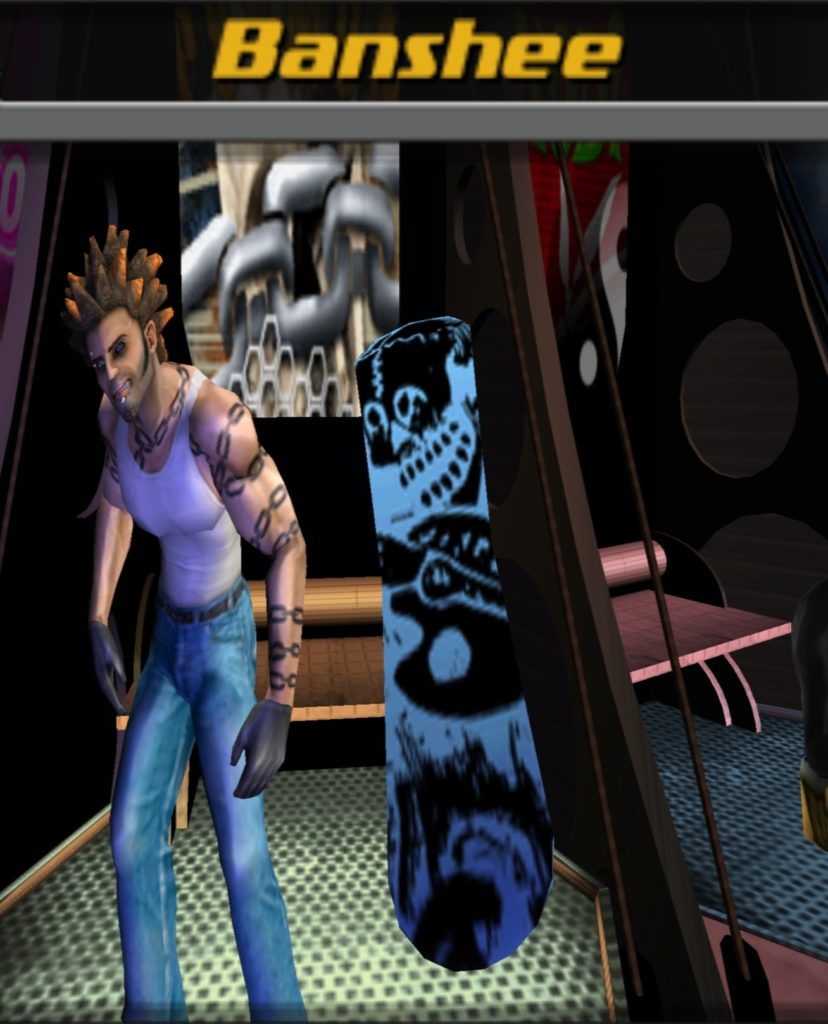
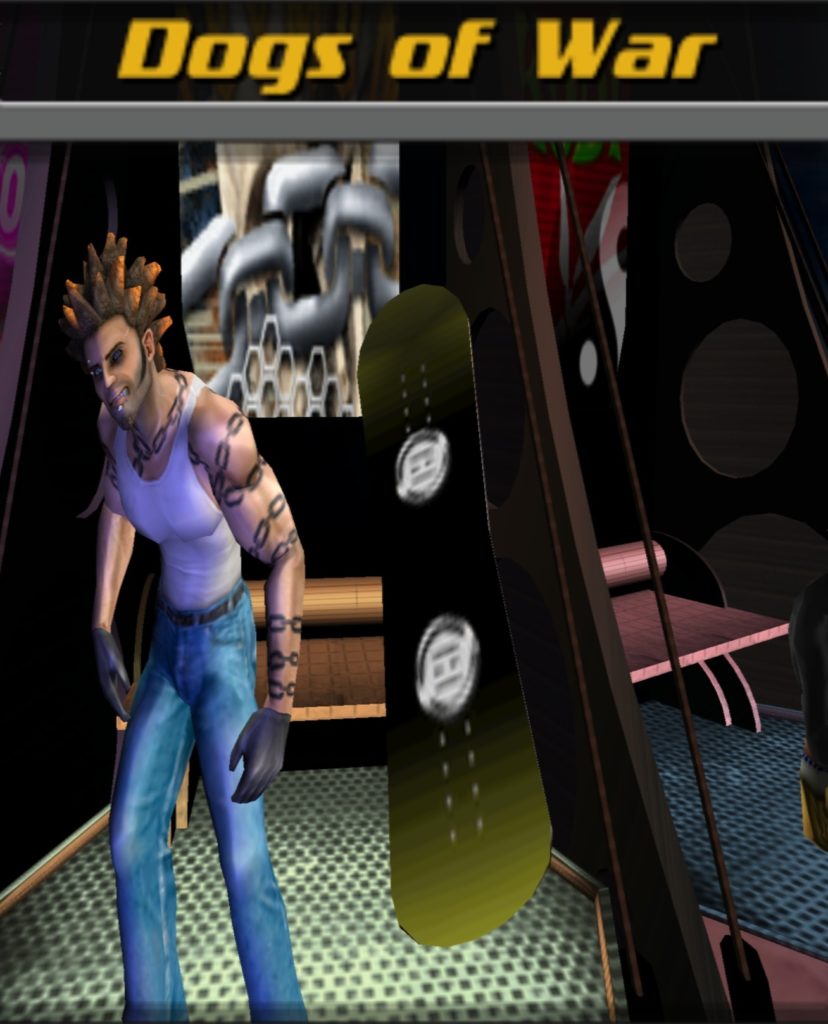
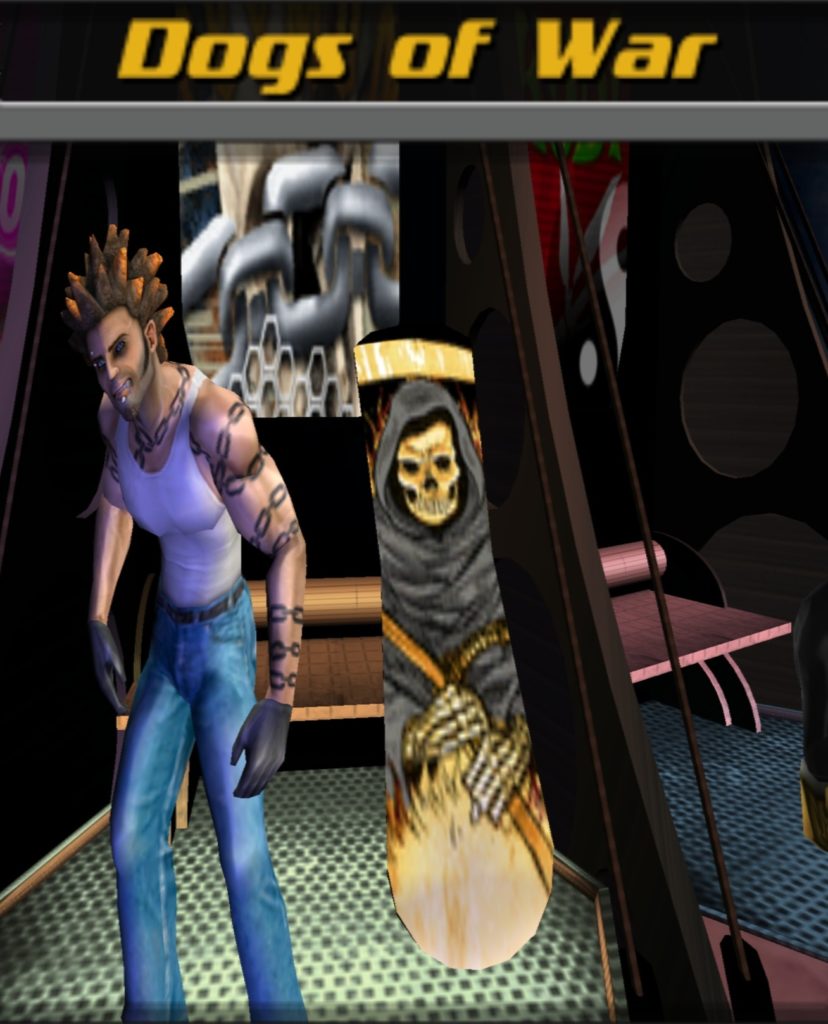
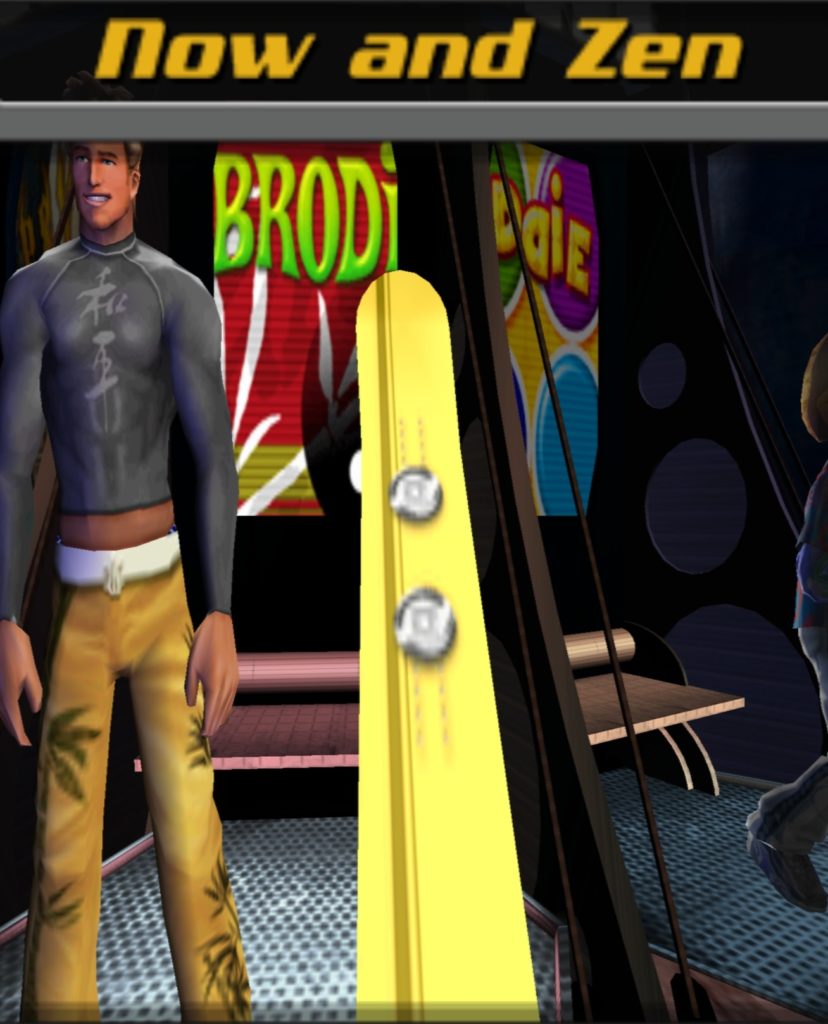
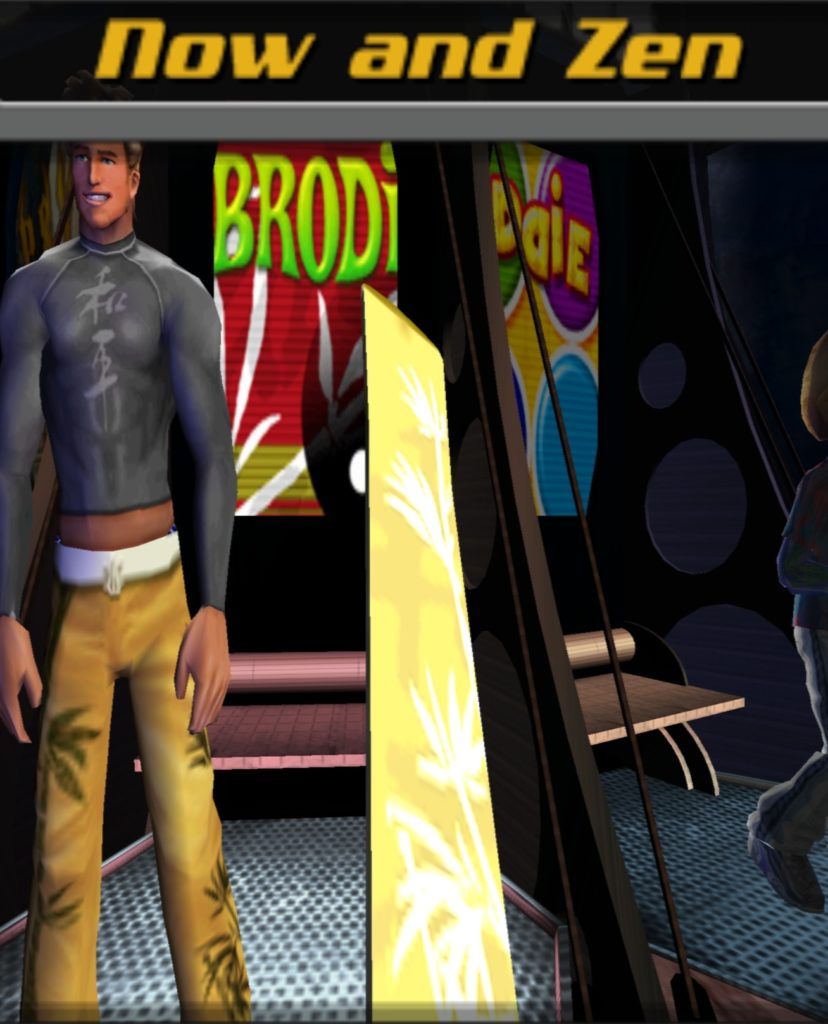
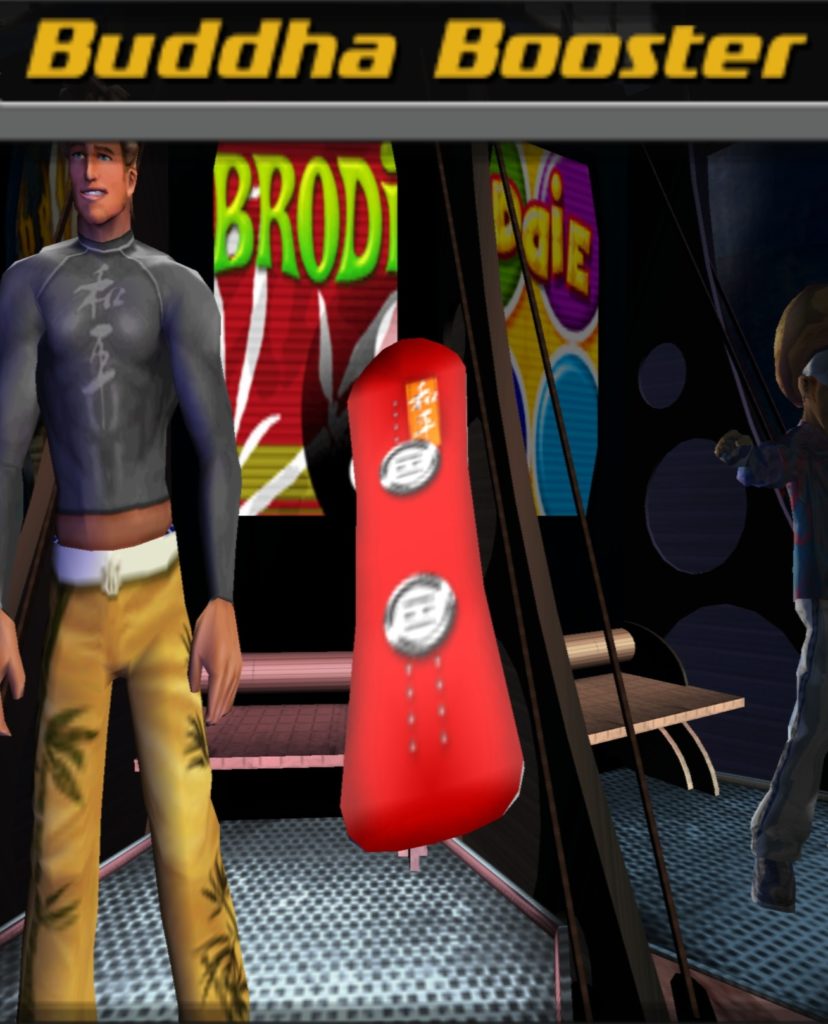
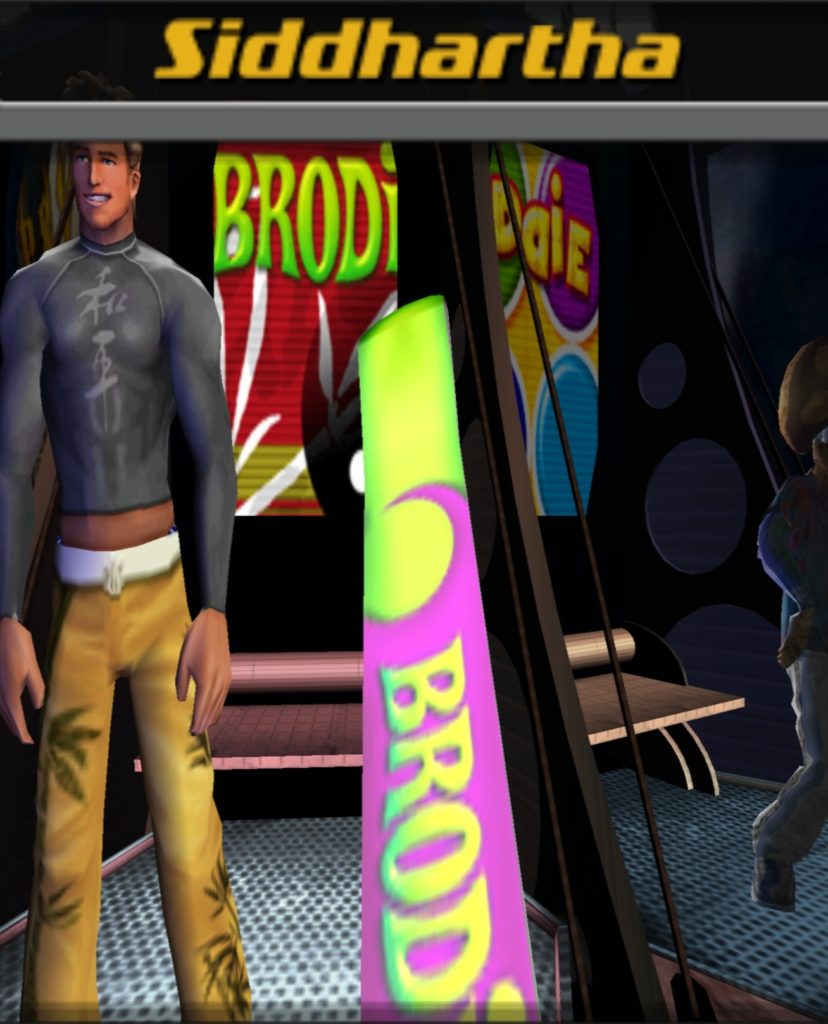
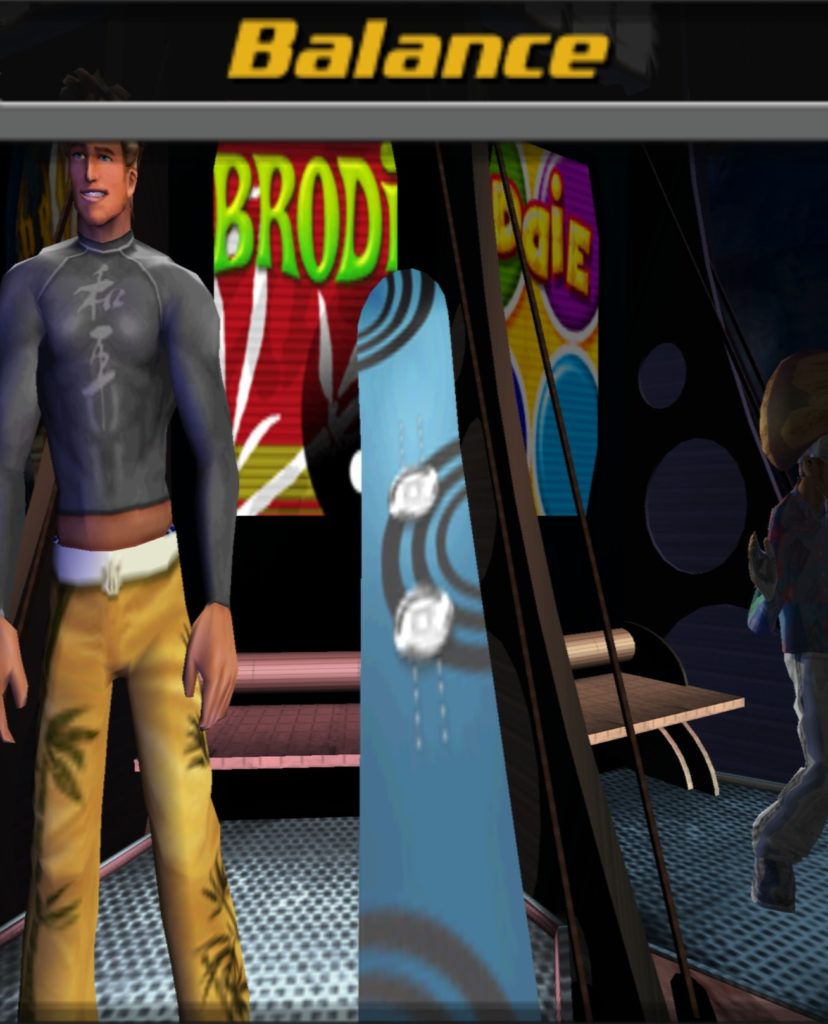
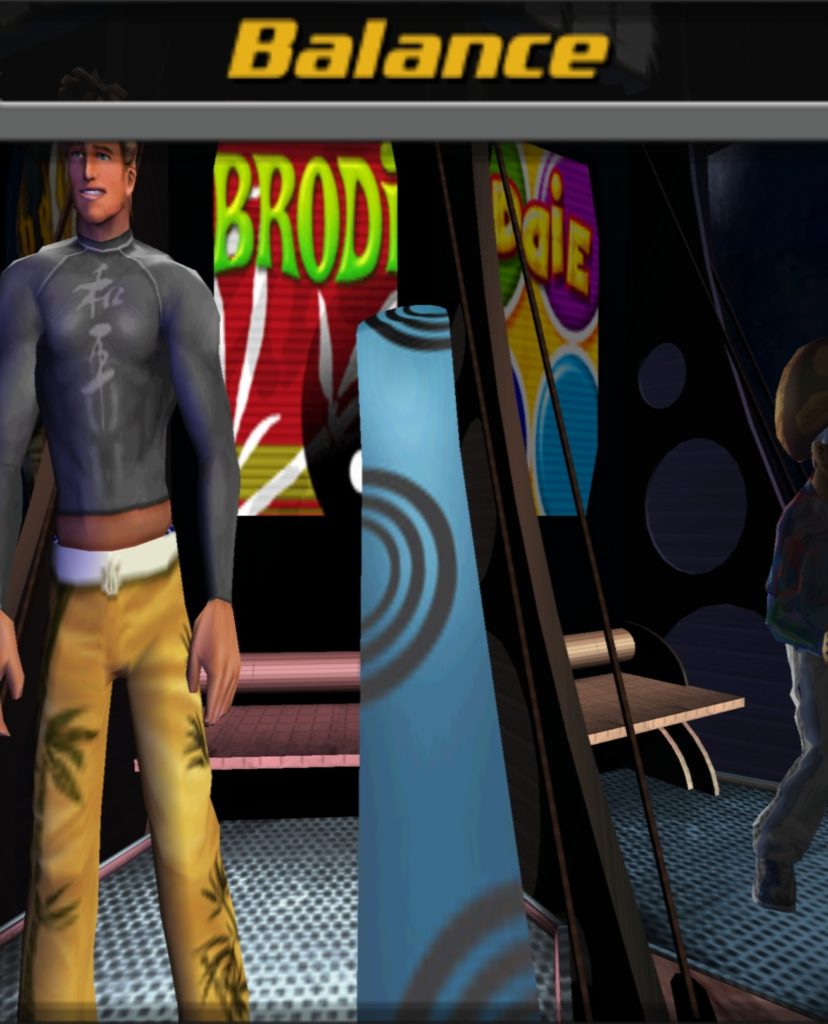
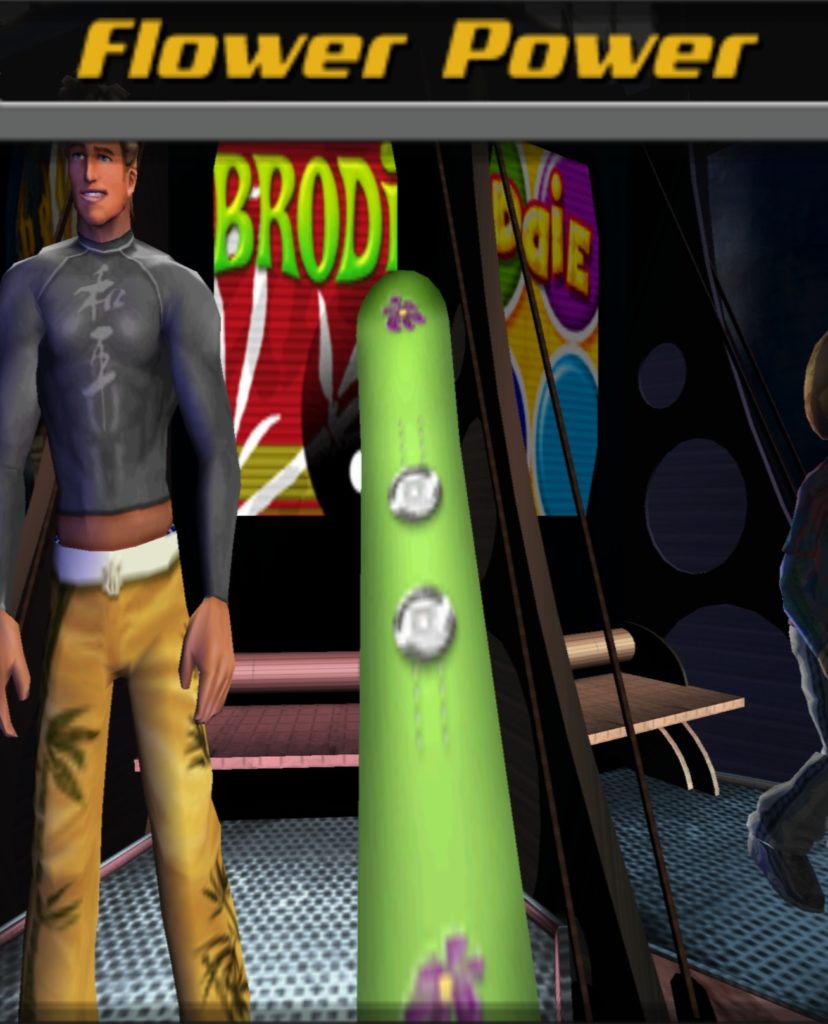
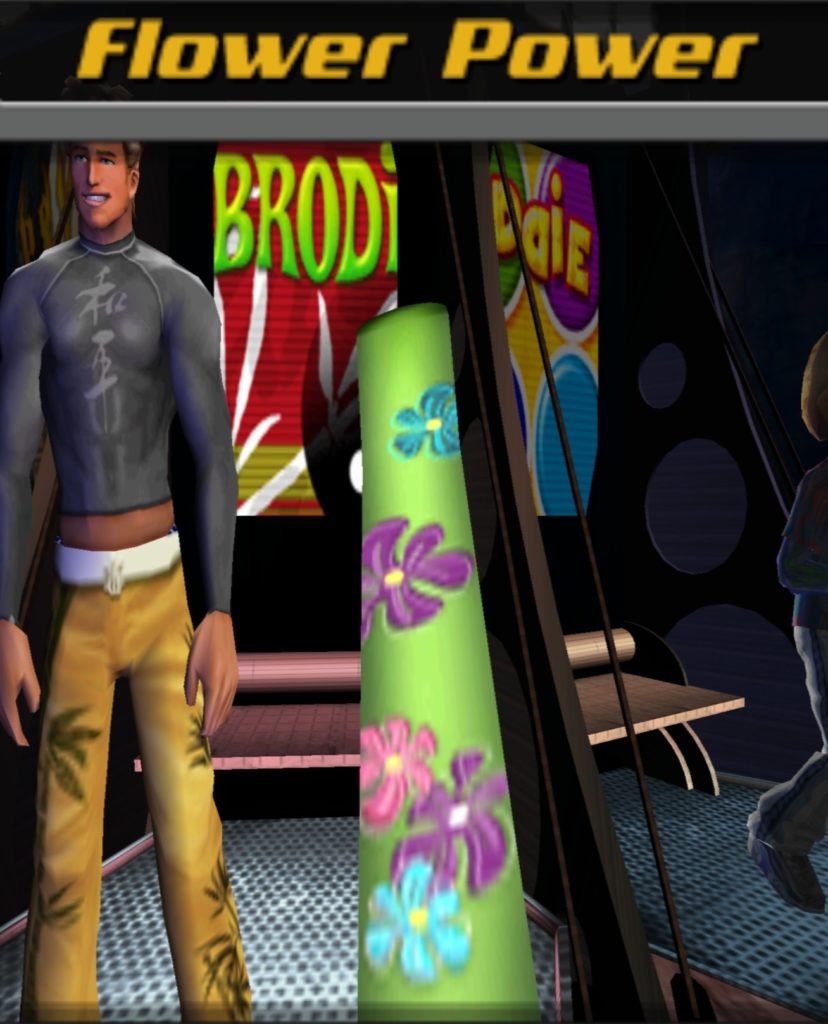
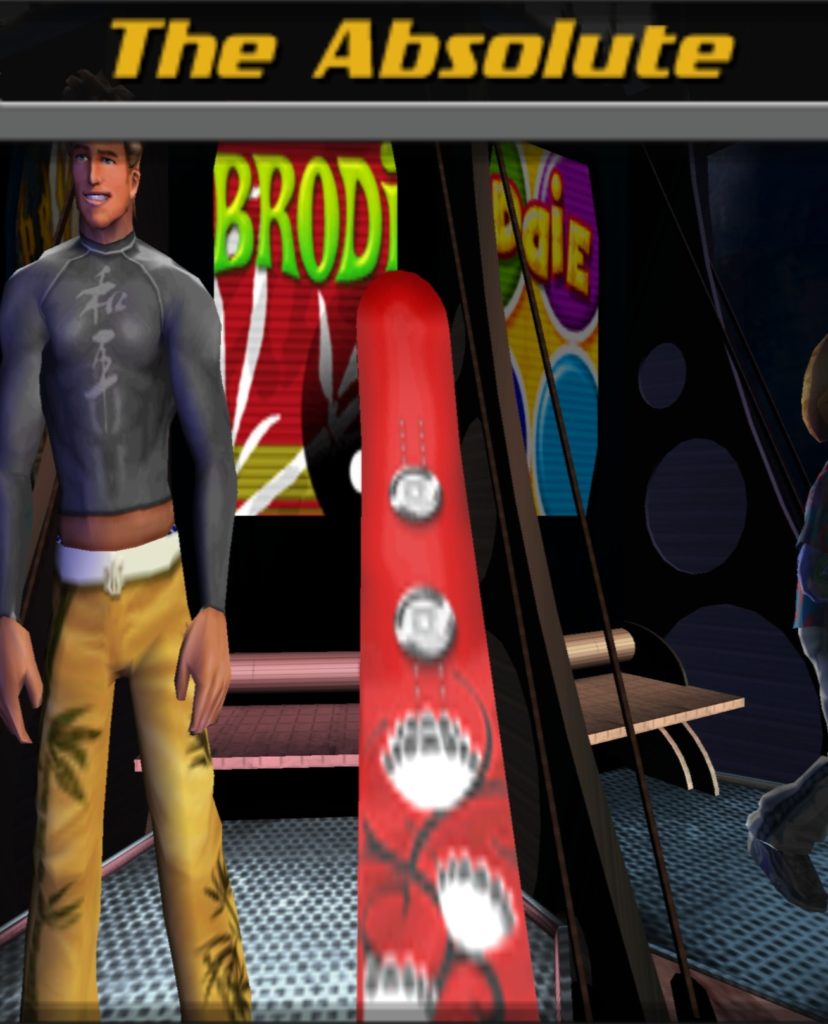
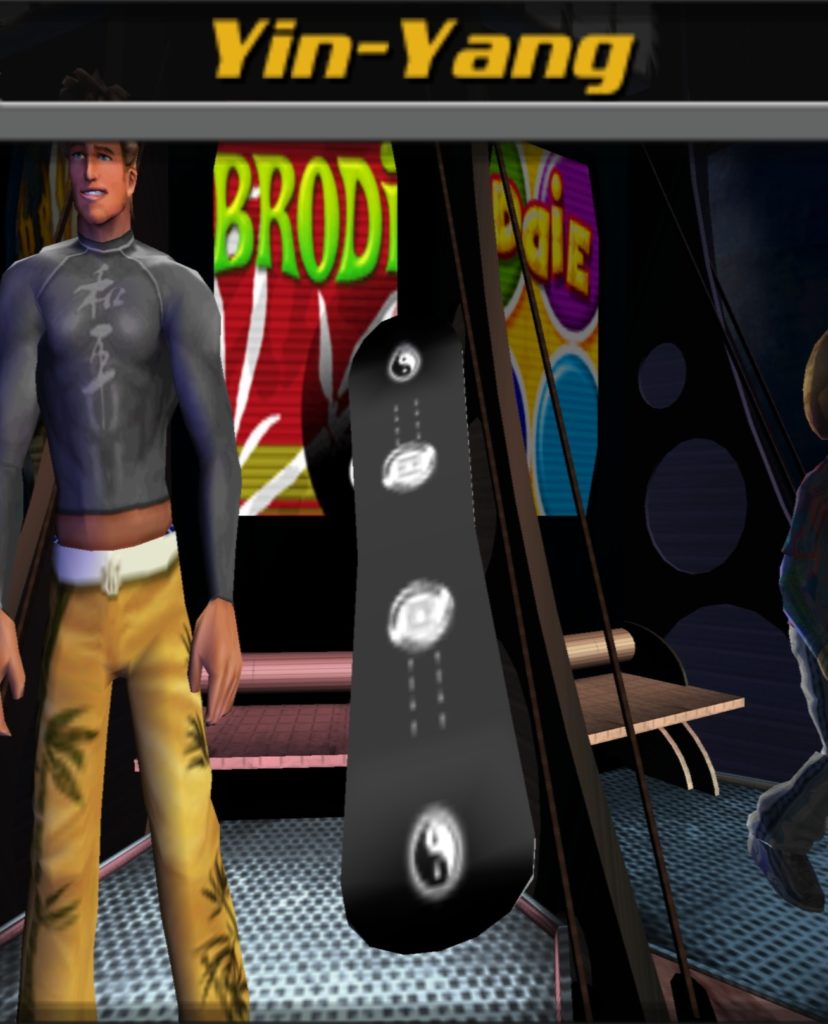
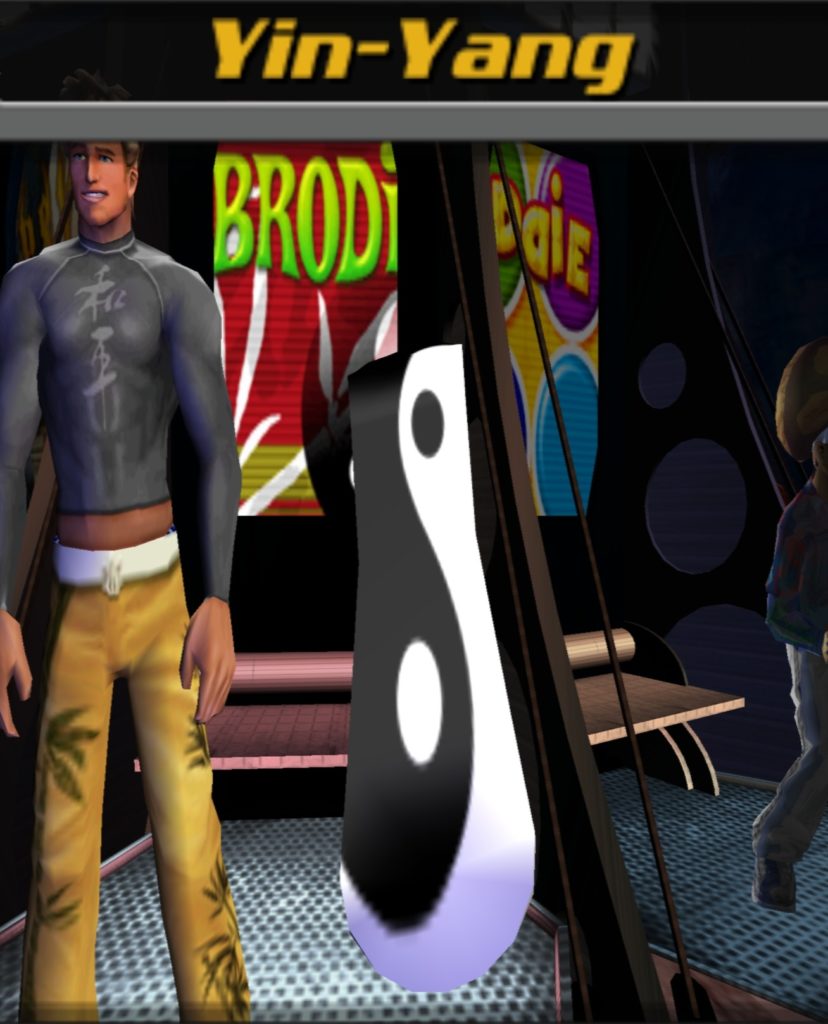
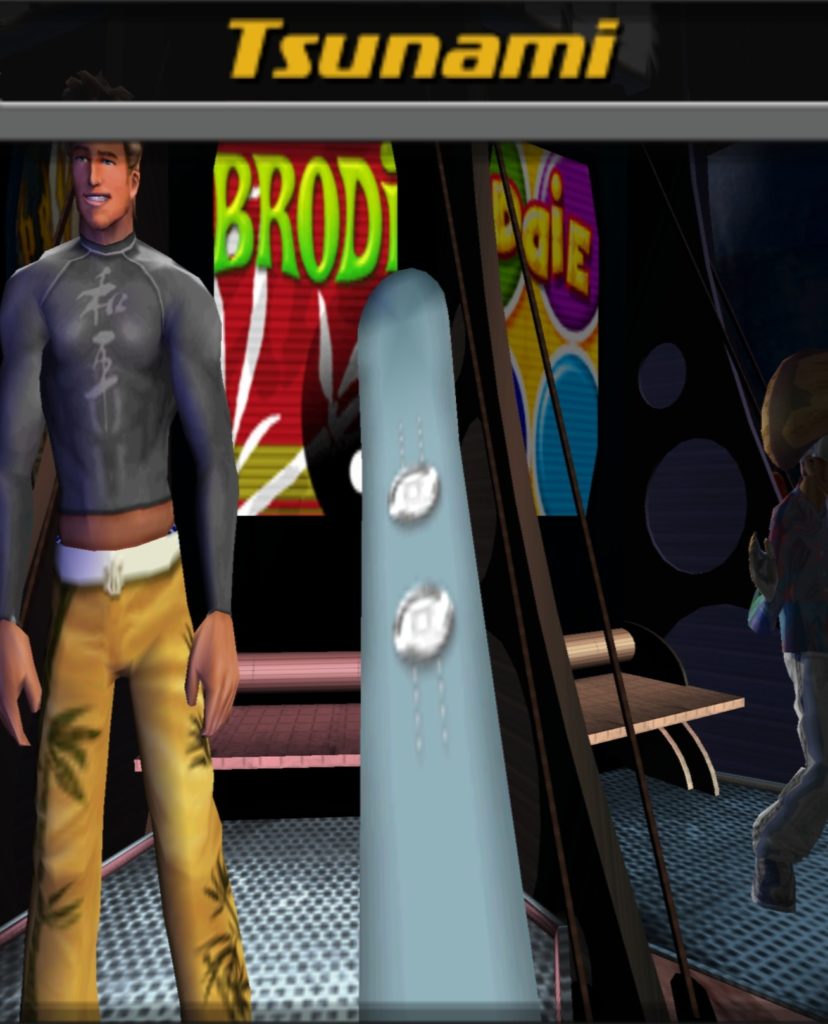
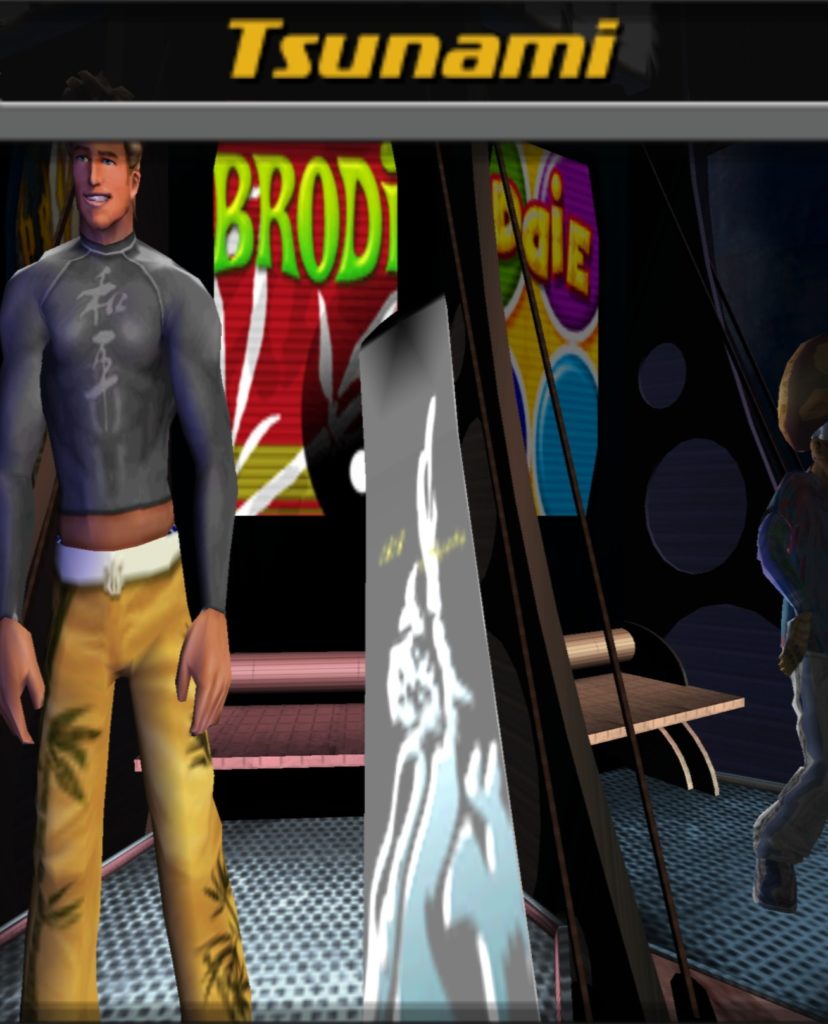
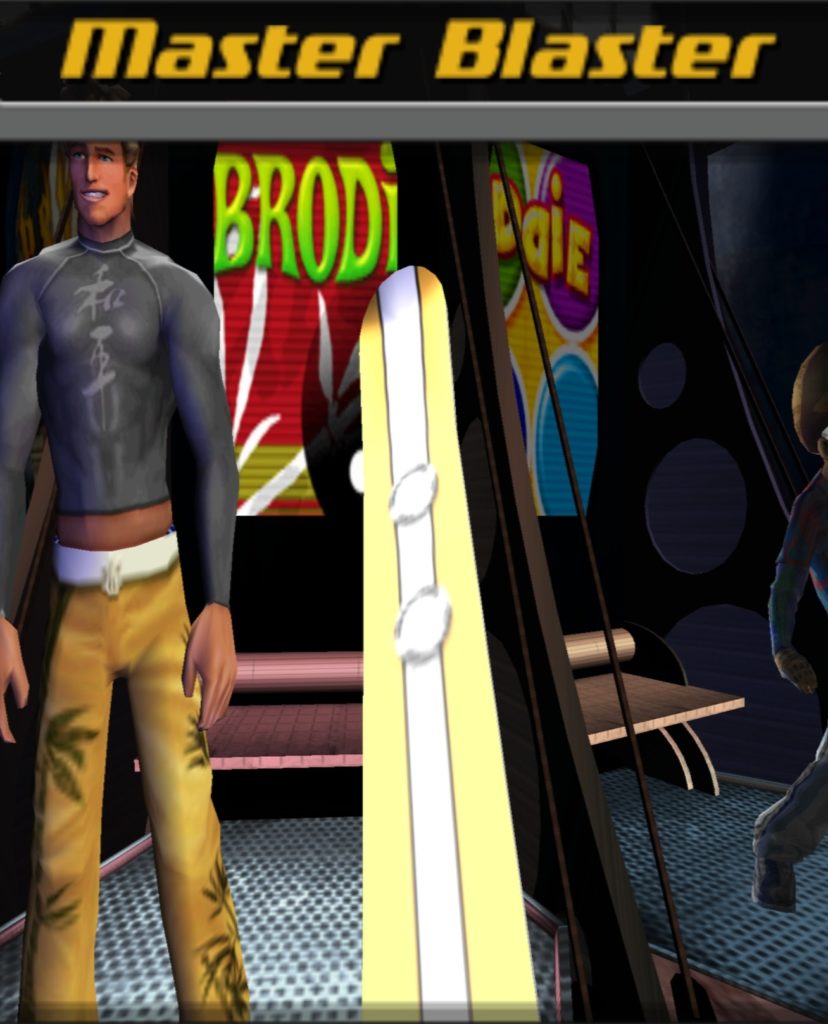
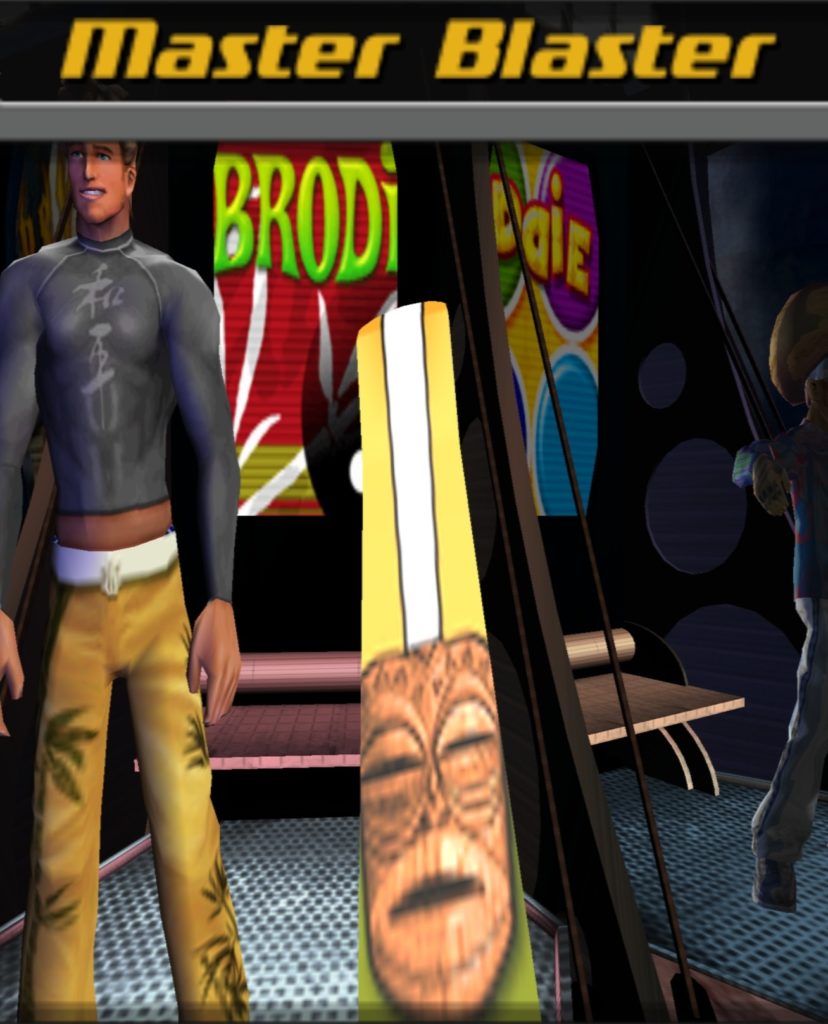
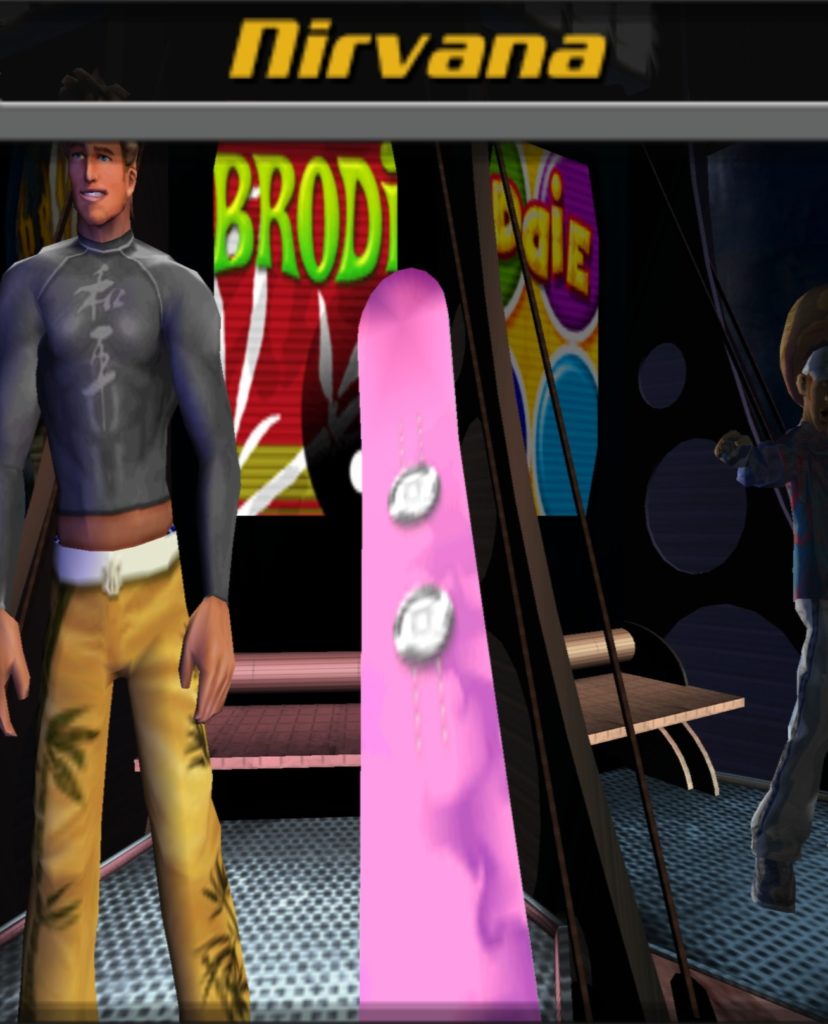
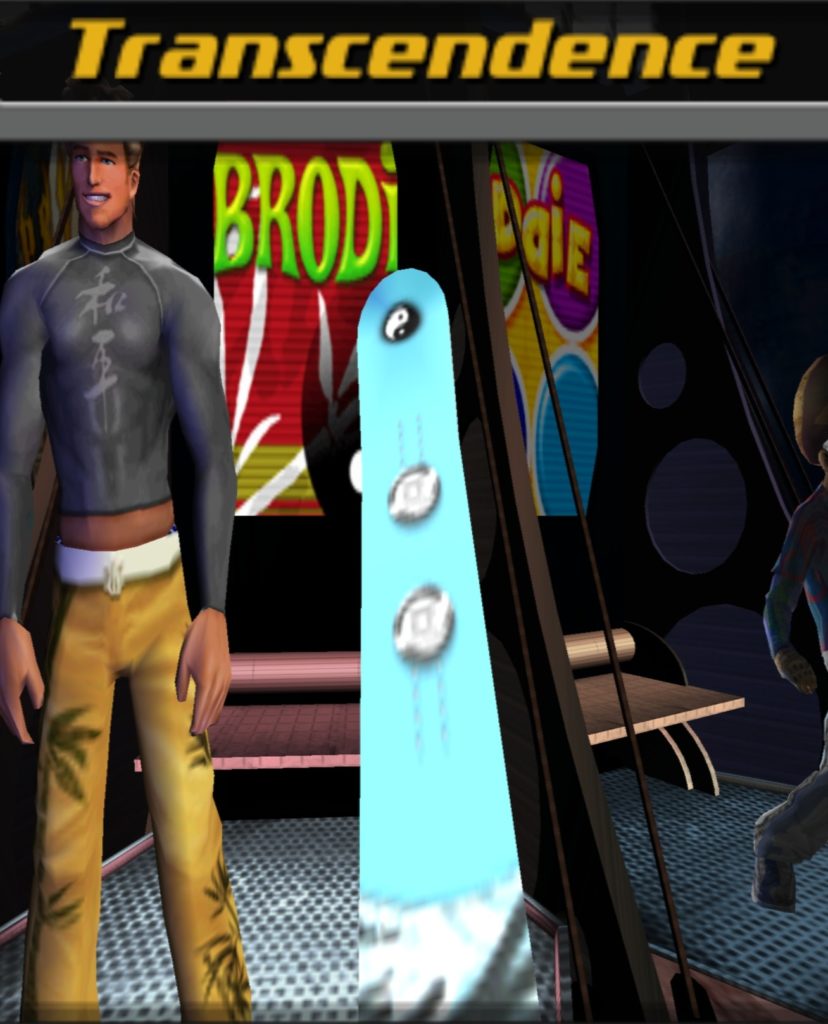
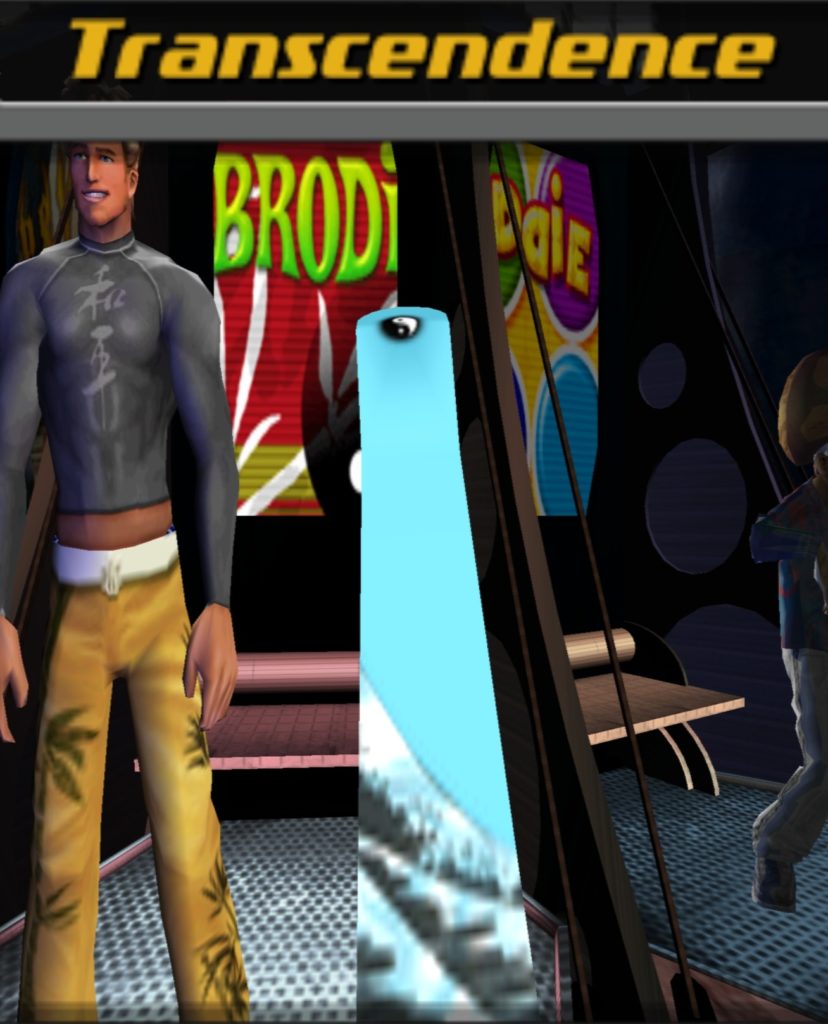
Someone on Reddit is making a custom snowboard and wanted to base their board’s design off of one from the classic video game SSX Tricky. I felt like tackling a unique challenge this morning, so I took screenshots of all of the boards from the game. You’ll find a gallery of those screenshots just below. Below that, I share my method for grabbing and cropping all of these screenshots. Enjoy!


My Process
Here’s how I grabbed and cropped all 268 screenshots:
- I ensured that my PS2 emulator of choice, PCSX2, was set up and ready to go.
- I downloaded an ISO of SSX Tricky for PS2.
- I grabbed a 100% save for SSX Tricky for PS2 from GameFAQs.
- This save file is in MAX Drive/
.maxformat.
- This save file is in MAX Drive/
- Using MyMC, I opened my PCSX2 virtual memory card, then imported the
.max100% save into that memory card. - I booted up SSX Tricky and navigated through the Single Event menus until I arrived at the Select Rider screen.
- I selected a rider, selected “Continue” in the resultant menu, then chose “Select Board”.
- I pressed
SHIFT + TABto enable PCSX2’s “Slow Motion” mode, since the boards spin way too quickly to screenshot at 100% speed. - I waited for the front of the board to show clearly on-screen, then pressed F8 to take a screenshot via PCSX2’s built-in screenshot capturer.
- I waited for the rear of the board to show clearly on-screen, then pressed F8 to take a screenshot.
- I pressed Right on the D-Pad to select the next board.
- I repeated steps 8-10 until I had captured the front and rear of each board.
- I pressed
TABto return to full-speed mode. - I backed out of the character’s board selection screen until I could select the next rider in the list, then did so.
- I pressed Right on the D-Pad to select the next rider.
- I repeated steps 6-14 until I had successfully captured screenshots of all snowboards.
- Using IrfanView (my favorite image viewer – check out my list of essential Windows applications here), I batch converted all of the
.bmpimages captured by PCSX2 into.jpgimages. - Using IrfanView, I batch cropped all of the images until only the board name and board image was visible.
- I uploaded all of those images to this blog post.
That’s it! This process was a bit time-consuming, but I learned that it would be the fastest way to accomplish this task. I also tried to use two different texture ripping tools (uMod and ninjaripper) to rip the textures directly from the game, but I found those tools too slow versus just screenshotting the emulator output. Additionally, those tools output data in either the wrong format or aspect ratio or size, so it would have been additional work to comb through those images and get them in the proper format.
I hope someone out there finds these images useful! Enjoy.